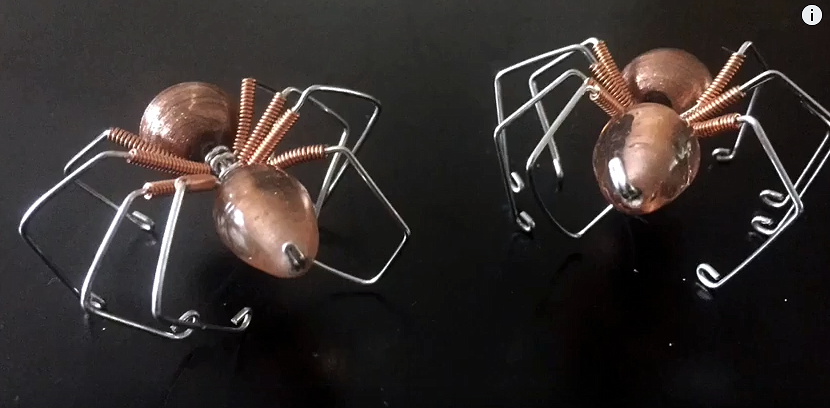
I was wondering what to do with this little engraver I have, when I came up with these necklaces. They are fast and fun to make, so I made a bunch. Yep, that’s my signature skull up front.
So will there be an online shop again? Not until after Springoween, and then, not on Etsy. I figure if a site frustrates me as a buyer (and oh, it does), then I probably shouldn’t sell there. Shop will likely be right here.
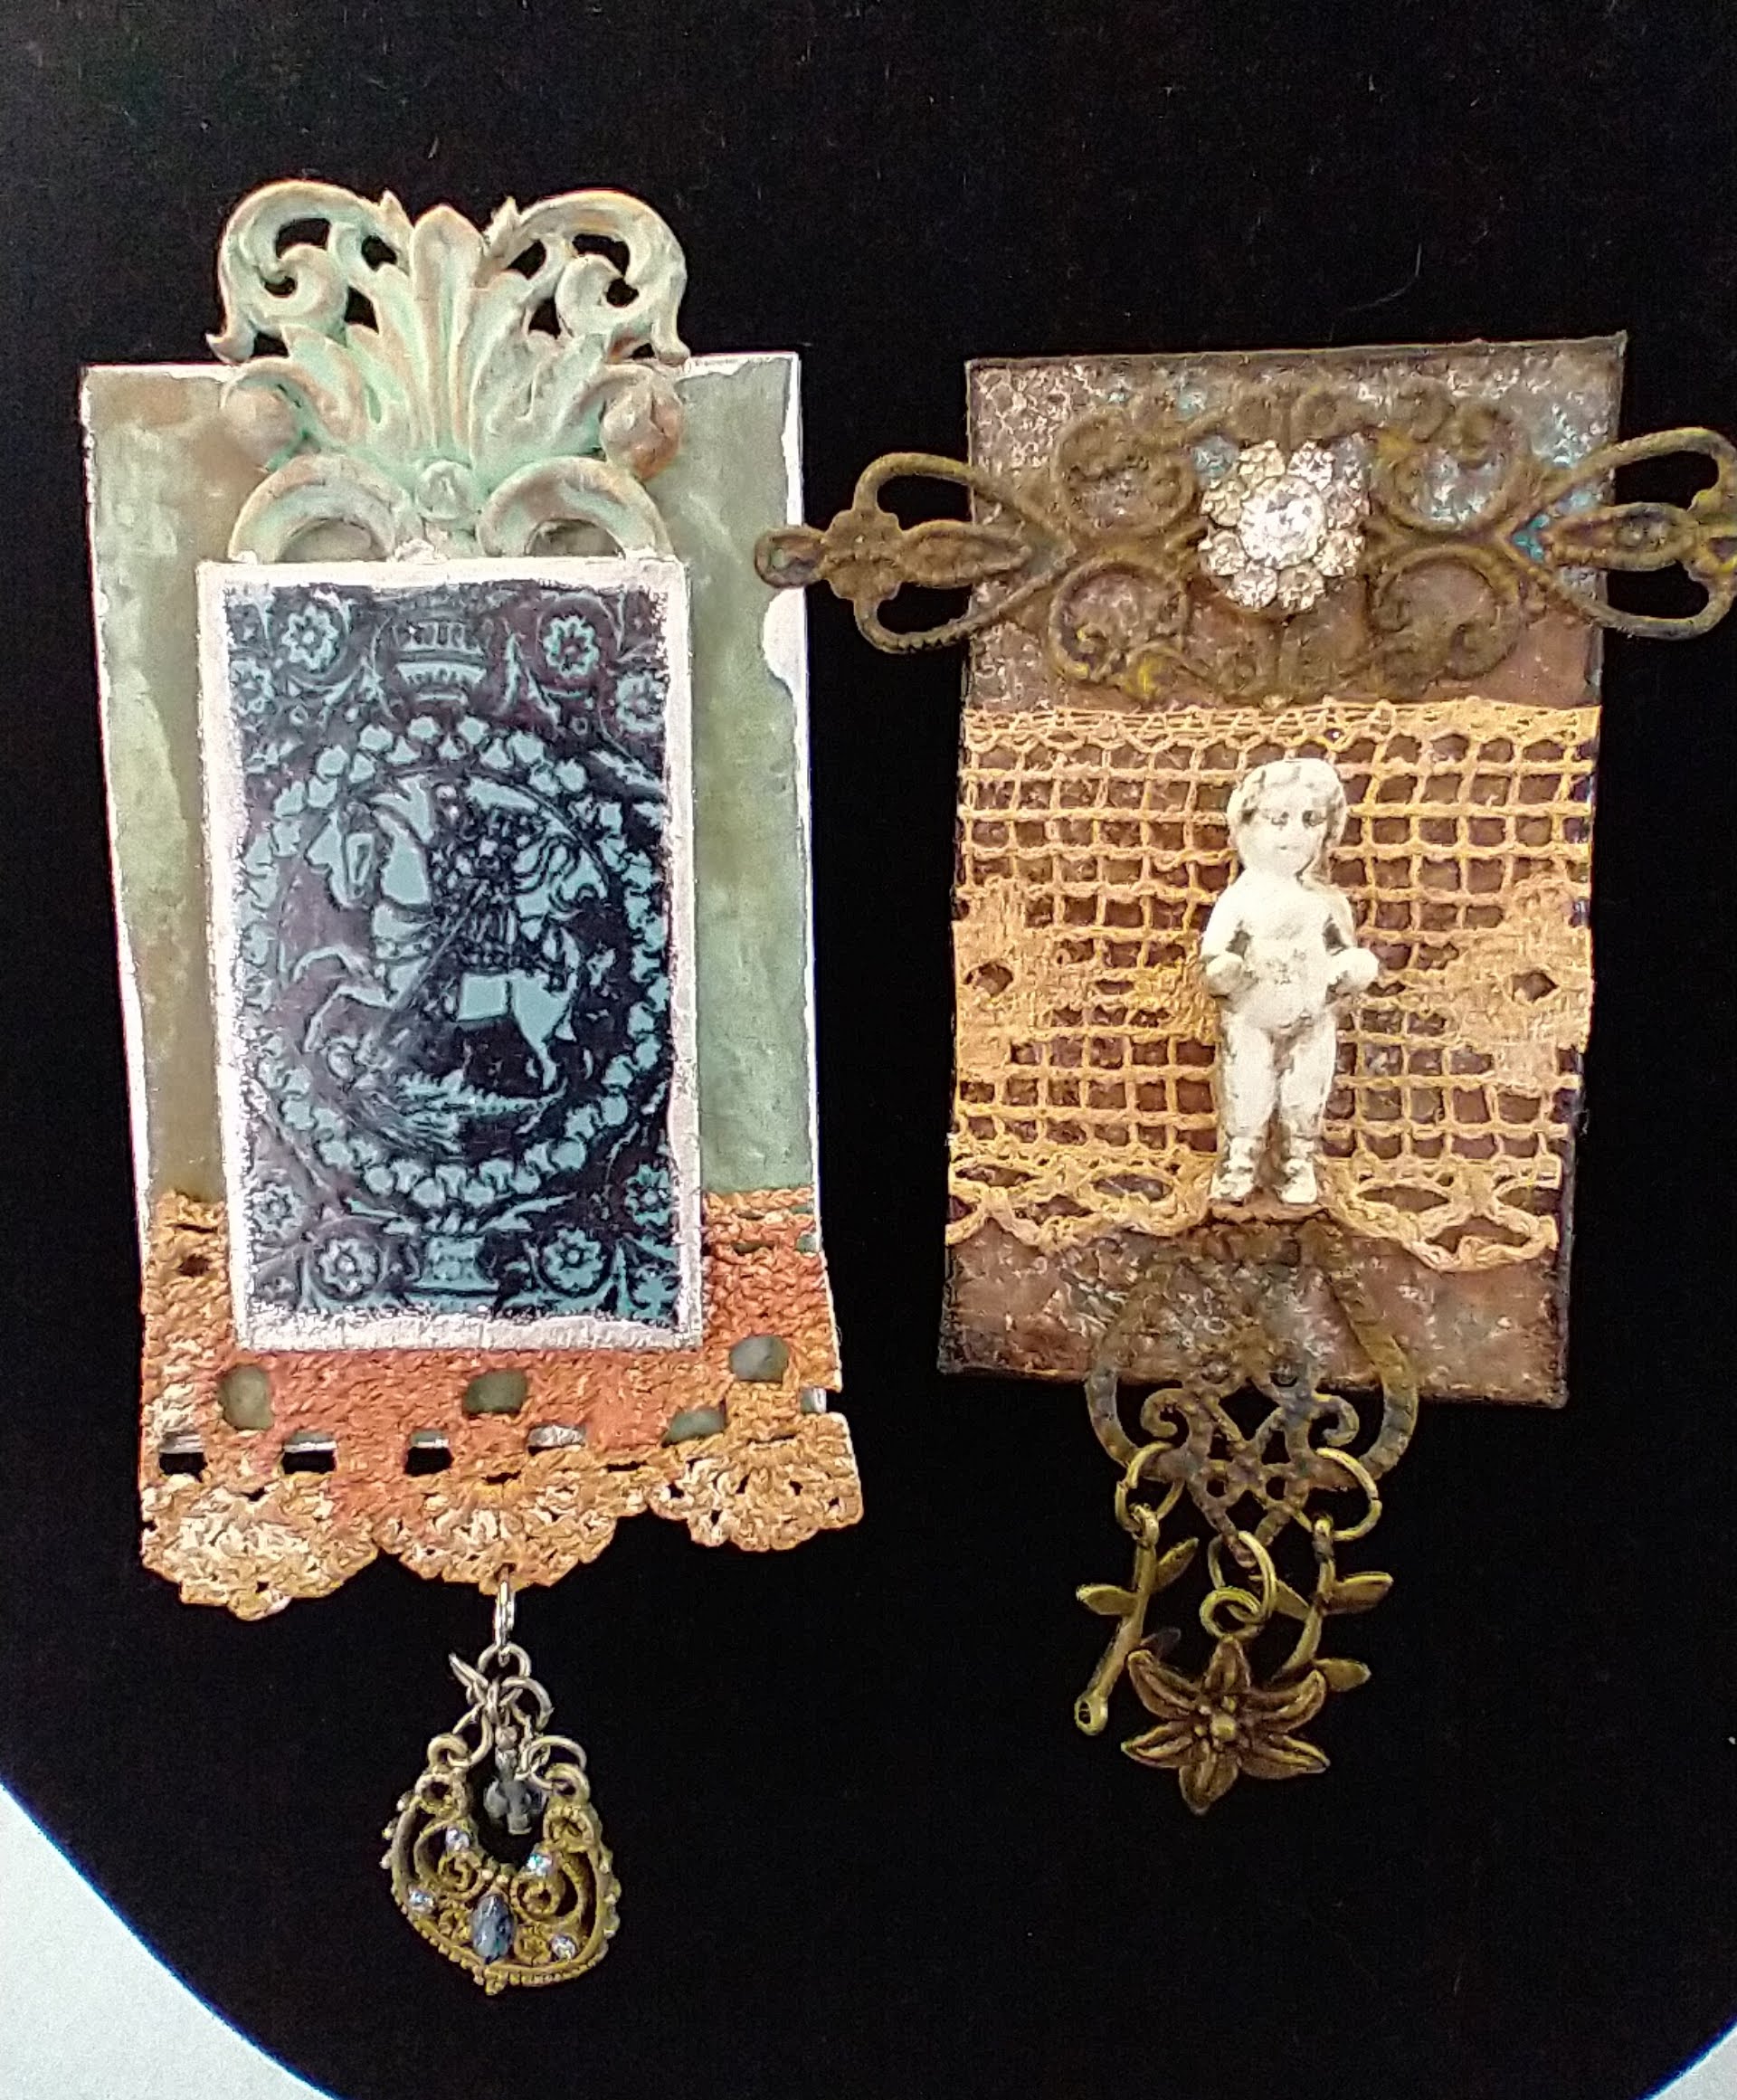
Another Springoween item I’ve been working on are Rusty Pins. They are made mostly of paper, with bits of vintage lace and jewelry, and other odds and ends. They are a blast to make–just don’t get them wet. Feeding them after midnight is at your discretion.
I haven’t tried to decorate a cake since Duran Duran was in the Top 40. Bake, sure. Sprinkle powdered sugar through a stencil? Yeah, but that hardly counts.
The Spousal Unit and I have been binging on Man About Cake. It’s a lot of fun, and it made getting back on the decorating horse tempting again. Decorating horse. That’s…
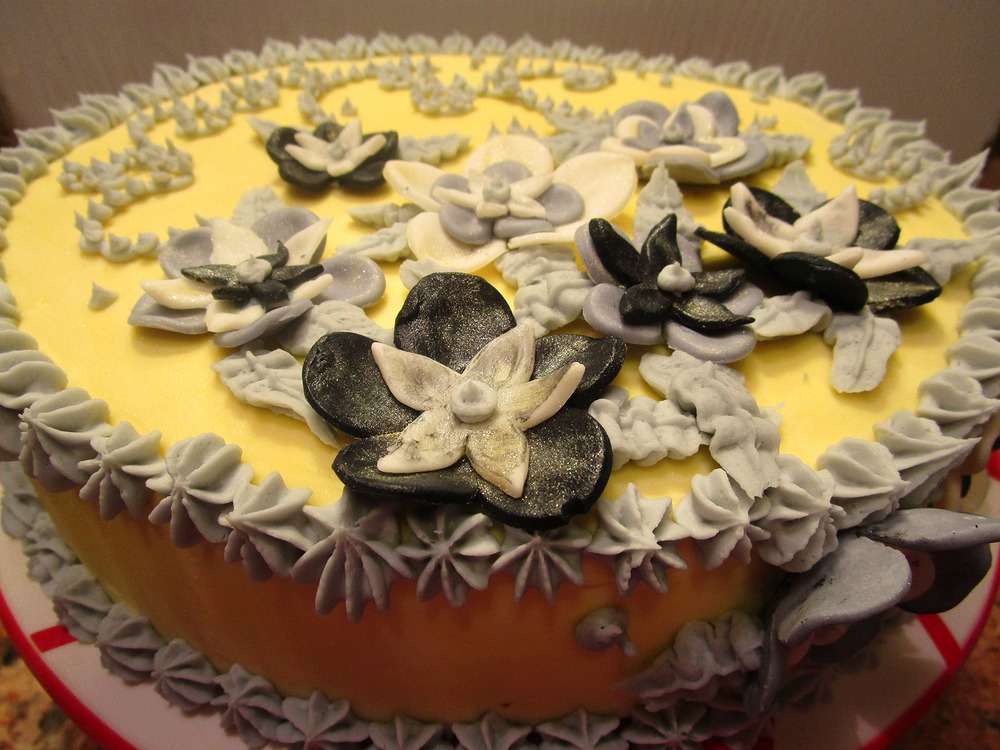
…anyway, this cake is in no way spooky, unless you count rolling out black and gray fondant. I love black, gray, and white with yellow, so that’s what I went for. First, ze cake:
Chocolate. Duh.
I used this chocolate cake recipe, substituting Whey Low for Ice Cream (it dissolves better) instead of sugar. The recipe is dead easy, and makes a darned tasty cake. I forgot the vanilla, and it was still amazing. In fact, I think I’ll leave out the vanilla forever.
THINGS I LEARNED FROM MAN ABOUT CAKE, #1:
Keep it cold. I’ve never been able to successfully trim the top off a cake, because I try to do it warm. That does not, and will never, work. A bread knife and a completely cooled cake made it easy. I didn’t get it entirely even, but after a while you have to give up or you’re making cake pops.
Next, icing.
They call me Mellow Yellow. Wait, no they don’t.
I looked around at different buttercream recipes, and decided on a mishmash:
4 c powdered sugar (the real stuff–I gotta figure out a good substitute)
1 c unsalted butter, room temperature
~1 tsp salt (I measured with my hand)
1 Tbsp heavy cream to start. More as needed to get a stiff, but easily spreadable frosting.
1 tsp vanilla
1 tsp lemon extract
1 tsp orange extract (both the real stuff–no yucky artificial flavors)
Yellow food coloring
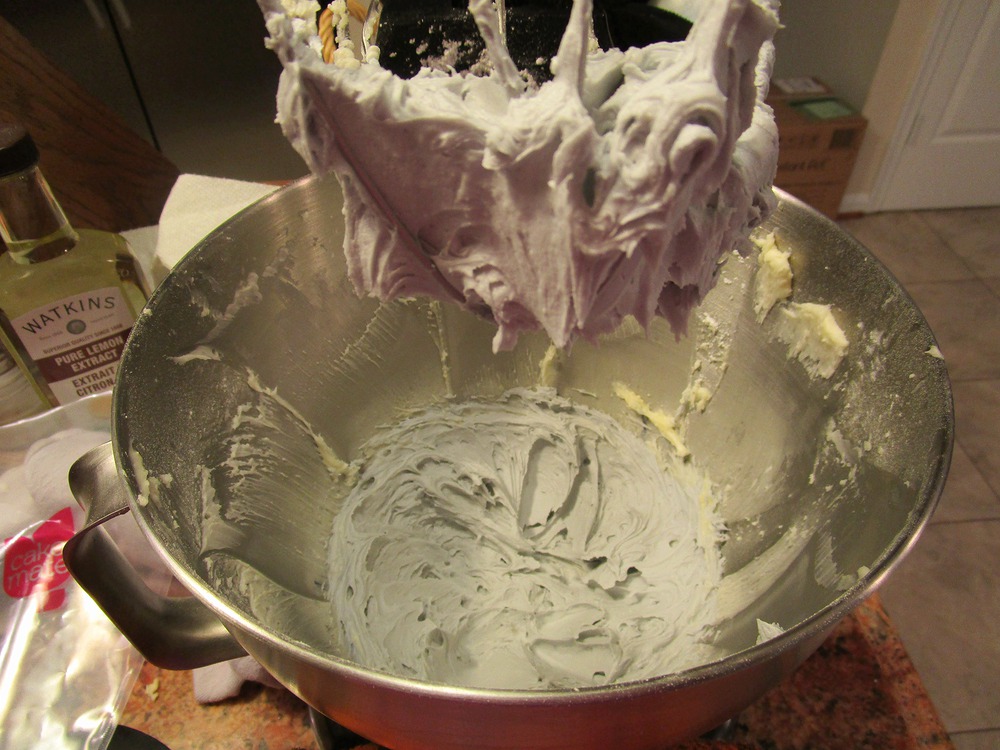
Add ingredients to bowl in the order listed (or you’ll end up with a bowl coated in butter) and mix. Tip: if you’re using a stand mixer, cover the whole thing with a dish towel for a minute so you don’t contract Sugar Lung, bane of sugar miners. If you’re using a hand mixer, you might try covering your face instead. Anarchist baker!
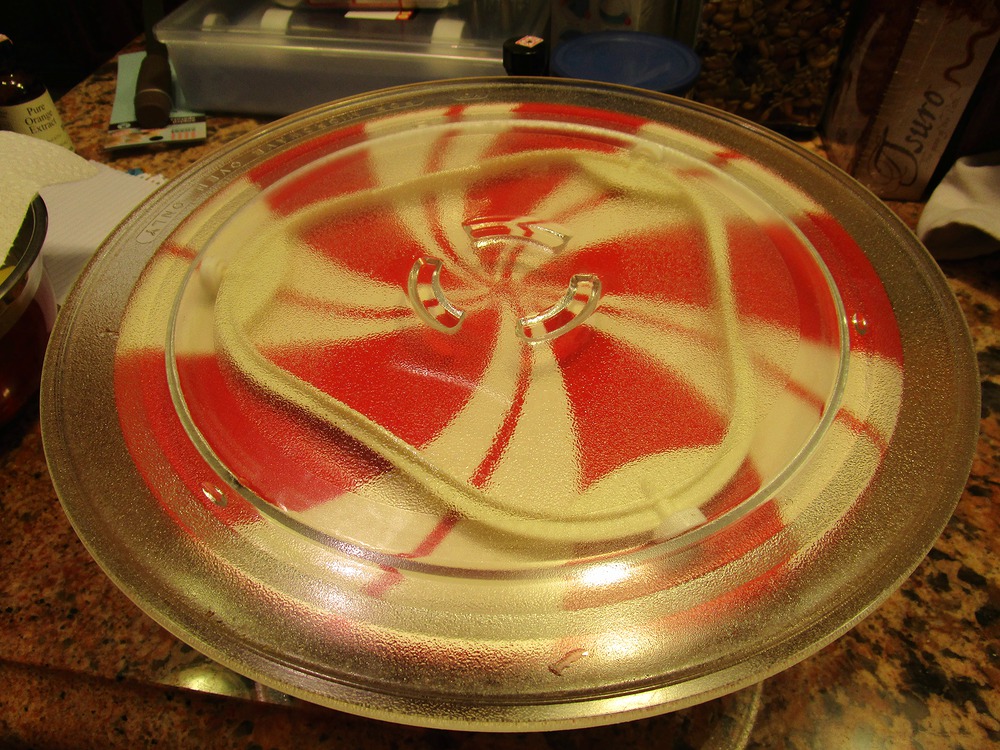
Yes, that’s a holiday cake stand. The spooky ones are in use.
I have a nice turntable on the way, but for now, I took the wheels out of my microwave, taped them to a cake stand, and put the microwave dish on top. Did it work? No, not really. I ended up moving the cake to the stand.
OMG BRIL.
THINGS I LEARNED FROM MAN ABOUT CAKE #2:
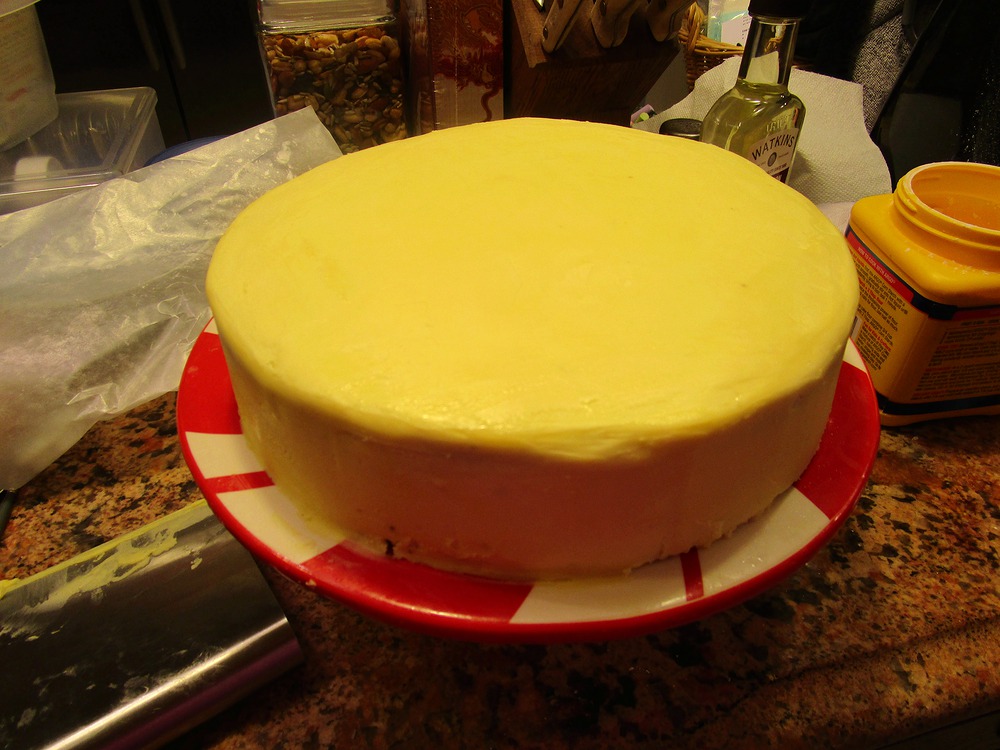
Crumb coat! If I had known about crumb coating, I would have been decorating cakes long before this. No, it wasn’t a state secret, I just never knew. I filled the cake with buttercream, then put on a thin layer of frosting to lock in the crumbs. Then back in the freezer with the cake while I do other things, like…
Most of my wardrobe colors. Oh, except for the white.
I mixed very small amounts of fondant with paste food coloring to get gray and black. Because of the extra moisture, the black is very soft and sticky and no that isn’t a dirty euphemism. Did I add powdered sugar to it like a normal person with an internet connection? NoooOOOOooo. I just kept putting it back in the freezer so I could handle it.
Used to be, this was as good as it got. I call it “primitive” decorating. You know, sloppy.
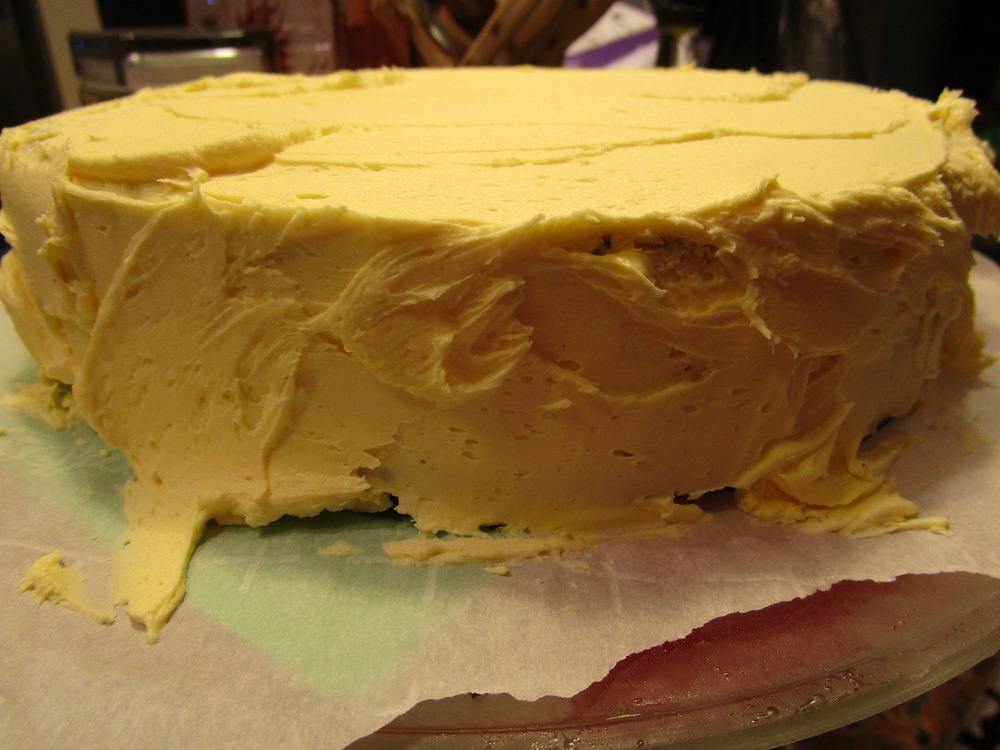
Next, the cake came out of the freezer and got its final coat of buttercream. I bought a fancy smoother, and it was helpful for the top, but for the sides I used a butter cutter. I have never actually used it to cut butter. I use it to pick up chopped vegetables, lift things, and now, smooth cakes.
Smooooove.
That’s the butter cutter on the counter. One of my most useful kitchen tools. I smoothed the sides and top, and used wet fingers to get some edges. You know how professionals in videos smooth a cake in 30 seconds? This was more like 30 minutes. It isn’t perfect, but it’s ever so much better than I have ever accomplished previously. Because I was trying to frost a warm cake with a butter knife. Because I was young and foolish. If I could time travel, I would slap the shit out of young me. But not over the stupid cake.
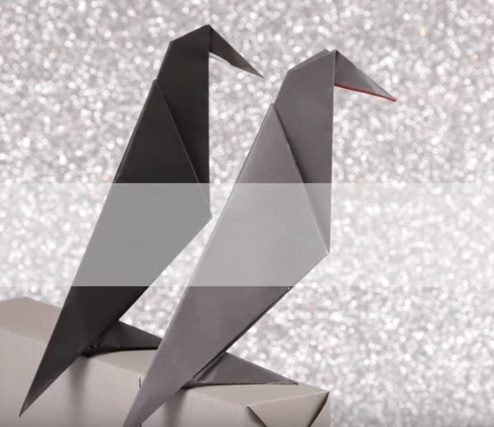
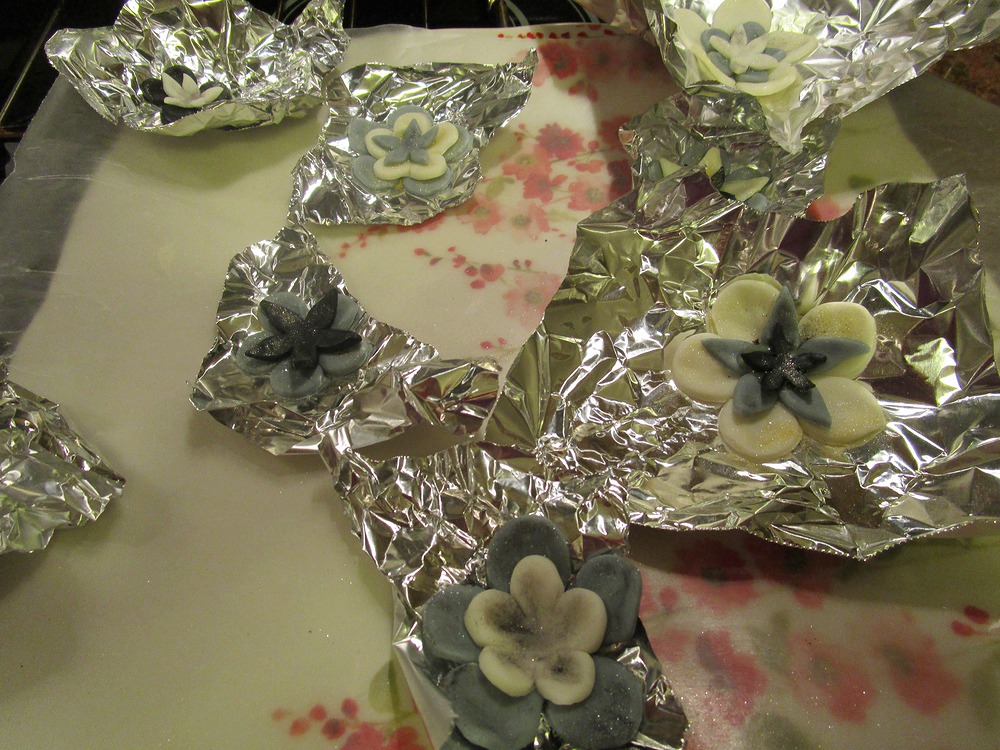
Flowers! But not pretty flowers, so it’s okay.
I actually had fondant cutters because I will use anything for anything. I, uh, cleaned them very thoroughly first. I did the ball-tool thing to shape the petals, but it didn’t work very well. Maybe I used the wrong tool. Maybe I was the wrong tool.
Yes, I could absolutely make this all worse.
I ended up shaping the flowers with foil, which worked well. I had black and gold colors of edible luster, and I made sure to use a paint brush I had that was still in the package. Problem was, the paintbrush was cheap and stiff and no that’s not a dirty euphemism. Jeeze, people. So I just kinda splattered dust wherever. Eh. These ended up in the freezer so I could handle them more easily.
Pied piper? NO! Caked piper!
At this point, I realize the cake will need some piping. I am out of buttercream–yeah, I used all that recipe already–so I mix up another small batch, and color it gray. Because gray is like pastel black, and that is the best.
I did not take a picture of the piping process, but I will tell you these things: I liked it. Piping is a lot more fun than working with fondant. I stuck with very basic stuff–just stars and leaves. Then, since I had to pipe centers on the flowers, I decided to do some vines. Oh, Kitty. I will master that eventually, but for now, I did the same thing with frosting that I do when paint goes wrong: add dots. Dots fix everything. Even sloppy dots. Mostly.
I want cake! No that is not a dirty euphemism. Oh, alright, yes it is.
In hindsight, the luster was a mistake. The flowers would have been much more funky-cool without it. But for a first effort in so many years I just remembered I’m old and oh fuck I’m gonna go cry in the tub? It’s good enough.
It’s that time of year when we are farthest from our favorite holiday–which means it’s Secret Pumpkin time!
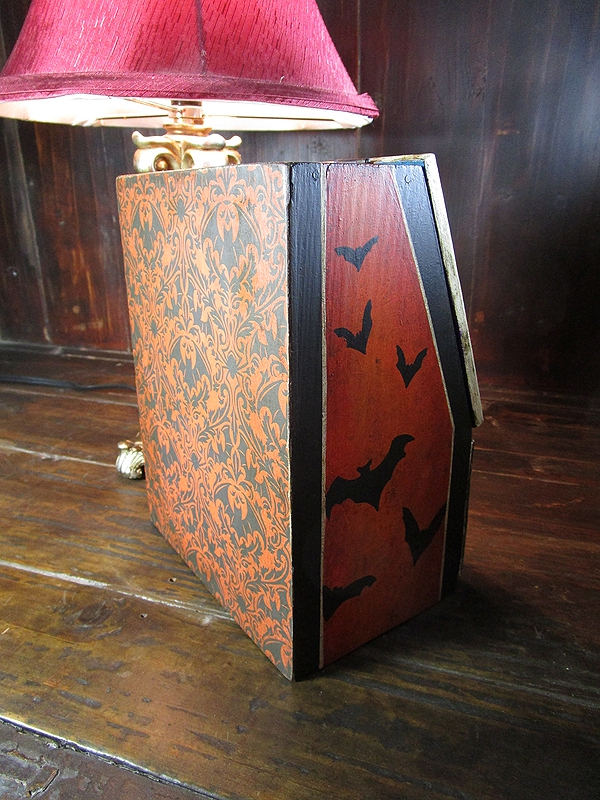
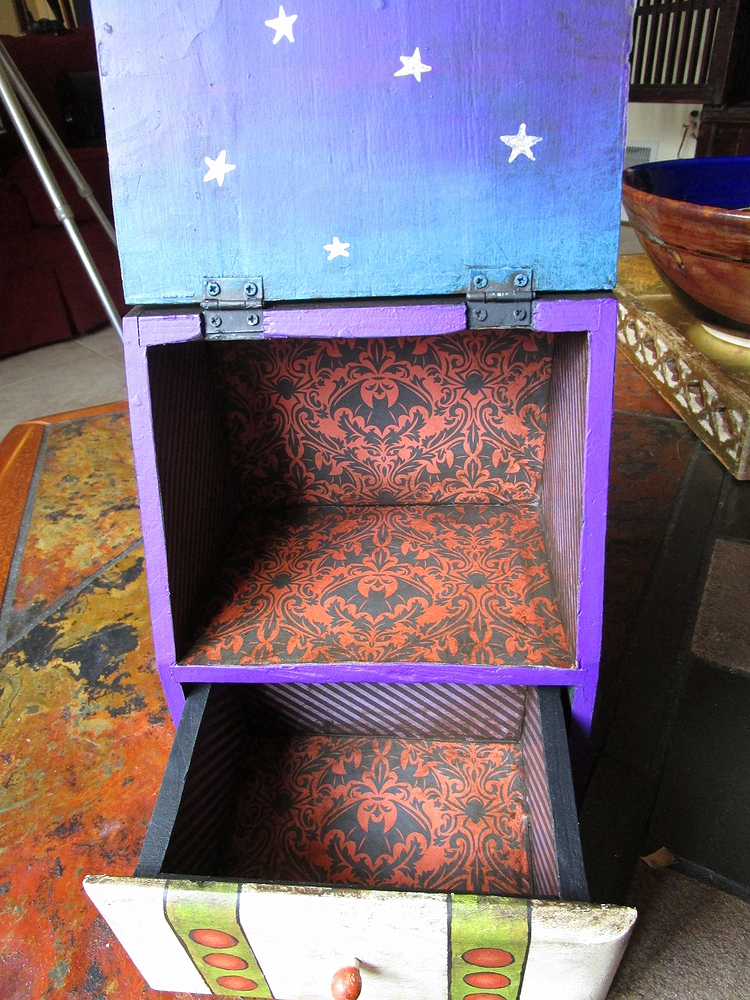
This year I got to make something for Pixel Pixie, who I actually know IRL. I have always wanted to spookify a box, but I was especially inspired by the work of Jamie Moore.
Of course, my stuff looks nothing like hers, but hey, that’s how inspiration works for me.
I didn’t take a picture, but this was originally a vintage Christmas box with kind of a weird Santa painting.
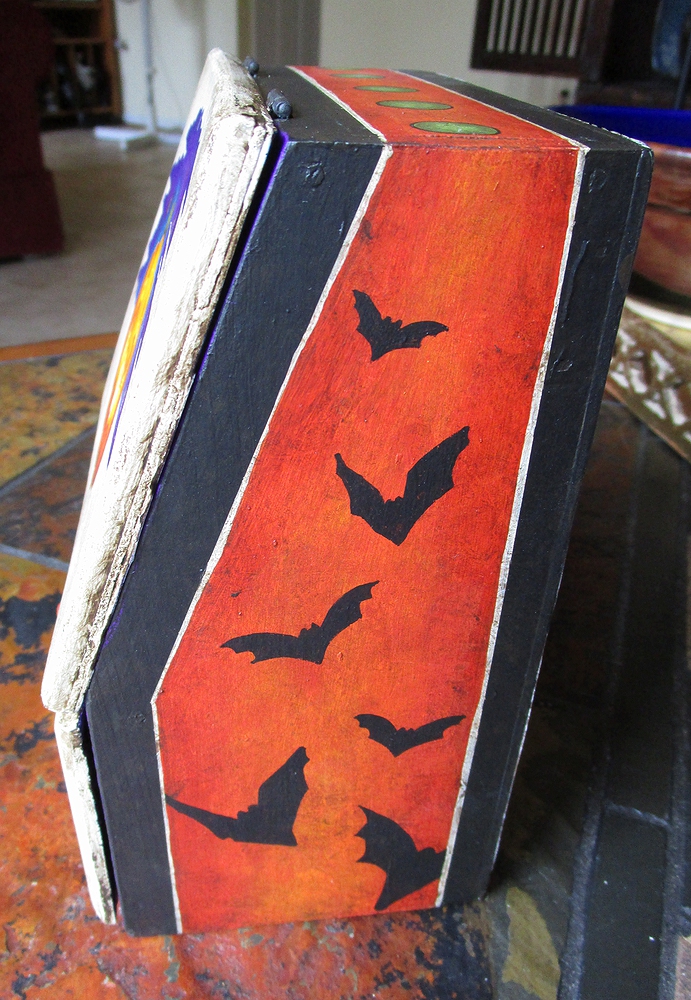
I gave it a fresh coat of paint, then I hand-painted the front and sides. The back and inside (except for the starry sky) are lined with pretty paper, and the whole thing got some satin lacquer. This was a blast to do, and I’ve been collecting jewelry boxes from thrift stores so I can do more makeovers.