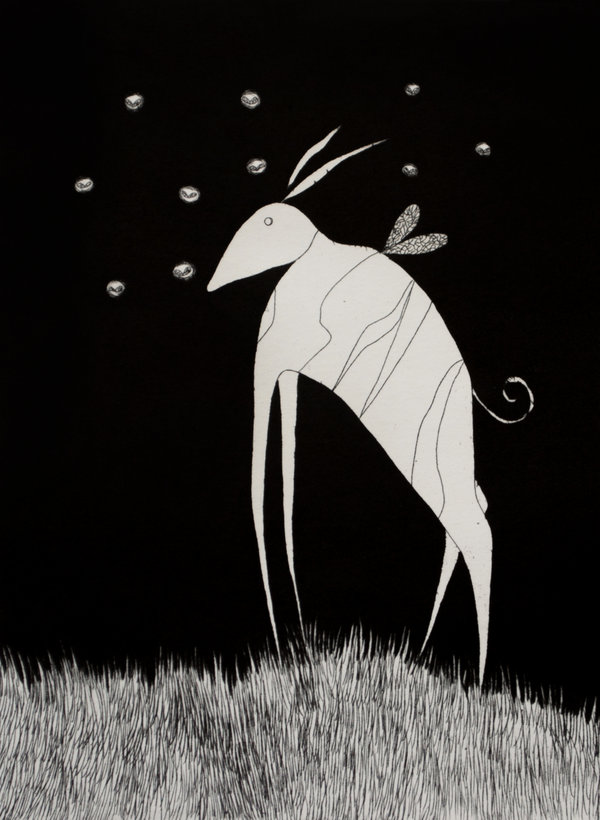
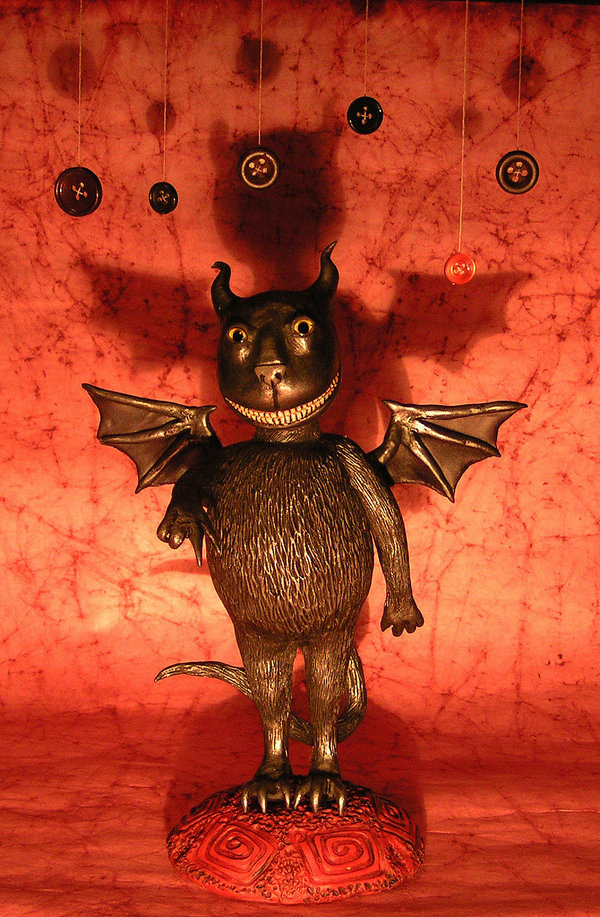
Drawings, sculpture, and digital art, all with a spooky edge.
Agorafobia
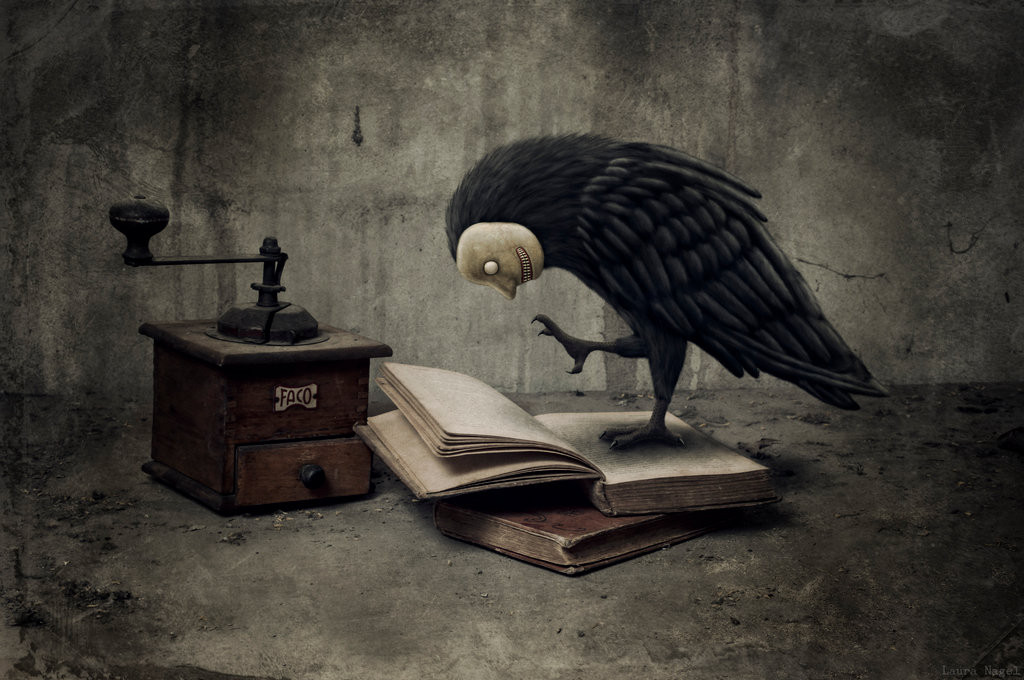
La receta
Even cheerful subjects emit an air of menace.
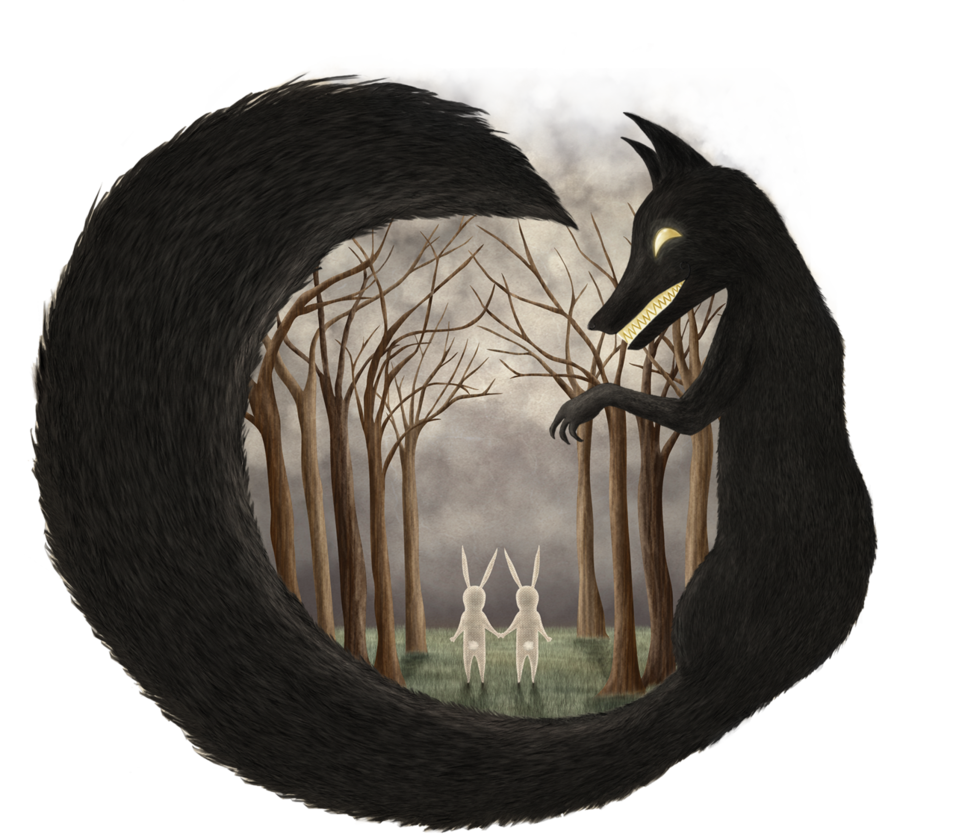
And They Lived Happily Ever After
See more at her DeviantArt gallery.
Flea
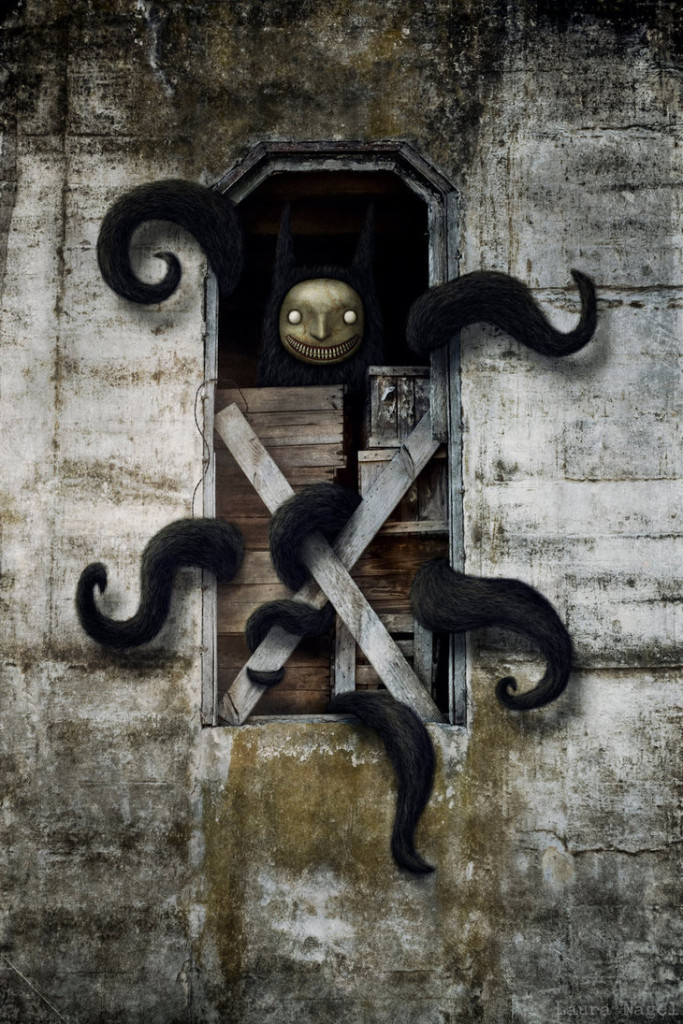
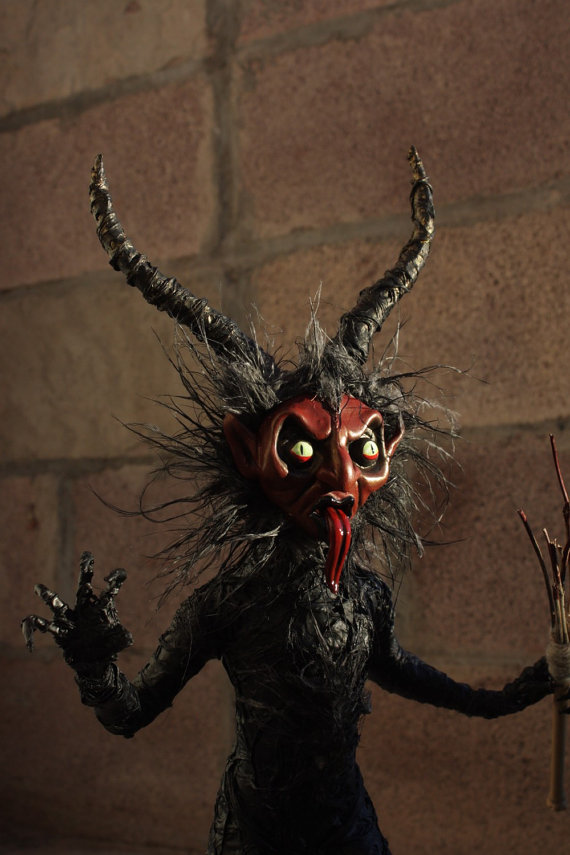
Energumeno
Drawings, sculpture, and digital art, all with a spooky edge.
Agorafobia
La receta
Even cheerful subjects emit an air of menace.
And They Lived Happily Ever After
See more at her DeviantArt gallery.
Flea
Energumeno
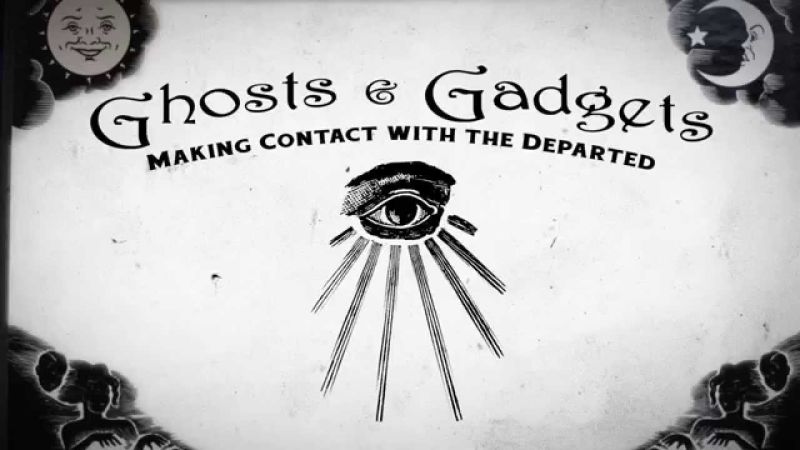
Morbid Anatomy’s wonderful mini-doc on the history of the Ouija board.

Gonna start easing back into a less craft-centric posting schedule.

Cal Redback
Gifs of George Redhawk
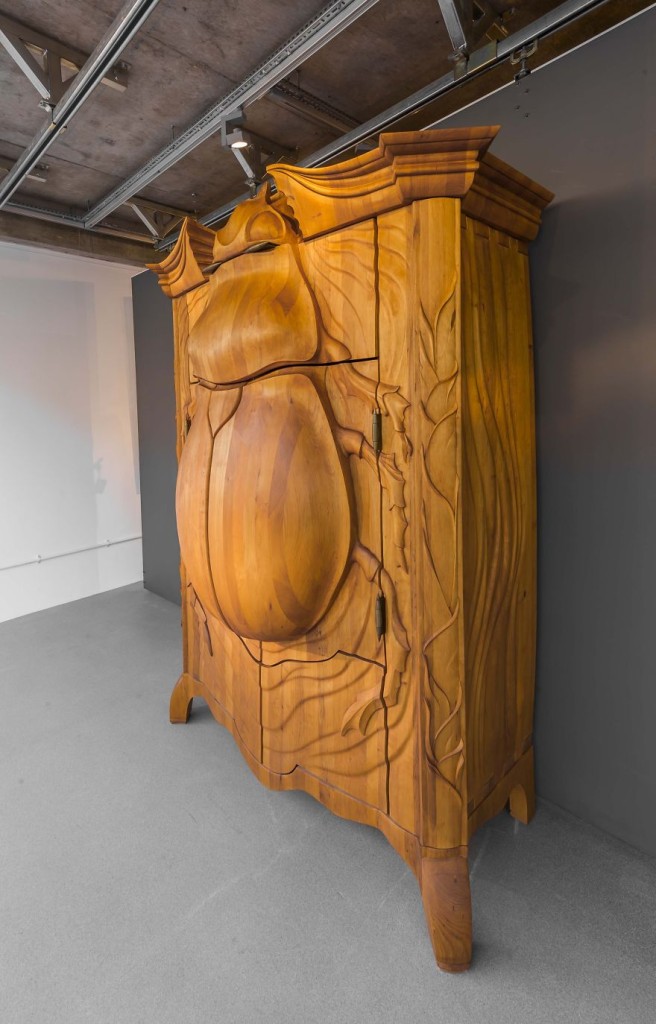
Giant Beetle Cabinet

Salina Turda, Underground Amusement Park
Chris Andrews

Abandoned Medieval Ghost Town

Goth Youtubers

Horrornaments
Spent yesterday cleaning, so today I thought I’d post a flashback to the my first Month of Spookdays, in 2011.

These Felted Pumpkins were a blast to make. I gave them away just last year as part of my October raffle. The post includes step-by-step photos. I love needle felting, but mostly I do pictures, not 3D modeling, so this was a nice change.
The bonus on that post is good, too. Think I’ll share it again:

I’ve been wanting to play with my Gelli Plate for ages, so I finally got it out. Then I remembered why it had been a while. For some reason, I get stuck when I’m trying to use it. I’m rarely happy with my results, and just feel like I’m burning through prodigious amounts of paper. So I did what I often do when I’m stuck: follow directions. Gelli Arts is one of my favorite Youtube channels. They have a hell of a designer, and I always find their videos inspiring. I decided this video on making transfer film with packing tape looked like fun (seriously, go watch–it’s cool), so I followed along, copying as closely as I could. I loved the results, so naturally, I had to do it again–with skulls.

I used my Dyan Reavely Skulls stencil, and followed the video again. I used all mica powder on the background of these. You can’t see it well here, but they have a great shimmer. I think the bottom strip is my favorite–the yellow bits are the mica powder.

So what to do with this sparkly largesse? Just so happens, I have a ton of pre-cut ATC paper. I even have some that is leftover from other sets, so it already has pretty backing.

I started by cutting the strips and attaching them with some gel medium. Of course I goobed–see that one with the smudge? I actually put that on sticky-side UP. Which is the wrong way. So I had to cover it with gel so I wouldn’t get mica powder everywhere. We’ll see how it turns out.

Next, I used light molding paste to apply a spooky stencil.

The paste and paper areas get a light wash of color. I love how this brings out the texture of the paste.

Shimmery paint, either Lumiere or Silks, is added just to the stenciled shapes. Because I didn’t want to lose the texture, I blotted the paint back.

Here’s the set, and I’m pretty pleased with them! I like the contrast of the slick Gelli Plate art and the organic molding paste.


Something a little different today.
I got my first monthly package from Evil Supply Co.! Eee! I filmed the unboxing:

Here is the last of the series, with a thoroughly gruesome poem snippet. Heh.
Supplies:
I lovelovelove the way the lace paper turned out. I may have to go looking for more of that.
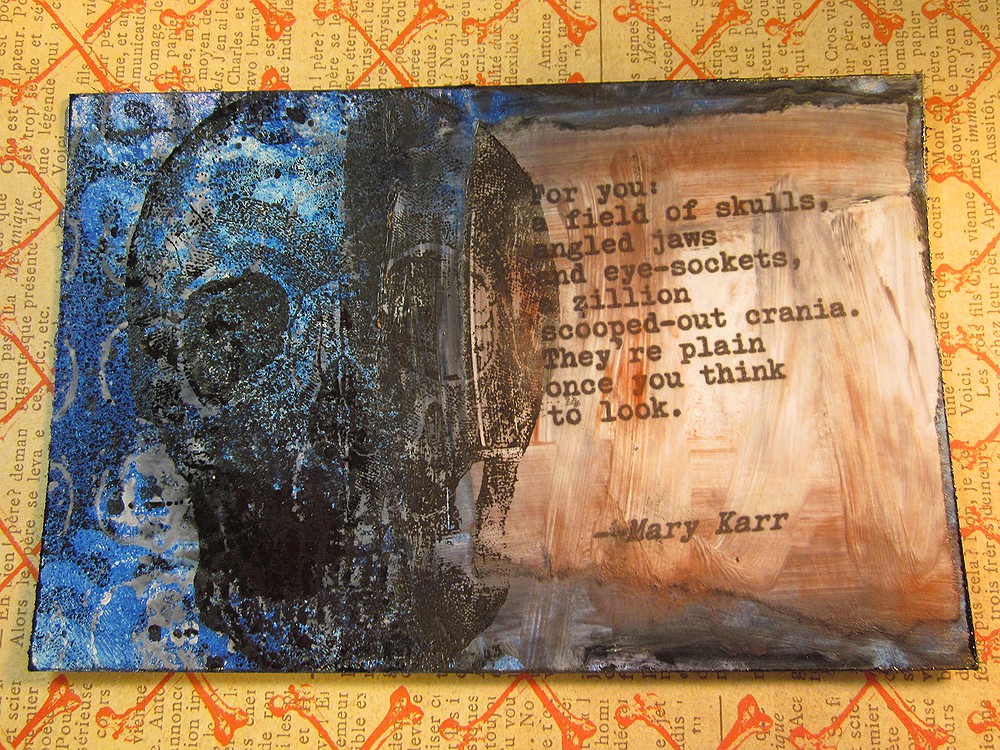
I can’t seem to decide if it’s “postcard” or “post card.” Ah well.
This is the card that went well, start to finish. Everything did what I expected it to do. Minor miracle, that.
I spent yesterday taping three videos at once. I would put the first card aside to dry, then film a bit on the next one. I thought editing would be a nightmare, but it ended up being pretty easy to separate them, and it was a lot of fun.
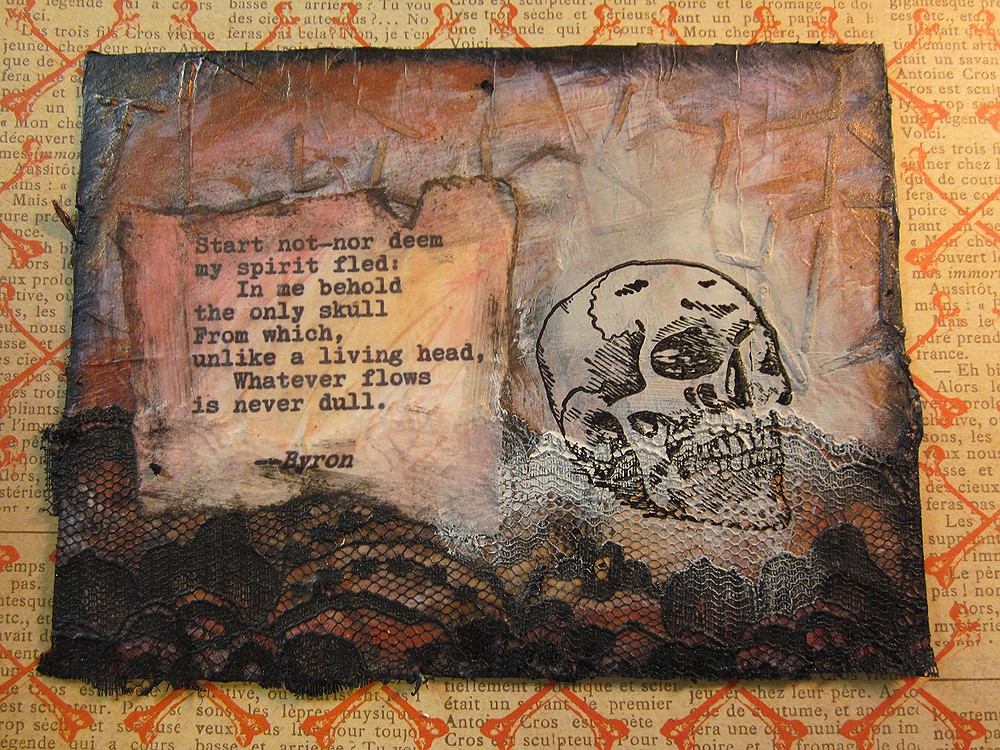
This is the first card I worked on, and also the last, because it gave me problems. So at the very end, you get to see what my work table looked like after I’d finished all three.
These are made with the extra board from the Raven card. Other than the lace, which is from my stash, here are the supplies:
Once it finally got unmuddied, I really liked this card. Hope y’all enjoy my little series.