Making Stuff

IMG_6458

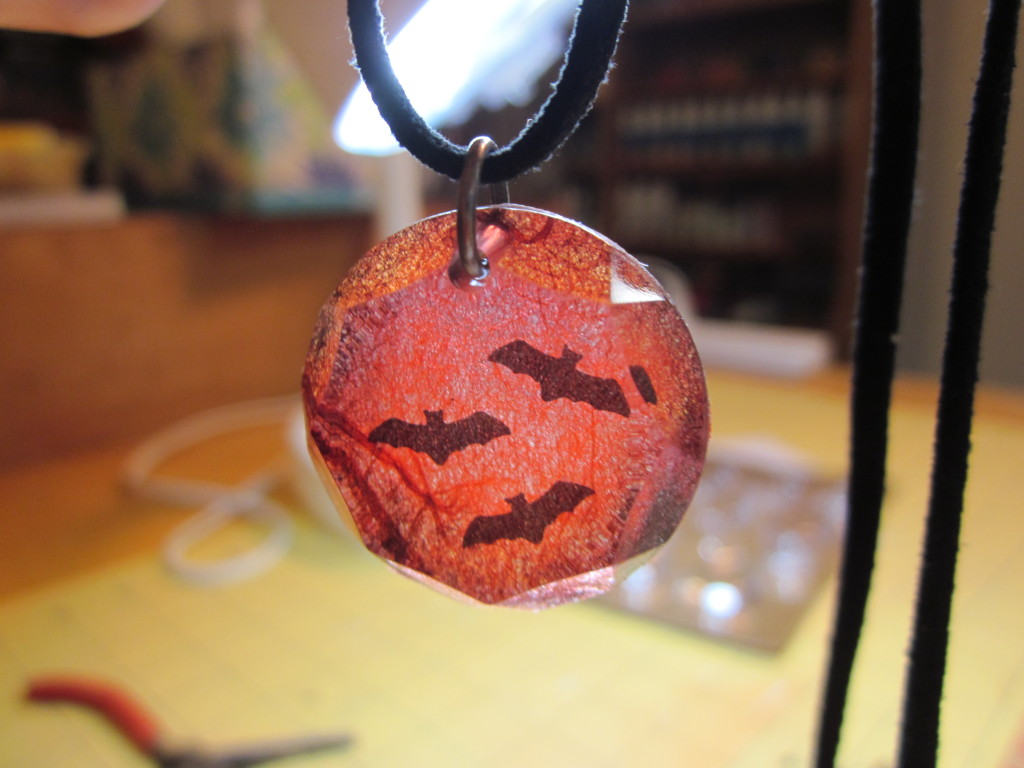
I picked up a mess of Tim Holtz Facets at Tuesday Morning for cheap, and I’ve been wanting to play with them. For this pendant I used:

  • Tim Holtz Facet, small round
  • Red handmade paper from Daigo Japan
  • Fab Lab Autumn Craft decoupage paper
  • Studio G bat punch
  • A Wink of Stella brush
  • Golden Fluid Matte Medium
  • Sakura 3D Crystal Lacquer
  • QuickStik
  • Distress Ink, Black Soot
bp 01

I always forget something in supply pics. This time: Distress Ink.

bp 02

To make my bats a little sparkly, I applied a couple coats with my A Wink of Stella brush. I love this thing.

bp 03

While that was drying, I ran a pencil around the Facet on my background paper.

bp 04

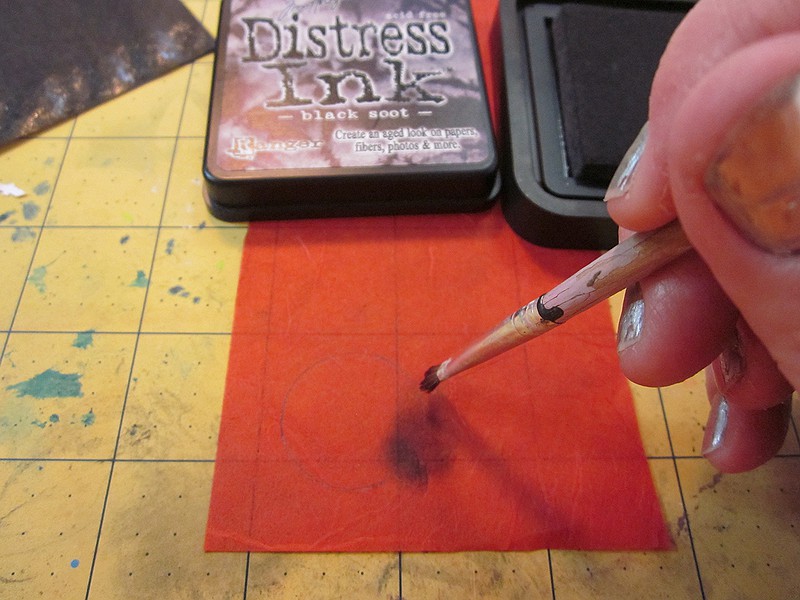
Using Distress Ink and a dry brush, I created a fairly deep vignette, so it would still be visible despite the strong facets on the pendant.

bp 05

Tissue paper doesn’t play nice with punches. You can make it behave by punching it along with a piece of plain paper. Then you verrrry carefully separate the paper from the tiny tissue shape. I punched out three bats, and made sure they were sparkle side down.

bp 06

I coated the entire back of the Facet with liquid matte medium.

bp 07

QuickStik is extremely handy for picking up tiny things. I placed the bats sparkle-side-down on the back of the Facet. I had to hold the bat down with the tip of my pencil and carefully lift the QuickStik, as the hold was a bit strong for itty bits of tissue.  Once the bats were arranged, I gently went over them with matte medium. Be careful not to move the bats around. Like I did.

bp 08

Making sure there was plenty of matte medium on the back, especially on the edges, I turned the pendant over and pressed it to the background tissue within the penciled guidelines.

bp 09

Working quickly, I applied matte medium to the back of the pendant, over the tissue, making sure everything was covered. With a damp fingertip, I carefully pressed the tissue, rolling my finger toward the edge, to eliminate any bubbles.

bp 10

I love how the back turns translucent. Now, wait for the pendant to dry completely. COMPLETELY. If you trim early, you’ll rip the tissue. Like I did.

bp 11

Okay, now you can trim. It’s easiest to do this right-side-up. Trim right up to the pendant edge.

bp 12

I applied a coat of 3D Lacquer to the back. I like this stuff because it’s very tough, and dries clear. I could have done a dome effect, but I like the thin coat better. It looks all artsy.

Add a jump ring (included with the Facets) and a cord, and you have a pretty sparkly bat pendant!
bp 13


sb 01

I have a rule about insomnia: after an hour of worrying about clowns eating me, I get up and do something. Last night, the clowns wanted to play with shrink plastic.

sb 02

Usually, I’ll use #6 plastic containers for my shrink film. This time, I wanted a white background, so I headed for my small stash of commercial sheets.  Everything except for the cat is stamped in StazOn Jet Black.

I used four stamp sets:

  • Mindscapes Halloween by Inkadinkado (pictured above)
  • Halloween Hauntings by Tattered Angels
  • Trick or Treat by Studio G
  • Beware by Studio G

sb 03

When I first stamped the cat (Tattered Angels), I had the hole by the tail, and it was so long it curled completely over and fused to the body. Oops. I went to re-stamp, and discovered I was out of white shrink plastic. I decided having a black cat would be cute, so I got out the White Opaque StazOn. I was right, it’s way cute.

sb 04

Once everything was shrunk, the blank backs looked sad, so I grabbed a damask stamp from Great Impressions.

sb 05

Now they’re as pretty on the back as the front. That’s an idea I’ll be going back to.

sb 06

Time for beads! Maybe. I was originally going to go lazy, and use stretch cord, but it wouldn’t work with the beads I wanted, so I rethought…

sb 07

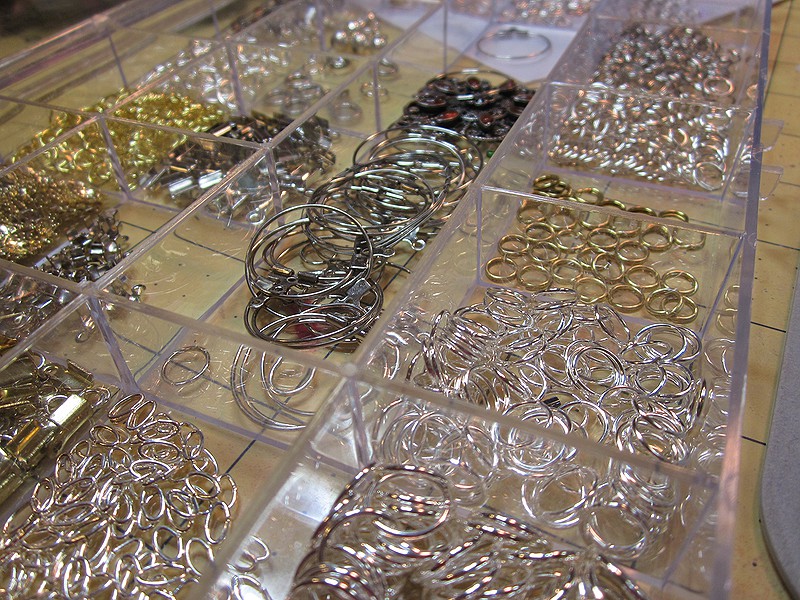
…and ended up building a charm bracelet from jump rings. It won’t be the strongest, so I’ll have to wear it carefully.  At this point it’s about 2:00am, and I probably shouldn’t be trying to put together patterns from recalcitrant bits of metal.

sb 08

This looked good, but ended up being four inches long. Sigh. I took it apart and re-designed, and got a decent start before I fell over at 3:00am.

sb 09

Yay! All done. I managed to get the “Trick or Treat” charm on backwards, but hey, it wouldn’t be me if something wasn’t cockeyed.  I absolutely love this thing. I’m keeping it forever and ever. Or until I catch it on something and the jump rings separate.

sb 10

cembook 01

After making the log book for the Screaming Grimoire, I wanted to try another book with French binding. Got the sophomore blues a bit, but I still had fun.

cem book 03

I started by cutting some 9×12″ drawing paper in half, as I only wanted a little book. Creased, folded, and nested, I ended up with four signatures of four sheets each, making a total of 64 pages. Now they get pressed under a brick for a day.

cem book 04

Then I had to do math. Luckily, it was easy. I wanted to start my stitch holes ½” from the ends, then I needed four more holes to make six. The final four ended up an inch apart. Yes, I had to use a calculator. Shut. Up.  So why the Scrabble board? I’d bought a few at thrift stores and garage sales to get the tiles. The extra game boards came in handy for building a punching cradle, and boy am I glad I did–though mine is simpler than the one linked. It makes the hole punching so much easier. Here you see the template I made, sitting over the signature that’s getting punched.

cem book 05

My cover paper is another thrift store find. Very pretty handmade paper new in the roll for $1.50. I win. It was a bit thin for this application, so I saturated both sides with matte varnish and let it dry. Didn’t make it a lot stronger, but good enough to fold.

cem book 06

Though as it turns out, not strong enough to punch. I ended up putting a strip of book tape on the bit to be punched. It will barely show when the book is finished.

cem book 06.1

Stitching the first signature to the back cover with some pretty blue hemp. It’s waxed, but I run it through Thread Magic anyway, because tangles suck. That big paper thing in the background is a paper-covered brick, to keep the pages in place while you stitch.

cem book 07

All stitched. A little sloppy, as you can see when you look up instructions for French binding. I didn’t realize it at the time, but one of my kettle stitches was loose, so the book was also kinda loose. Sad face.

cem book 11

Next, I put down some wax paper and glued the spine. Then I move the book back on the paper so no extra glue is touching, fold the paper over, and the brick goes on top to press everything for several hours.

cem book 08

So how this fold goes: you lay it down like it’s another page–that’s your endpaper. Leave a little skosh room that you’ll trim later, and crease and fold at the spine. Stitching happens after that. Once stitched, you fold the cover forward then back again, and trim the endpapers. The actual cover is those two pieces of folded paper….

cem book 12

….and that bit left on the end gets glued down to cover the spine.

Next, decorate the cover! I’ve been on a tissue kick, so I ran some different tissues through a die cutter, and made a little cemetery scene. Pieces were attached with matte medium, and the whole front cover got a coat afterward.

This was as much fun as making the first book. Of course I want to try it again, and actually get the stitching tight!
cem book 02


I’m feeling much better!
But I still lost several days blogging. 🙁  Gonna try to make up for it as soon as I can, but in the meantime, I direct you to Artful Evidence, where you will find a series of seven wonderful Halloween card videos. I’m definitely swiping some of her ideas.

Clipboard Image (9 October 2015)

One of Rachel’s. I may make something similar–love this technique.

card 4

Sorry for the posting break! I got knocked on my ass by a brief flu bug. I’ll try to catch up on my cards soon.

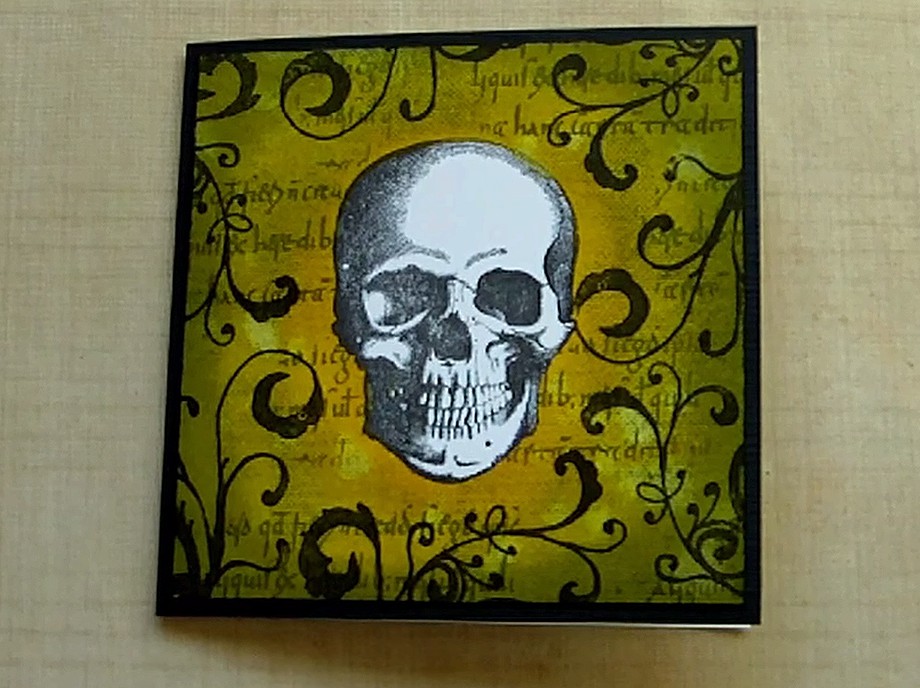
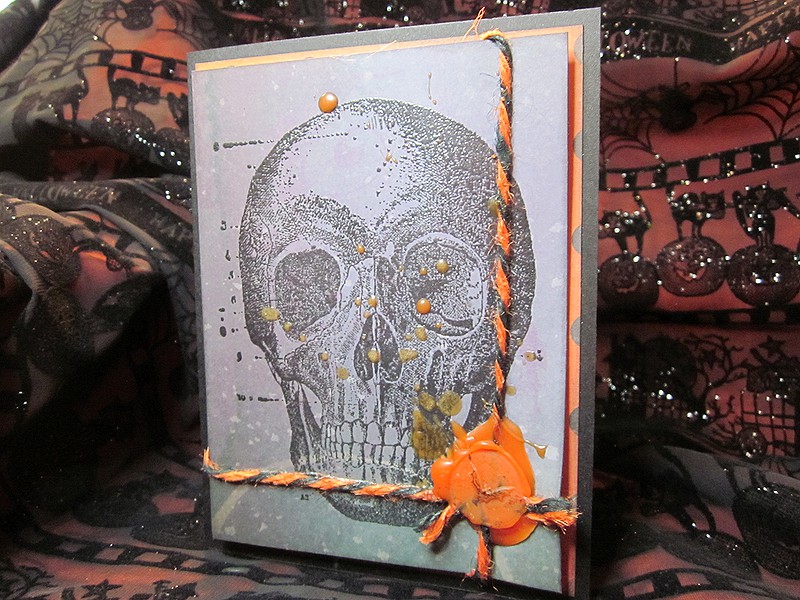
I made this card before everything went pear-shaped. I adore this stamp from Paper Parachute via Donna Downey Studios. It’s one of the new things I bought this year. So is the little bat seal and the sealing wax, which came from Letterseals. I love how this turned out, and I learned a couple things. One: it takes a lot of wax to cover a twine knot. Two: Sealing wax loves to catch fire! That’s how I ended up with all the wax splatters, but I like them, so it’s all good.

punkin card

So I was thinking my big October project could be a card a day. Except maybe not every day, because I have many other things to blog about. Then, each day I could send a card to some random spooky friend in my address book. That’s right, I know where you live. Well, some of you. I figure I have a head start, because like the witch card, this is a set of four.

Yup, I think that’s a good plan.

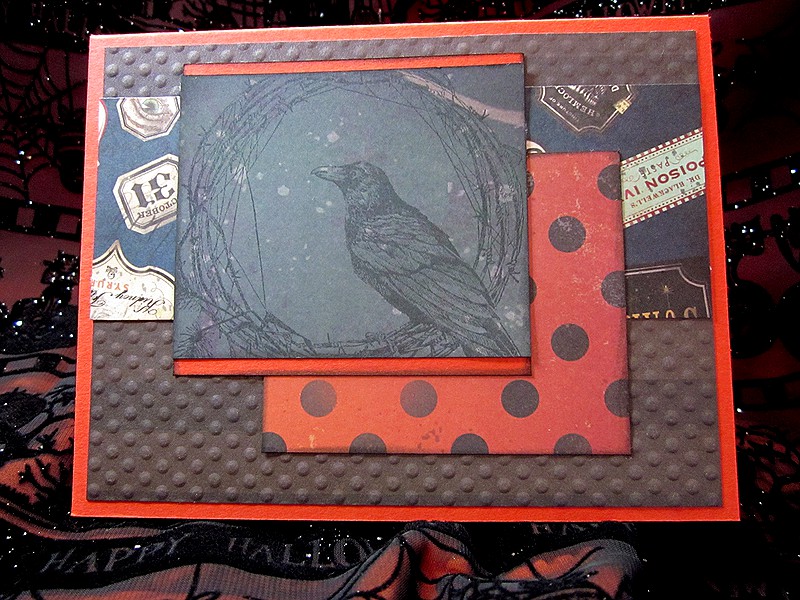
ToT card

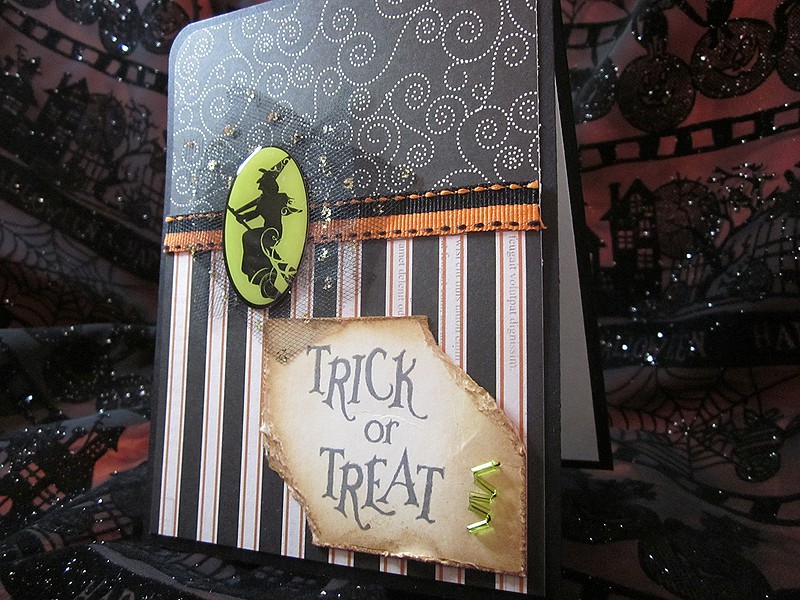
Here’s the first make of the season. It’s a set of four note cards, blank inside, with custom envelopes. I haven’t figured out how I’m giving things away this year, because I’m not sure how much I’ll do…

…which leads me to the why: I hurt my punchin’ arm.  It started a couple years ago, and I thought it was amongst the usual aches of aging. I tried lots of stuff to treat it, most recently adding special exercises to my usual workout. And if it were just me getting old, well, that should have been more effective.  Yes, I have an appointment with a highly recommended doc. So highly recommended that I can’t get in until November.

Painting, drawing, sculpting, carving–almost everything I like to do–is what makes it flare. So I’m limiting those activities to stuff I absolutely must get done. What I can do is stamp and glue and use my paper trimmer. I can even use my sewing machine. I can probably do other stuff I haven’t thought of yet. So this year, it’s paper crafts, fabric, and other assemblage-type things. I shall have to use my imagination, but I’m pretty good at that.