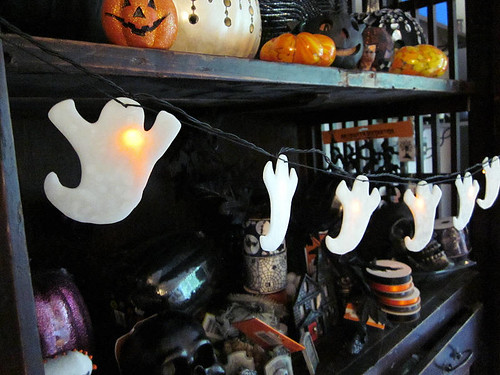
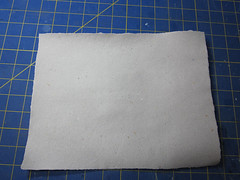
For my birthday, my wonderful Spousal Unit bought me one of these:
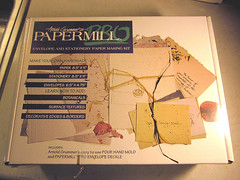
I managed to wait a few days, but soon, I couldn’t help but play. So here is my first piece of handmade paper!
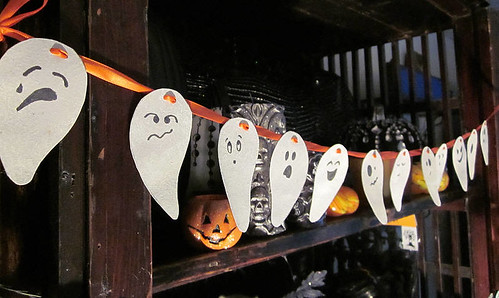
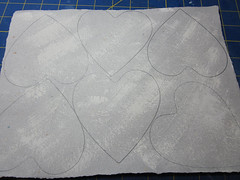
So how to make that spooky…
How about a little dry-brushing with off-white paint, then cut out as many large (4″) hearts as I can manage:
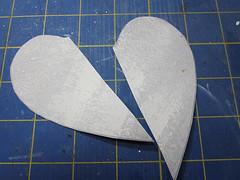
Wait, what? Hearts?! I’m not supposed to be making hearts for months! But there is a method to my madness. Cut those cute little hearts in half:
Then give them some shape. I usually just go wild with the scissors, but here I’ve drawn in the shape to show you what I’m doing:
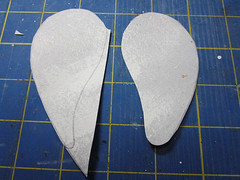
In case you’re still wondering, it’s a little ghostie! Next, the ghosties get cute faces:
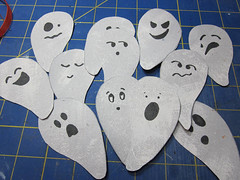
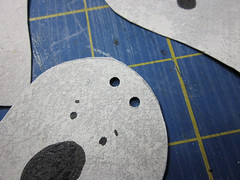
Then they get two little holes in their heads. They find this quite upsetting:
I had a dozen ghosties, so I cut off about 60″ of 3/8″-wide orange ribbon, and fray-checked the ends. While you can do without, this is much easier with a ribbon needle. String the first ghost starting from the back, then gently move it down the ribbon until it’s about 10″ from the end. Use all this moving to manipulate the ribbon so it stays shiny-side front.
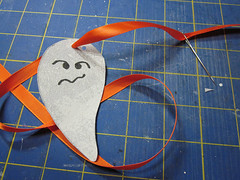
String the other ghosts, moving them gently, and keeping the ribbon shiny-side front, until they’re about 2″ from the ghost in front of them. All this moving is why you need a nice, heavy paper. Now string ’em up!
Linkies:
- Dave Lowe does a haunted house out of game board bits.
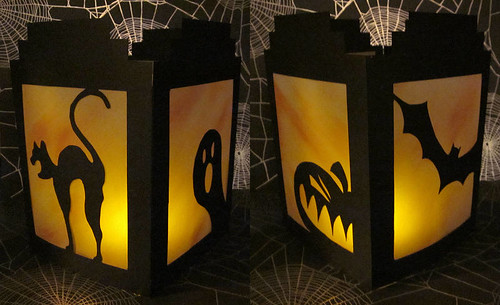
- I’m going to be using this soon: My Ghoul Friday makes creepy jar lanterns.
- Webspinstress collects a bunch of adorable bat treats.
- I’ve been looking all over for this! If you’re in the Portland area and in the mood for something kinda sweet and kitschy, head for Wenzel Farms Fantasy Trail. They do Christmas, too! I went a few years ago, and am in the mood to go again this year. I think that and Davis Graveyard will be my haunts for 2011.
Again via Art of Darkness, whose links I steal with utmost affection, comes Tim Burton’s first short film, based upon, and narrated by, his lifelong hero.