Spooky

Something I’ve noticed about most scary movies I’ve watched: there’s always at least one moment of sheer stupidity. I’m not talking about the coed exploring the basement at night, when the electricity is out, and she’s just heard a strange noise, and most of her friends have been killed. I’m talking about lazy writing so dumb it almost seems deliberate.

In the relentlessly unfrightening Ring Around The Rosie, Karen is packing up her grandparents’ home. A home so beautiful and bright, I doubt Wes Craven could make it seem menacing. Near the beginning of the movie, Karen and her boyfriend are entering the house. Down a hallway, there’s an obvious portrait of Franklin Delano Roosevelt. The boyfriend straightens it. “Is that your granddad?” He asks. “Yeah,” our heroine replies.  No, no I’m afraid that’s FDR, but no one could be arsed to get a more appropriate prop.


One of the most egregious and oft-used spots for lazy writing is that golden moment when a character looks something up on the internet. It’s an easy way to replace a sage-like character who answers questions, but the results are often laughable. In Paranormal Activity 2, which I actually enjoyed, the daugher, Ali, looks up hauntings and demons on the internet, and concludes that since the phenomena are “persistent” it must be a demon. Firstly, any idiot who has ever read a book about ghosts knows that hauntings are persistent. I suspect most idiots who haven’t read anything about ghosts are pretty sure hauntings are persistent. Secondly, if you google “ghost”, you get 479 million hits. Demon, by comparison, gets a measly 179 million. And since neither exist, you can bet there is a stunning amount of contradictory bullshit in those millions of entries. This is why I cringe whenever a character in horror gets on the intertubes. Okay, except for Willow, who always gets a pass.


My last example I totally suspect of being half-arsed on purpose, because they obviously had tongue firmly in cheek for the entire movie. The thoroughly enjoyable Insidious had all my favorite haunt film tropes, from Karen Black to seances to geeks with equipment. There is a moment with the latter where one of them pulls out a couple of army action figures from a packing box and says “Star Trek, first series. You should have kept them in the packaging.” No, seriously, they were army figures. Little guys in fatigues and helmets. I’d say that no one could be arsed to get a more appropriate prop, but it was actually pretty funny.

I’ll be watching more horror movies as the month moves along. In the hopper are Priest, The Rite, Excorcismus, and anything else I can dig up that strikes my fancy. No doubt each of them will have a special, stupid, can’t-be-arsed moment.
The Peculiarium
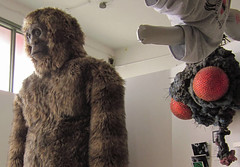
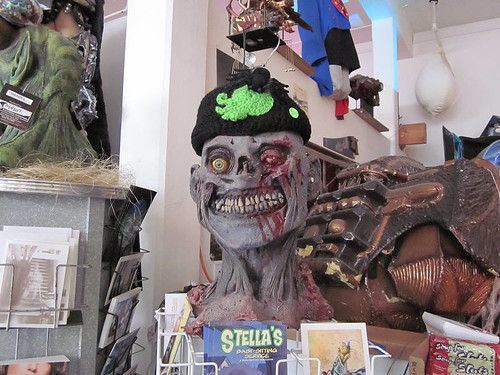
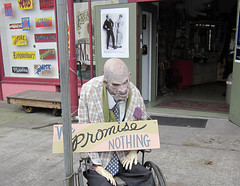
Yesterday, I discovered the existence of The Peculiarium. Naturally, I had to get there as quickly as possible. The door says “Est 1972”, but who really knows. What I do know is it’s a delightful little shop. There you can get a hot dog and some ice cream, as well as big foot candy and all sorts of other oddities.

The Peculiarium

There are horror scenes set throughout the store–devil babies in cribs and the ashy remains of a spontaneous combustion victim, to name a few. I should have taken pictures of some of those.

The Peculiarium

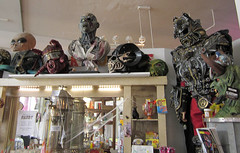
Instead, I couldn’t resist snapping a pic of bigfoot. The place is also filled with Halloween masks, and tons of offbeat art. It was Gesine Kratzner’s blog (she also has an Etsy shop!) that led me there. I was also taken with pieces by Dusty Genard.

The Peculiarium

Ultimately, I ended up taking home two things I can’t show you just yet. One is a birthday gift for a friend who reads this blog, and the other is a bottle of Bat Sweat, which will go with another project. I loved this little shop, and plan on dragging unsuspecting friends there. Or even suspecting friends.

Just a few things today:

Finally, here’s a classic.  Jerry Seinfeld on Halloween. “I can wear that.”

Felted Pumpkins

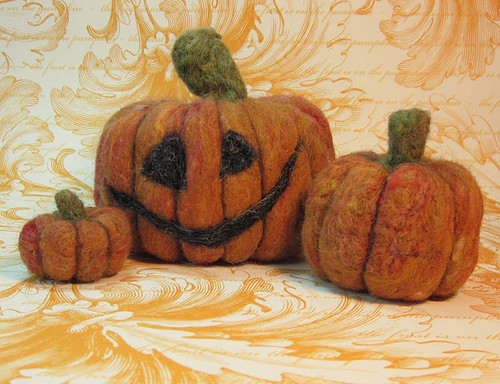
Him: It’s a little pumpkin family!

Me: I prefer to think of it as an evil pumpkin overlord and its minions.

Him: Of course you do.

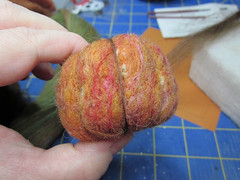
So I’m a little late posting. Forgive? I think these adorable little pumpykins are worth it. I had this beautiful wool/alpaca mix from a sheep farm in Nehalem that was just begging to be felted into pumpkins. I don’t do a lot of sculptural felting (as in, this is the first time), so pumpkins were a good, simple project.

For the smaller pumpkin, I didn’t use filling, but for the large (3-1/2″) and medium pumpkins, I pulled some alpaca out of this huge bag I got for a song. Illustrations are from the making of the medium pumpkin.

feltedpumpkin-armature

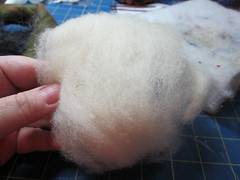
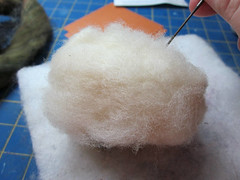
Here’s the wad of alpaca wool that became the center of the medium pumpkin. I wound it in an approximate pumpkin shape, then I started poking.

feltedpumpkin-armpoke

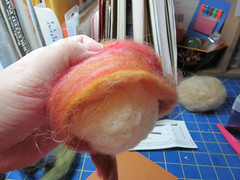
Once it was compressed a little and in the shape I wanted, I wrapped the armature in my colored roving.

feltedpumpkin-wrap

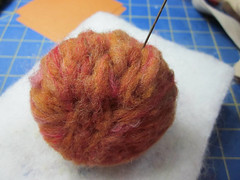
Then the poking, and the poking, and the poking. I go at least three rounds, compressing and shaping. I used a multi-needle tool on the ends to really smoosh them down, as they were stubborn.

feltedpumpkin-poke

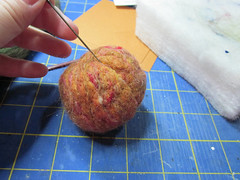
Once the pumpkin was compressed and shaped, I added indentations by poking in a straight line.

feltedpumpkin-indent

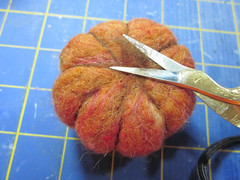
When the lines were done, I added a wisp of brown roving to accentuate, then I trimmed off the fuzzy edges and poked in what was left.

feltedpumpkin-brown

feltedpumpkin-fuzztrim

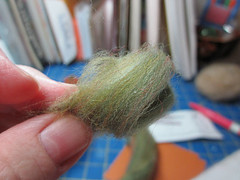
I gathered some variegated green roving for a stem, in a roughly stem-like shape.

feltedpumpkin-stemgather

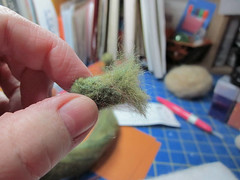
I poked and poked, mostly against my foam block so the small stem was easier to work with. Sides, then top, then all over again, leaving the bit of roving I was holding unfelted. This is the part of the process where I usually poke myself. When the stem is in good shape, I trim a bit off the end I’m holding, and spread it out like an octopus. I use this bottom part to attach the stem to the pumpkin.

feltedpumpkin-stemtrim

Voila! Pumpkin family Evil overlord and minions!

Linkies:

Finally, a classic with a twist. Here’s This is Halloween from The Nightmare Before Christmas, but the music is my favorite version of the song, by Marilyn Manson.

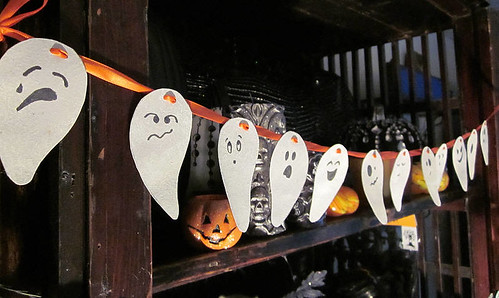
Paper Ghost Garland


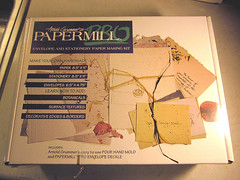
For my birthday, my wonderful Spousal Unit bought me one of these:

papermill

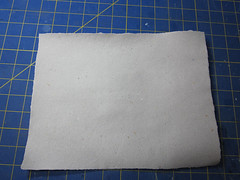
I managed to wait a few days, but soon, I couldn’t help but play. So here is my first piece of handmade paper!

firstpaper

So how to make that spooky…

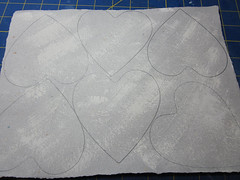
How about a little dry-brushing with off-white paint, then cut out as many large (4″) hearts as I can manage:

papergarland-drybrush

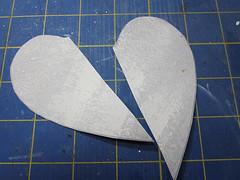
Wait, what? Hearts?! I’m not supposed to be making hearts for months! But there is a method to my madness.  Cut those cute little hearts in half:

papergarland-halfhearted

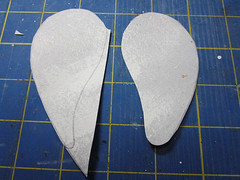
Then give them some shape. I usually just go wild with the scissors, but here I’ve drawn in the shape to show you what I’m doing:

papergarland-shaping

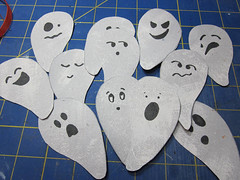
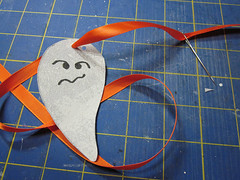
In case you’re still wondering, it’s a little ghostie! Next, the ghosties get cute faces:

papergarland-faces

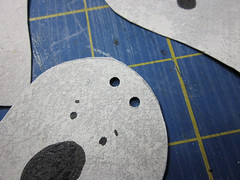
Then they get two little holes in their heads. They find this quite upsetting:

papergarland-punch

I had a dozen ghosties, so I cut off about 60″ of 3/8″-wide orange ribbon, and fray-checked the ends. While you can do without, this is much easier with a ribbon needle. String the first ghost starting from the back, then gently move it down the ribbon until it’s about 10″ from the end. Use all this moving to manipulate the ribbon so it stays shiny-side front.

papergarland-string

String the other ghosts, moving them gently, and keeping the ribbon shiny-side front, until they’re about 2″ from the ghost in front of them. All this moving is why you need a nice, heavy paper. Now string ’em up!

Linkies:

Again via Art of Darkness, whose links I steal with utmost affection, comes Tim Burton’s first short film, based upon, and narrated by, his lifelong hero.

Silhouette Lantern

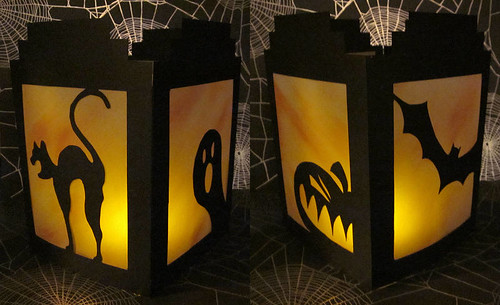
I’ve seen a few paper lanterns about, and they all have one thing in common: they are too complicated for me! When it comes to paper cutting, I must, of necessity, keep it very simple. I had a lot of fun putting together this easy paper lantern. If you like my design, I’ve created a couple templates so you can make your own. You will need:

Two sheets of black card stock.
A sheet of vellum, heavier weight is more cooperative.
Craft blades. I used an X-acto swivel knife and a straight knife.
Ink in orange and red. I used Tim Holtz Distress Inks in Spiced Marmalade and Fired Brick.
A tape runner like Tombow Mono adhesive. Don’t use a wet glue, like Elmers.
Bone folder or other scoring tool.

  1. Download the templates, lantern1.pdf and lantern2.pdf. I only managed to get score lines on lantern1, but it’s pretty easy to figure out. The templates are full size, the lantern being about 7″ tall when complete.
  2. Transfer the designs to black card stock and carefully cut out. I used a swivel knife and a straight X-acto. The side of the paper where you’ve traced and cut will be the wrong side.
  3. Score along the seam between the design panels on the wrong side of the paper, and along the attachment tabs (those big white lines on the first template).
  4. Use a cotton ball to apply streaks of ink (don’t use paint–too wet!) to your sheet of vellum.
  5. Cut the vellum into four pieces by cutting once crosswise and once lengthwise.
  6. Apply tape runner to the inner corners of the wrong side of the cat panel. Put tape runner on some of the edges of the design, like the tail, and a few of the straight sides of the frame.  Don’t run the tape all the way around, or the vellum may buckle.
  7. Lay the vellum down ink-side-in so it covers the frame. Repeat for the other frames.
  8. Give all score lines a preliminary fold toward the wrong side of the lantern. Lay the folds flat again for the moment.
  9. Apply tape runner along the outside edge of the wrong side of the cat frame. Carefully glue the tab on the ghost frame on top of it, lining the inside of the tab up with the outer edge of the cat frame.
  10. Apply tape runner along the outside edge of the wrong side of the pumpkin frame. Fold on all the scores (without gluing down that tab!) and stand the lantern. Glue the bat tab to the inside of the pumpkin frame.
  11. Done!

And now, links:

And here’s a darling little stop-motion animation to get you in a festive mood:

Bird's Nest Ghost

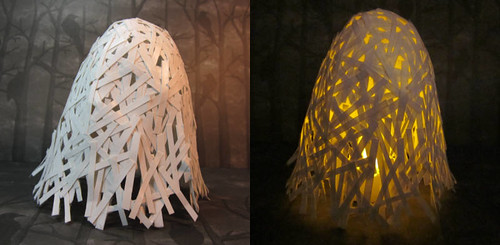
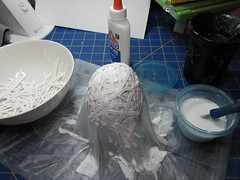
My fabulous in-laws sent me Home, Paper, Scissors, by Patricia Zapata, for my birthday. Of course the first thing I thought when I was looking through the book is: ‘how can I make this spooky?’ (Doesn’t every0ne think that?) The first project in the book (the one on the cover) is Bird’s Nest Bowls. She used plastic wrap, which I didn’t have. I use Glad Press N Seal, and it didn’t release quite as nicely, but that’s okay.  I also left more spaces in my ghost than she leaves on her bowls, because I wanted plenty of light to shine through.  There is a zen quality to Zapata’s work, and, at least on this project, carries through to the process. I felt like a very calm Saul Bass.

Bird's Nest Ghost in progress

Linkies:

Finally, another makeup tutorial, though all you’ll really learn from it is that it’s fun to watch this artist work:

Halloween Candles

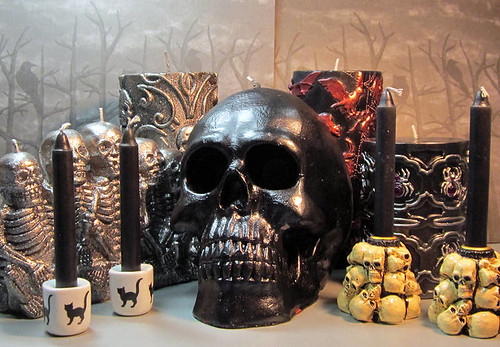
My current craft project is taking longer than expected, so tonight you get…a filler post! Here is my collection of Halloween candles. Most of them came from Michael’s and Target this year, both of which had lovely stuff. Those teeny kitties in the front came from a witchcraft shop in Ashland, Oregon. They were meant to harness the power of my cat familiar, or something. Crass me, I use them for decorative purposes.

Linkies:

Ghost Garland

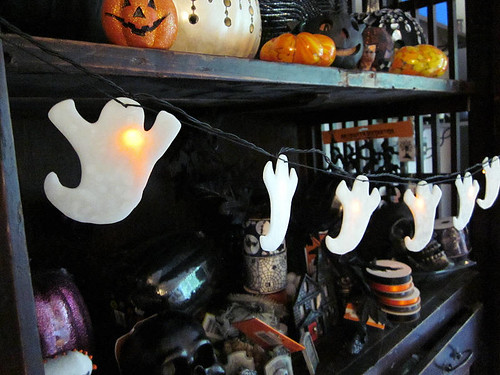
Sometimes, you do the project; sometimes, the project does you. I think I’d become over-confident, with a few projects going exactly how I wanted them to. Oh, not this time, boy-o!  First the clay, Cernit Translucent–which is normally well-behaved–was the consistency of sticky cream cheese. I think there’s more Armor-All in there than clay. Then my first stringing solution didn’t work, and the lights fell right out. I knew I’d have to knot. My brain, while it is often in knots, does not understand knots. Despite everything, it got done, and it’s cute, though unwieldy.  I will probably separate the ghosts and lights and just make a regular garland later.

Oh, and the background there is our antique cabinet with Halloween stuff strewn all over, waiting to be arranged.