Last weekend we made a pilgrimage to Lambertville, where Dolores Dragan, one of my all-time favorite Halloween artists, lives and haunts.
The first day was beautiful, so we decided to see New Hope, where we were staying, and save Lambertville for Sunday, when we’d have all day to wander. That was a tremendous mistake. The day started a little rainy, which never puts us off. We went into antique shops in the light drizzle. It didn’t take long for the weather to get much, much worse. Bad enough that even an Oregon native decided to travel by car.
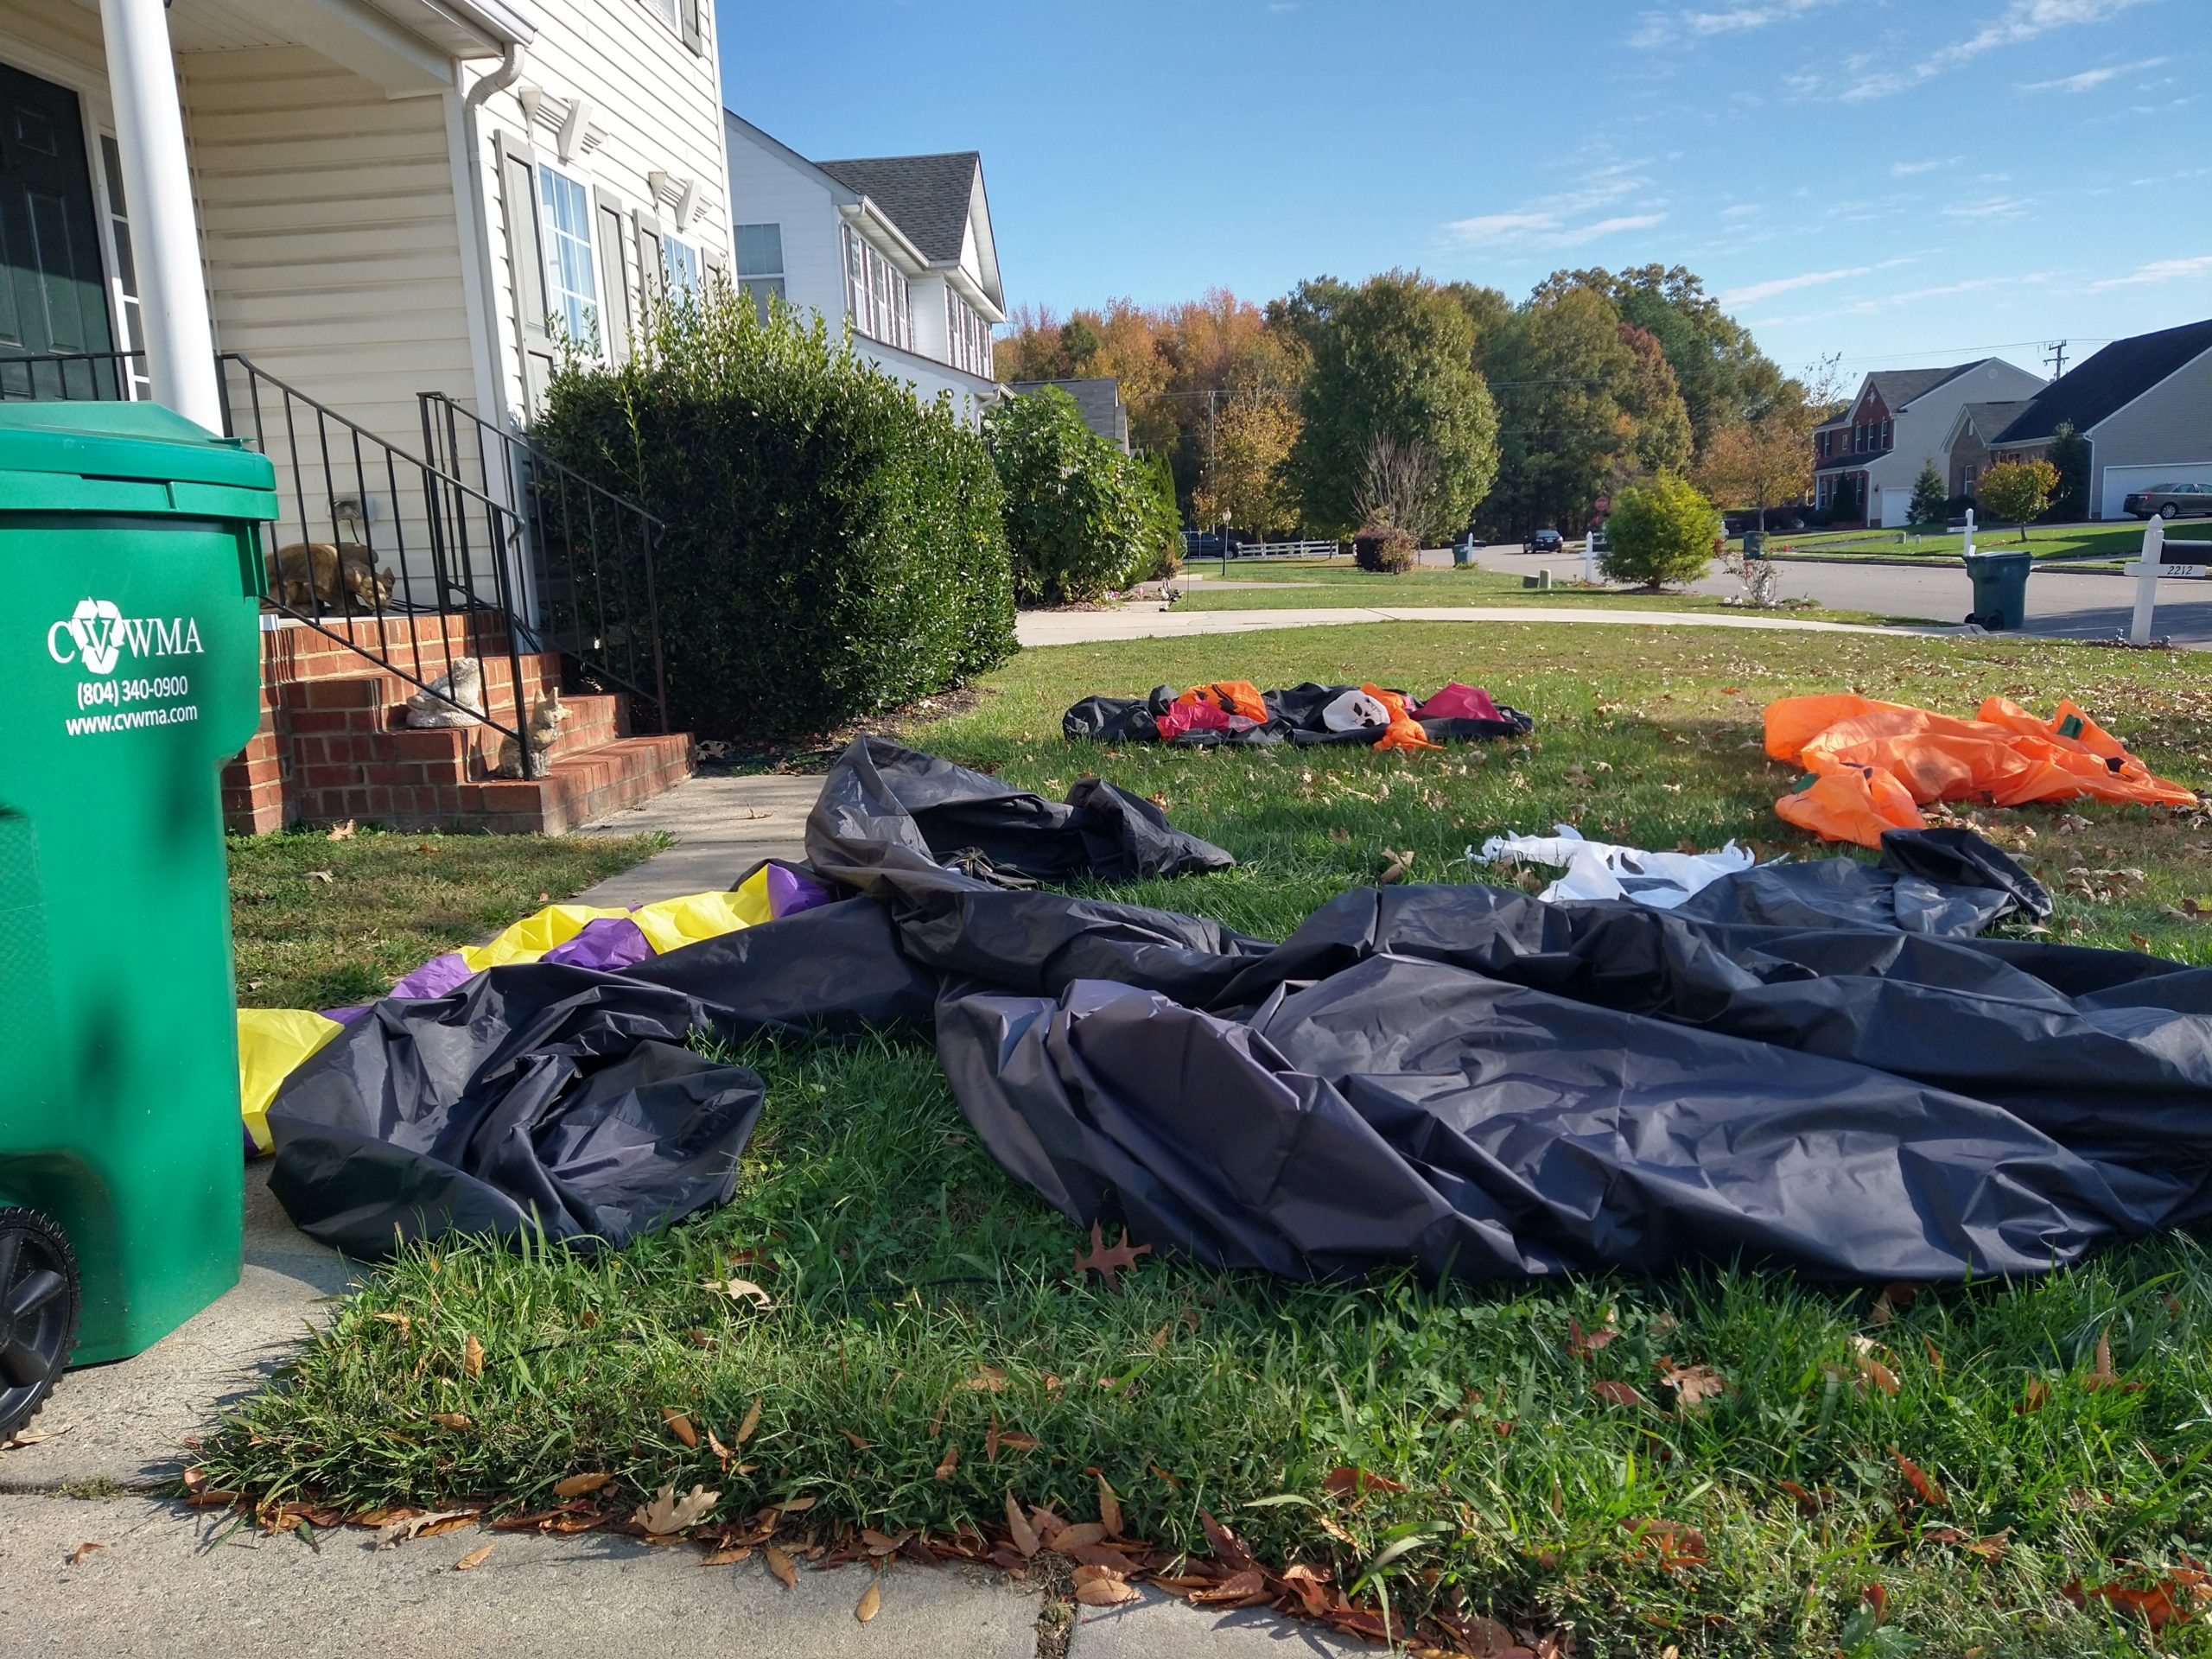
Despite the rain, I parked by Dragan’s house and took a bunch of pictures of plastic-draped figures. Wonderful, wonderful figures.


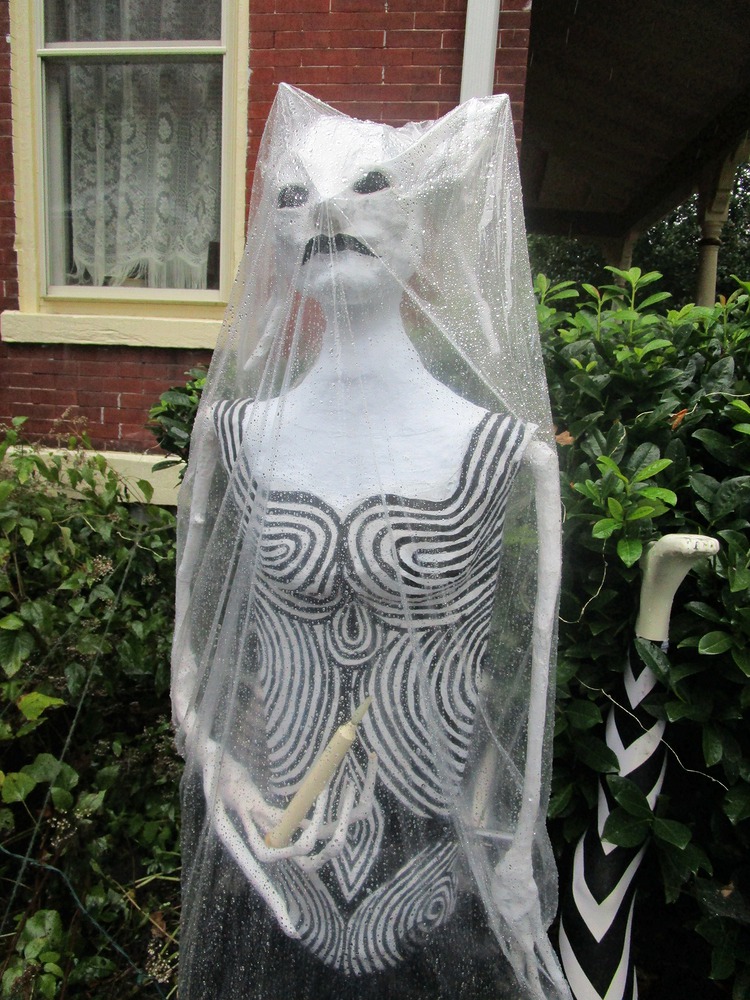

The display has expanded down the little walkway between her house and the neighbor’s, where Dolores has put up tented vignettes. These were also covered in plastic, but I discovered gaps in the draping at the corners, where I could just fit my lens without disturbing anything.


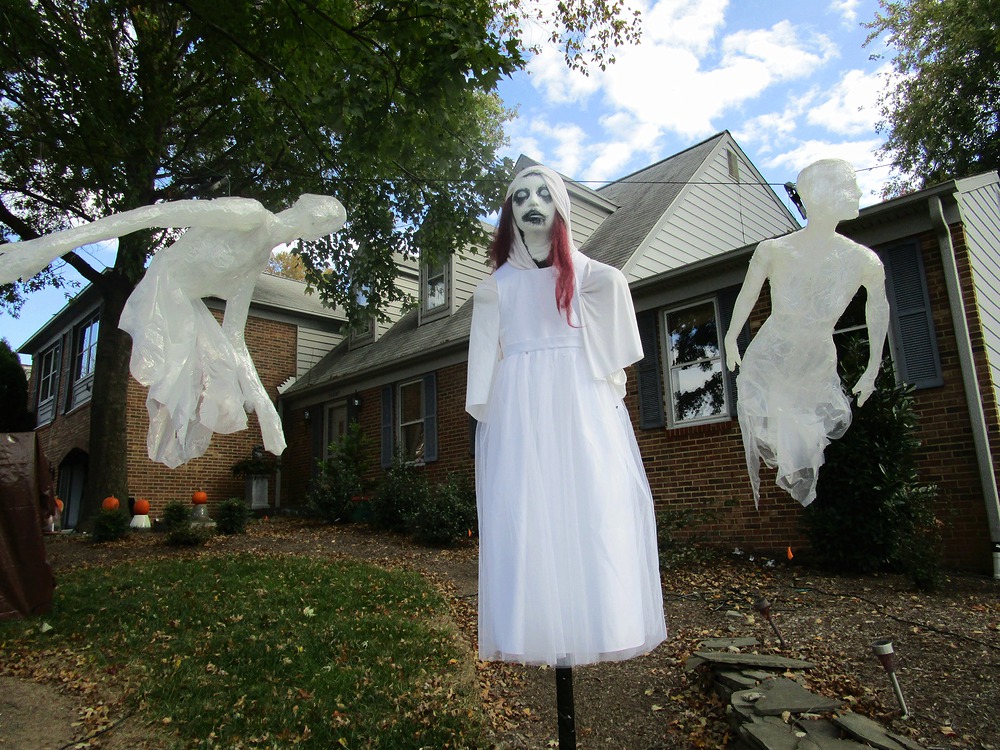
I don’t know what she calls everyone, but I think of this figure as “Mourning.”


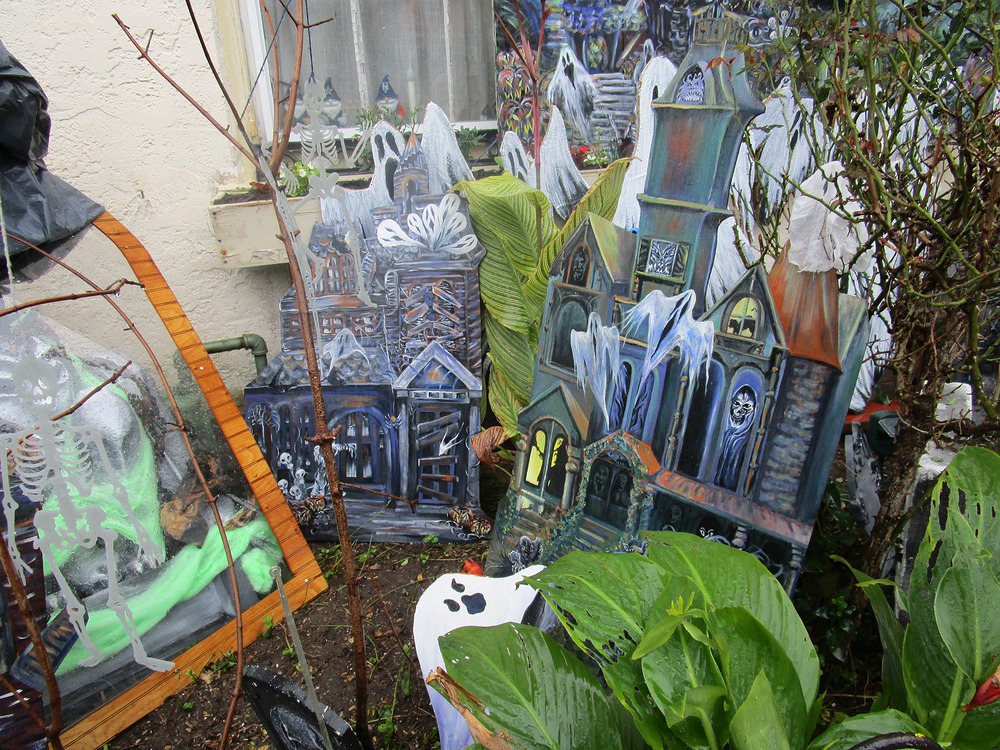
There are many great displays along N Union, but because of the weather, we didn’t stop to study much. I did go around a block and get back to this one with hand-painted decorations. I’m a sucker for the handmade stuff!


Since the weather was likely going to stop folks from lighting their displays, we headed on home. We may stop again next year on my next planned road trip…to be announced later.