It’s Secret Pumpkin time again, and this year my giftee was the Mistress herself, Jenna of Shadow Manor. Boy howdy did I have fun with this one.
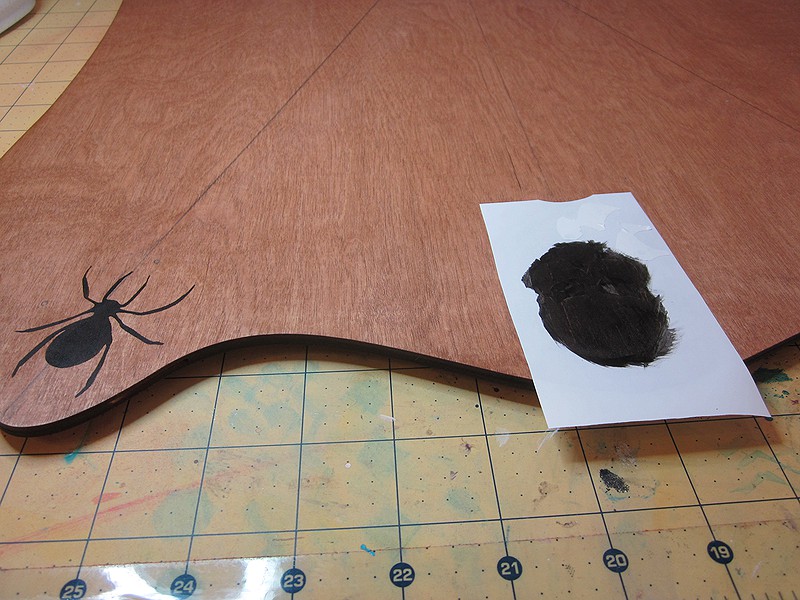
It started with a board from Laser Lizard. I didn’t take a picture, but you’ll see the whole thing later. I wanted to make stencils for the elements that repeated, so I started sketching flourishes on the edges of the board. Afterward, they were traced and imported to my Silhouette Cameo, then cut from Contact paper. After the board was stained, the stencils were carefully applied and painted in.
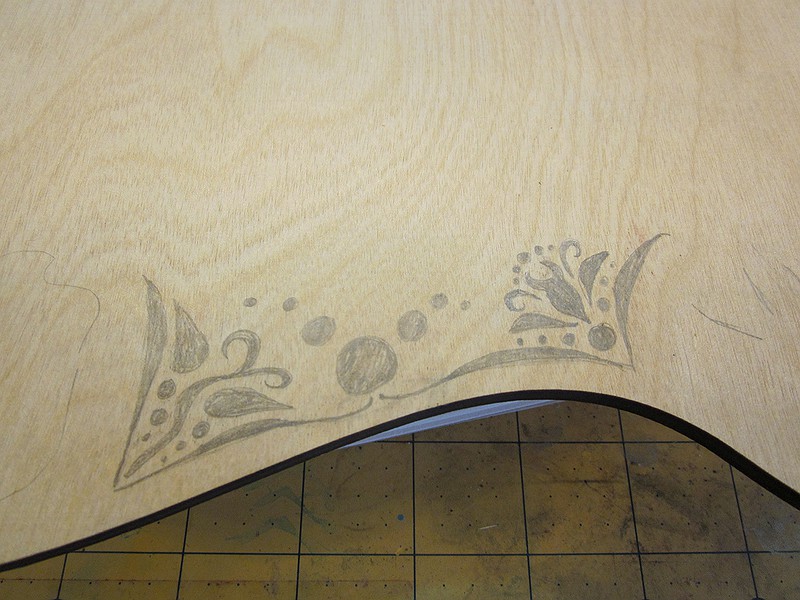
You can’t see them here, but the stencils included extra little circles for registration marks, so I could get everything where I wanted it. I cut the stencil from clear plastic, laid that down, then filled in the registration marks. Then I could line up the Contact paper stencil with the marks.
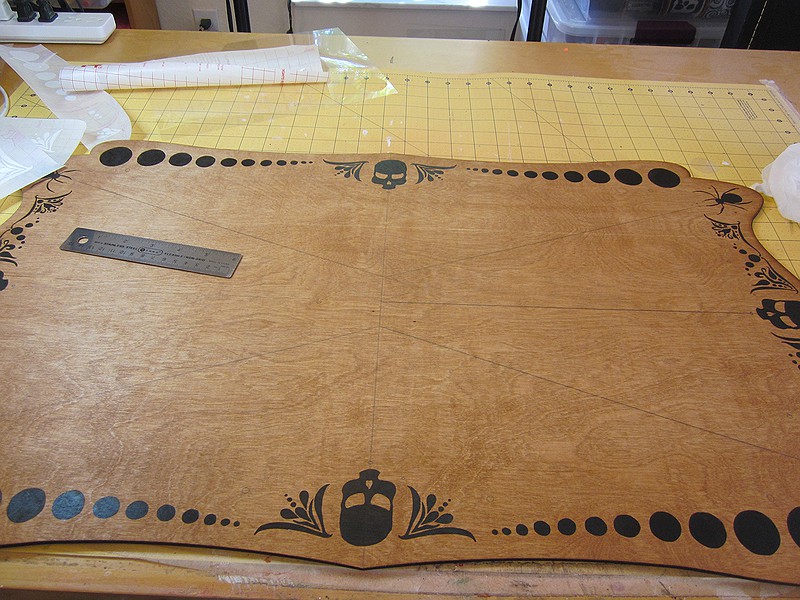
Here is the finished border.
Next, even more pencil guidelines, and out came the Montana Marker. I did some preliminary sketching, then went for it. NOTE: Do not use brush varnish with Montana Markers. Trust me on this. Spray is your friend.
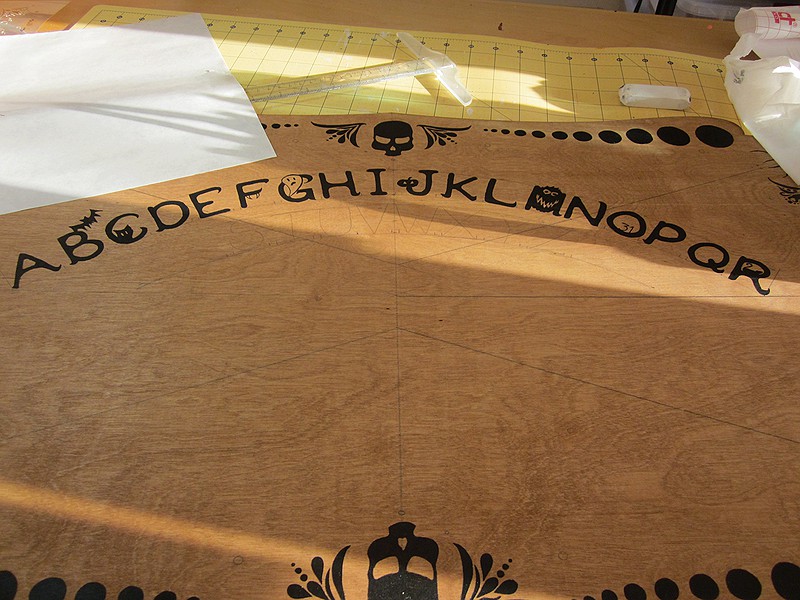
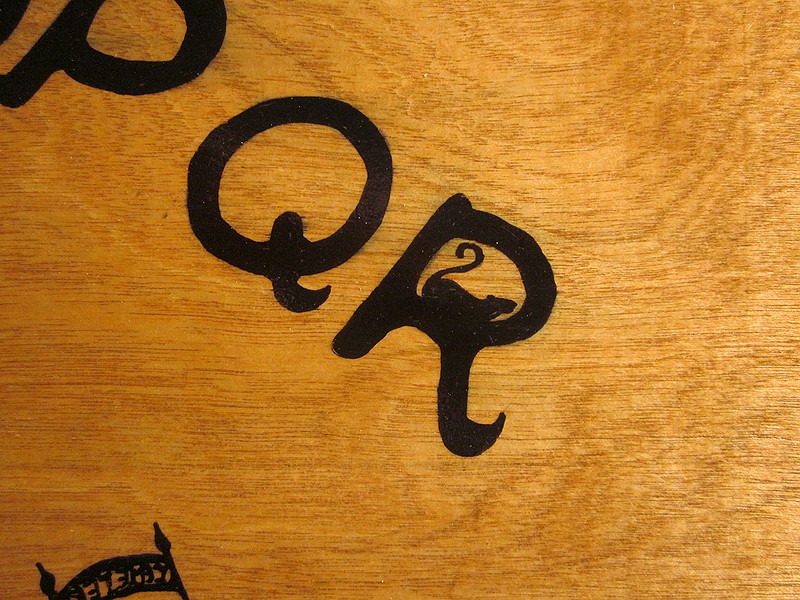
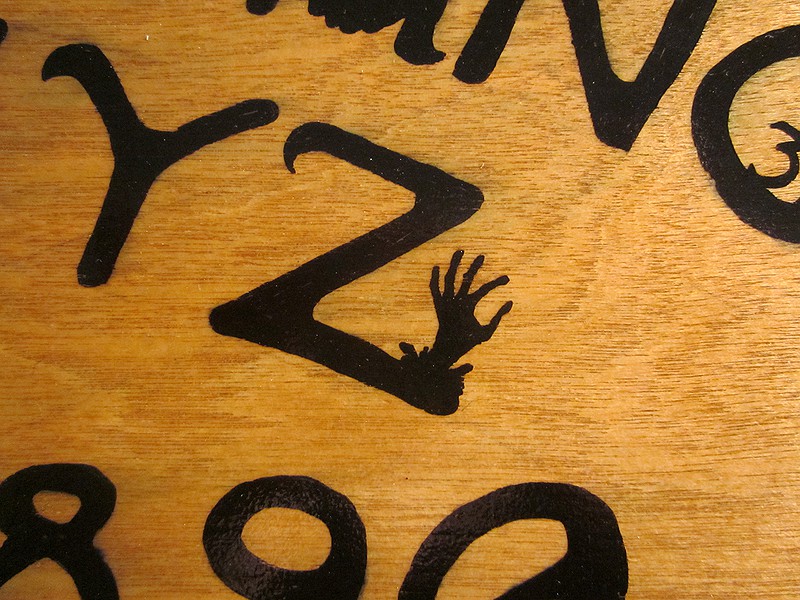
Some of my favorite bits from the alphabet:
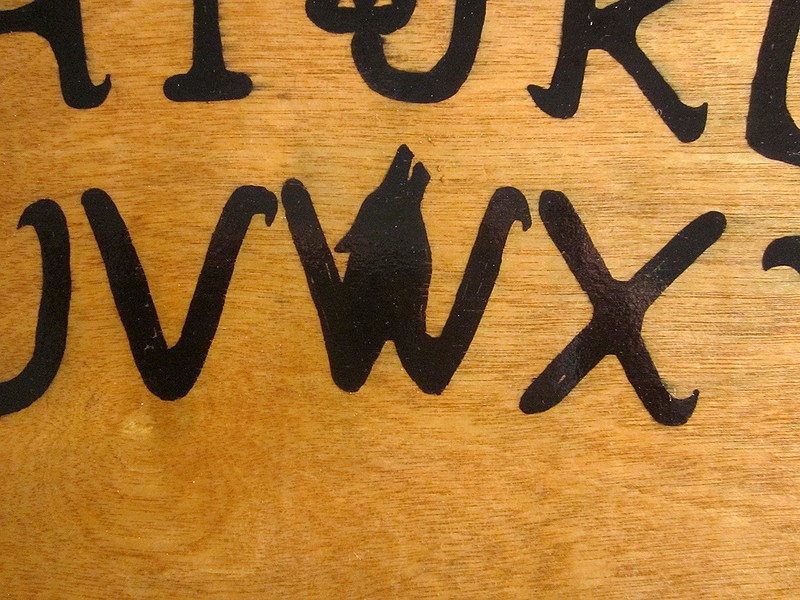
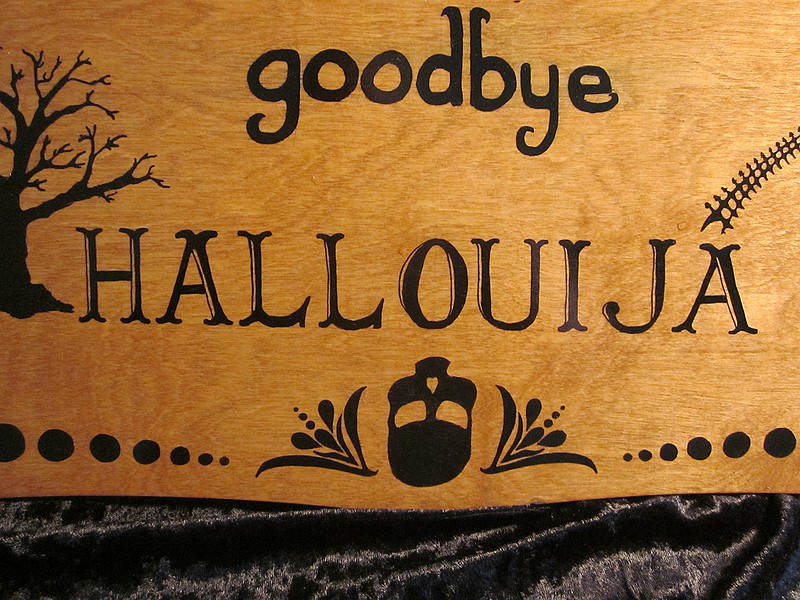
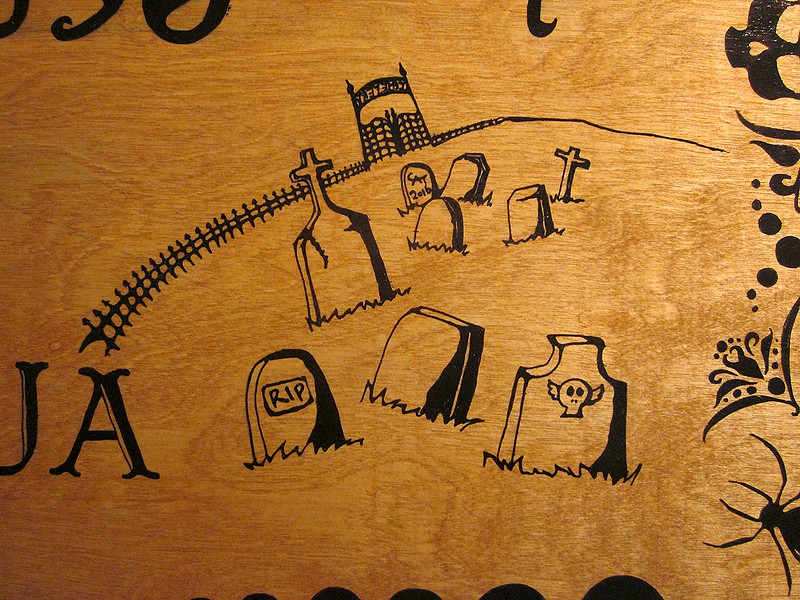
Oh, and the HALLOIUJA in the first picture is a nod to the font from the original Oiuja board.
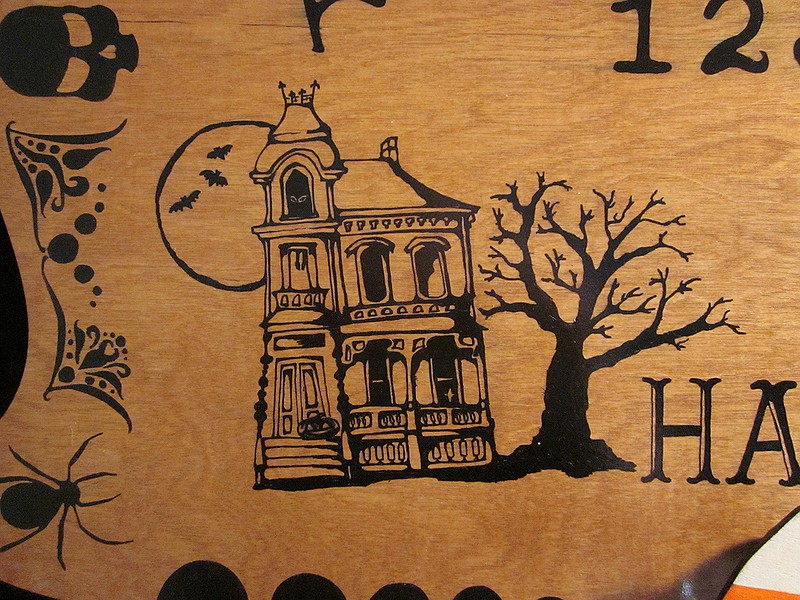
The main art pieces were a haunted house and a cemetery. Note how I snuck my signature on to one of the tombstones.
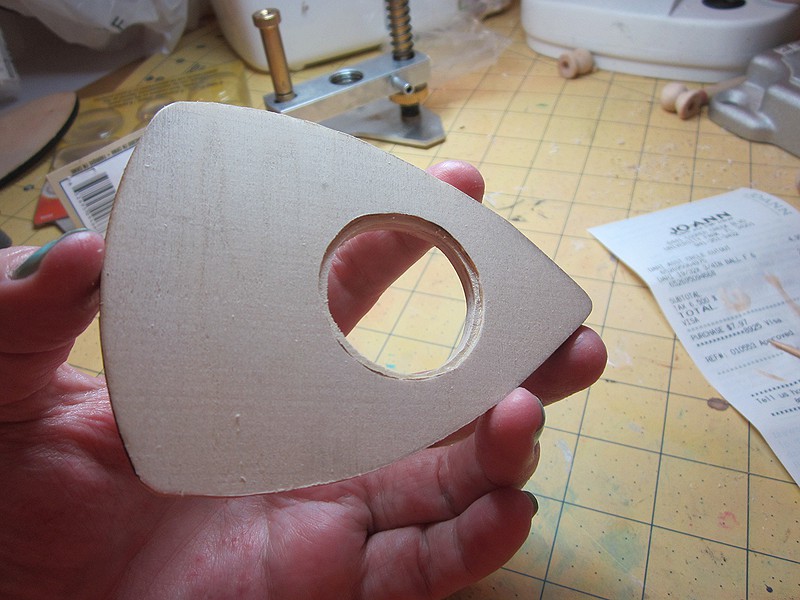
The planchette was a triangular wood piece that I trimmed down with a Dremel. I cut a hole and use a router bit to make a shelf to hold the lens.
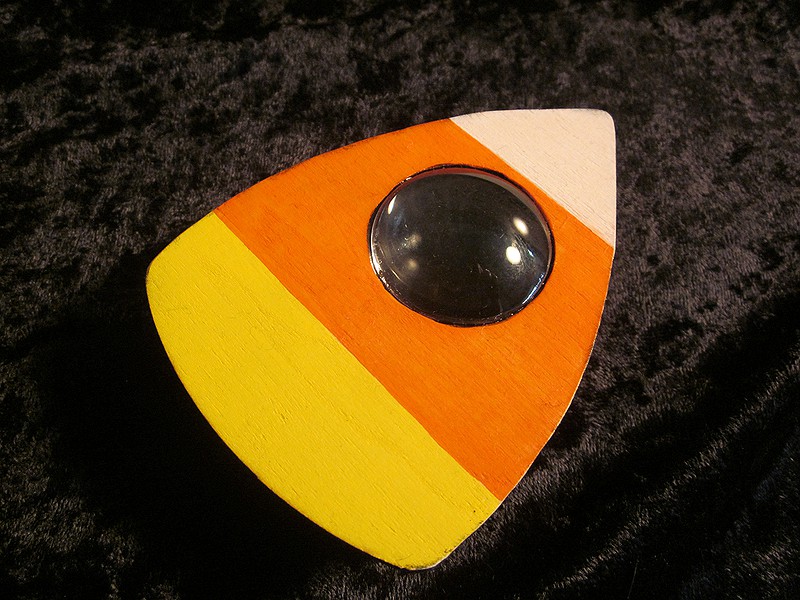
Feet were glued on, and felt added to the bottom of them. Then it got a candy-corn paint job.
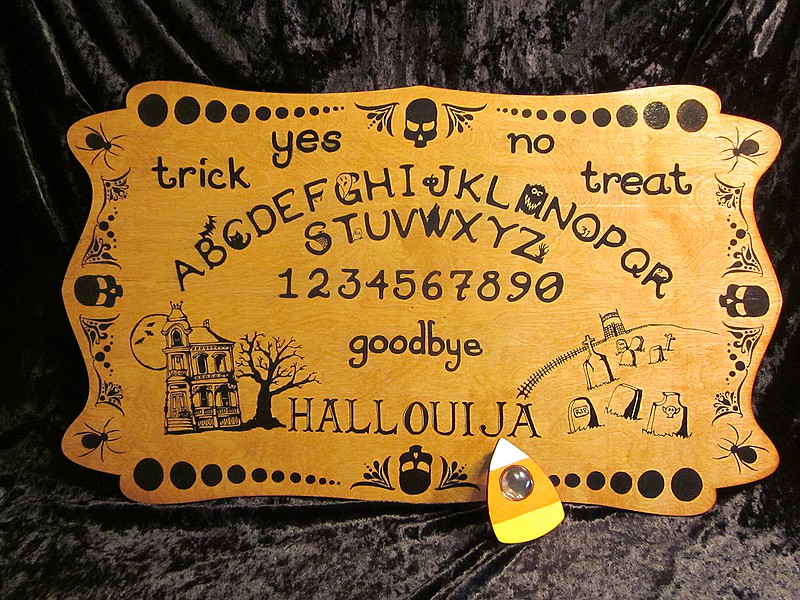
Here’s the whole shebang, with about a million coats of varnish. I didn’t take a pic, but I also made bags for the board and planchette using an extra vampire cape I had hanging around. Because doesn’t everybody have one of those?
This was massively fun, and it turned out pretty much exactly as I pictured it in my head. Sure, it may summon a demon, but it will be a very silly demon.