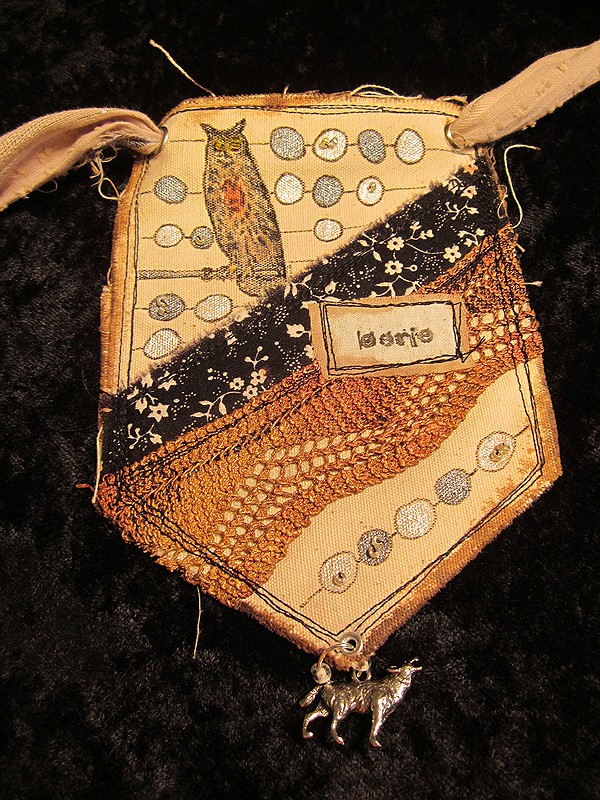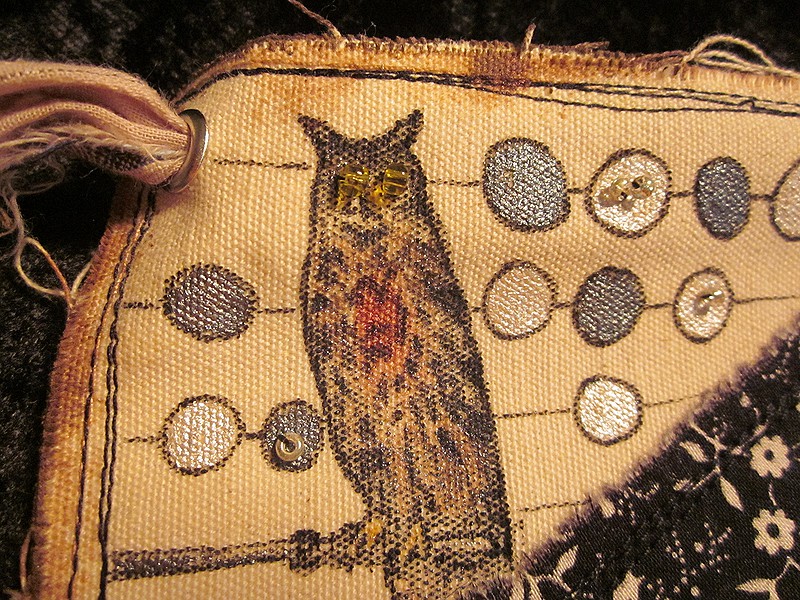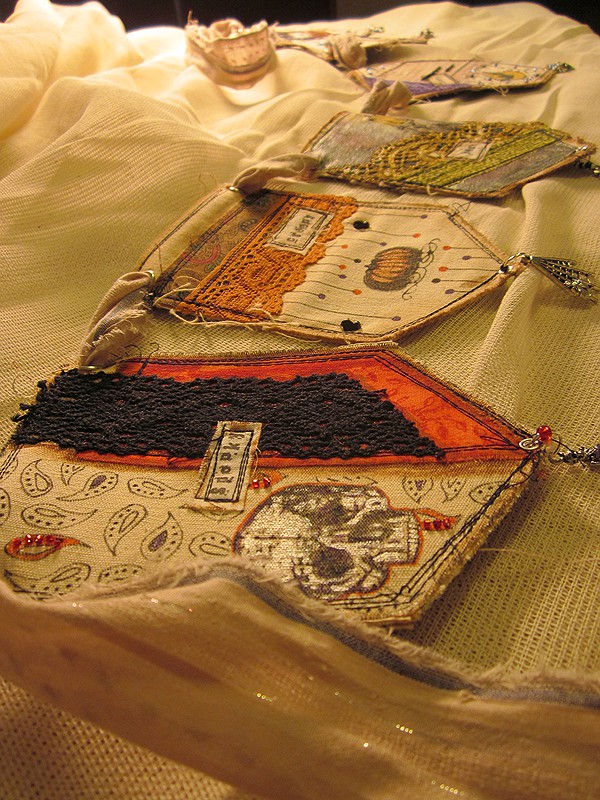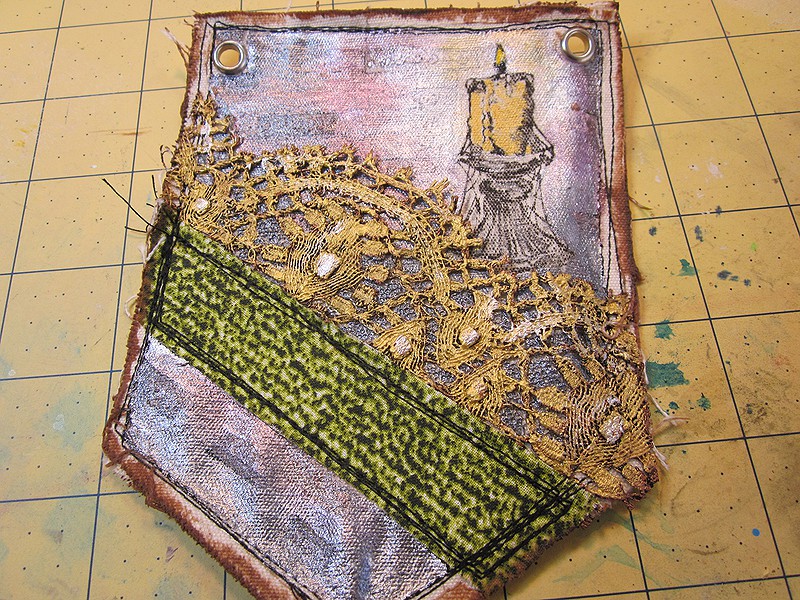

I think it was some kit subscription I dumped long ago that sent me this garland kit from Maya Road. It includes six canvas flags. They are nice and heavy, and pre-grommeted. I thought I’d make a garland! We’ll see how that turned out.

I wanted to use these Tulip Fabric Markers that I got when I was on a fabric painting kick. I grabbed a piece of muslin close in color to the flags, and did a swatch test. These are gorgeous and bright, and as long as there aren’t a lot of solid areas, they stamp well. Also, they don’t usually bleed.

You can only see a bit of my table, but lemme tell ya, half of my studio is on it. I grabbed stamps and ribbons and lace and charms…anything I thought might be nice on the garland. I chose some fabric, lace, a charm, and a stamp from Craftsmart. I stamped on paper first, so I could decide on placement.

Fabric is down with fusible interfacing, stamp is stamped. I grundged things up a bit, and started doodling paisleys.

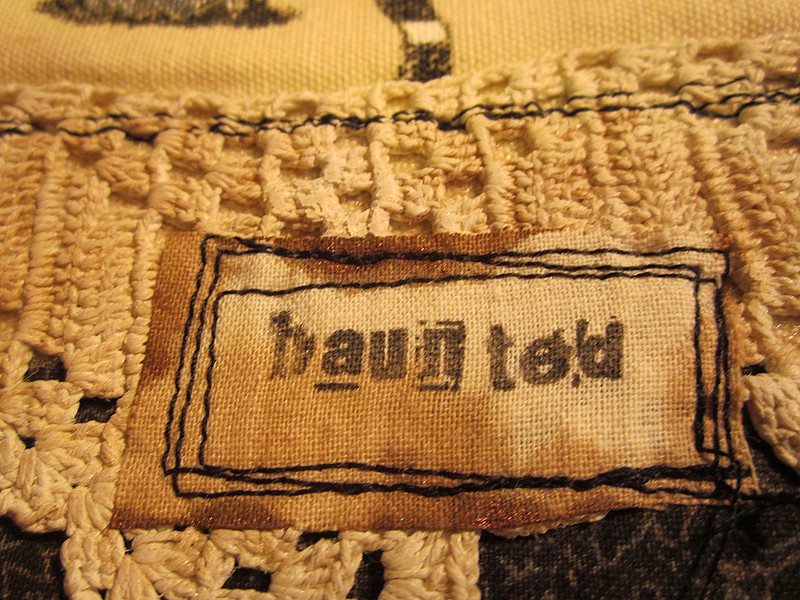
I had planned to get away with no sewing, but the flag cried out for it. I’ve added some color to the paisleys and the skull, and run around the red fabric and the entire flag a few times on the machine. Next, I used a Hampton Art letter set to add some text, and sewed around that, too.

A few more details on the paisleys. I decided the skull wasn’t standing out enough, so I added some Lumiere Pearl White. Of course, I took the picture before I added the paint, because I am a genius.

A few beads were required. I took out the red delicas from the last project and highlighted the red paisleys.

To cover my many sins on the back of the flag, I attached some cool fabric with fusible interfacing.

Last, a grommet on the bottom, a jump ring, and red beads to highlight the skeleton charm. The cord is just for taking pictures. I may or may not make this into a garland later.
See, this took me all morning. Like allll morning, so I decided one flag was good enough for today’s project. I love this, and I’m thinking six like it would be pretty cool, but that’s for later.


