I was browsing the craft magazine section at the local book store (we still have one!), and picked up a copy of Paper Art, which I’d never seen. Inside were several cool projects for making objects from paper. One quick, simple project appealed to me: an electric (yeah, please don’t put a candle in this) tea light holder made from paper and brads only–no glue. Because this isn’t rocket science–there’s nothing really proprietary here–I’m going to go ahead and share the instructions. I do encourage folks who like paper to pick up the magazine, though. It seems spendy, but it’s almost wall-to-wall projects.

Any opportunity to whittle away at my paper stash is welcome. Also, I like going through my pretty papers! I picked out a few sheets from my Halloween stacks.
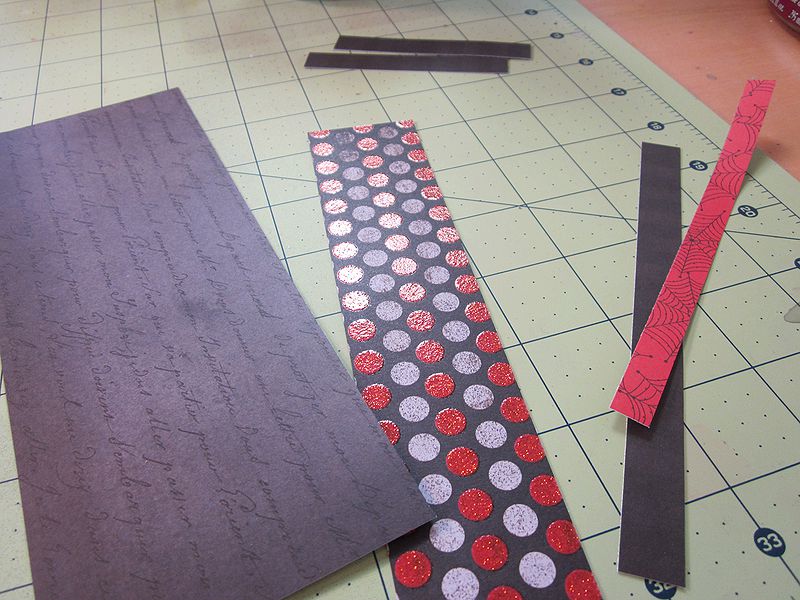
Time to cut. Here are the pieces you’ll need:
From cardstock–
- 8″ x 3″ rectangle, for the body
- ½” x 6″ for the handle
- 3/8″ x 6″ if you want a decorative strip over the handle
- 2 strips, ½” x 3¼” for the base
NOTE: Don’t make my mistake and use cardstock that’s white on the back. Color is better, just make sure you can still see your pencil lines.
Any weight paper:
- 8″ x 1½”, for the bottom decorative strip
You will also need 11 brads. I used 4 decorative ones and the rest small and black.
You can also punch out shapes to add to the brads along the bottom decorative strip.
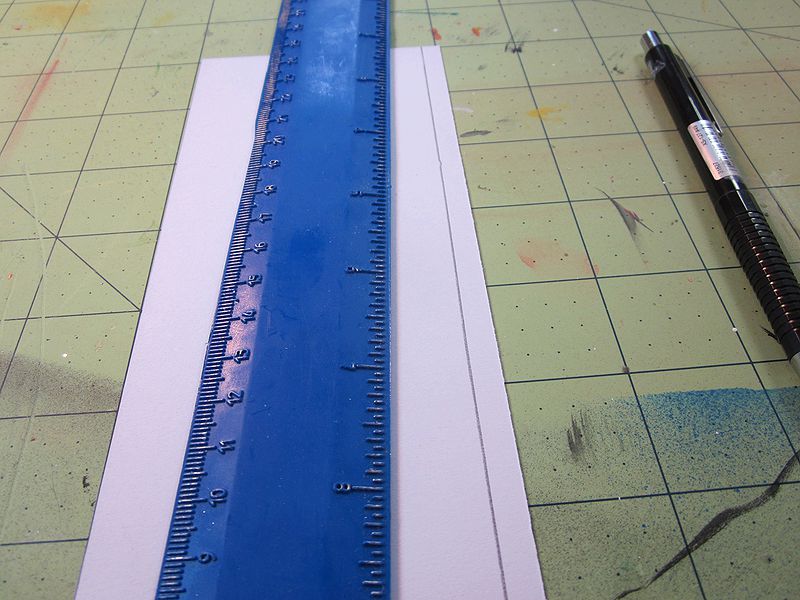
Next comes the measuring. I hope you will do a better job than I, as I got a bunch of stuff crooked and had to fix things later.
- On the back of the largest rectangle, draw guidelines ¼” in all the way around.
- On the back of the smaller, 8″ x 1½” rectangle, draw a line ¼” from one long edge, and ½” from the other long edge.
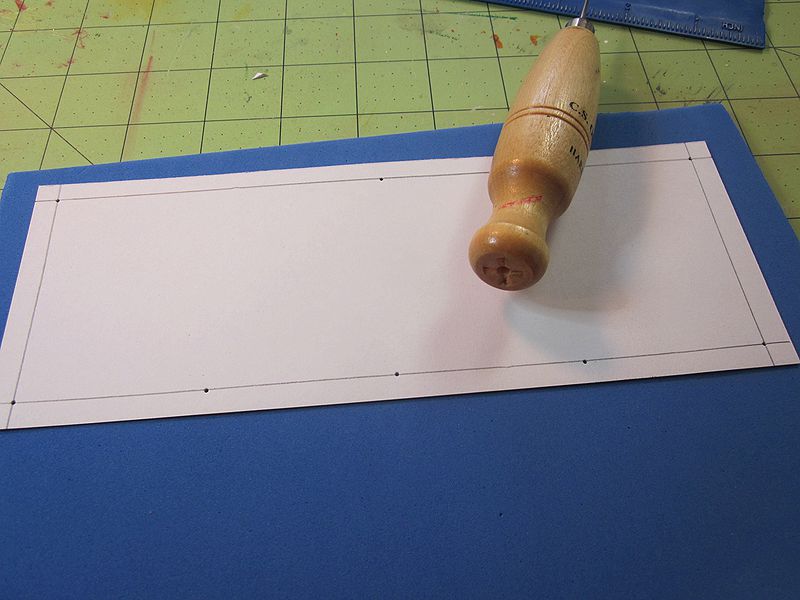
Next, get out that awl or small hole punch:
On the large rectangle–
- Punch holes at each corner where the guidelines intersect.
- On both long edges, punch a hole in the middle of the line. Same with the short edges (my picture doesn’t show these, because she forget them in the instructions. Ahem.)
- Decide which long edge is bottom, and measure and punch 2 holes evenly spaced between the outer and middle holes.

On the small rectangle–
- Align the ¼” line of the small rectangle underneath the bottom line of holes of the larger. Punch through, duplicating the holes.
- On the ½” line of the small rectangle, measure 1¼” in from each short edge and punch a hole. In between these holes, make 2 more evenly spaced holes.

- Connect the large and small rectangles with three brads in the center holes. You can go either way, but I put the larger rectangle on top.

- On the 2 strips for the bottom, measure in ½” from both edges, and fold at to make a 90-degree angle. Yes, that’s paint on my hands, a result of working on three projects at once.
- Punch in the middle of the square you’ve made.
- Attach one end of the strips to the first two bottom holes on the small rectangle. This is where I used a fancy brad, for decoration.
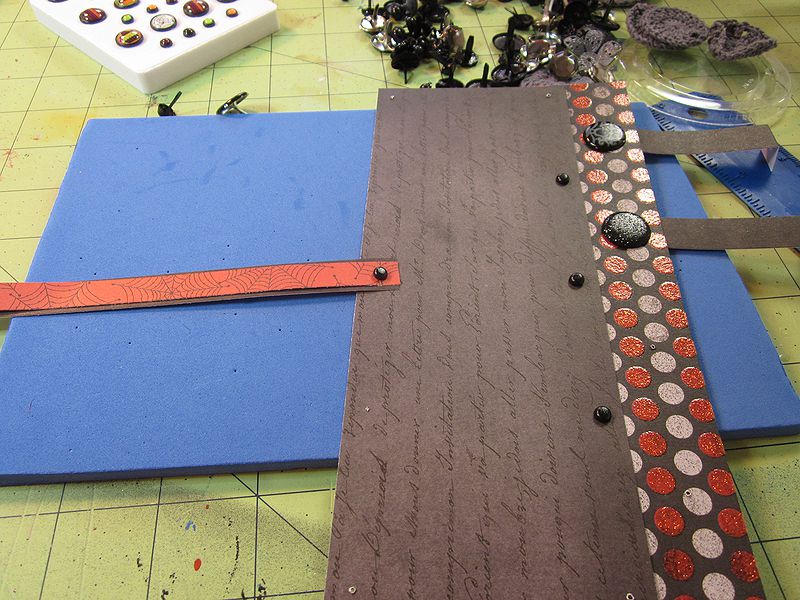
Handle time!
- Mark ½” in on the handle strip. Round the corners if you want to (I didn’t).
- Punch in the middle of the square you’ve made. At this point, I also lined up and punched my decorative handle strip.
- Attach one end to the top middle hole of the large rectangle.

Assembly:
- Overlap the short ends of the large piece and add 3 brads to close the cylinder. At the same time (oh, where is my third hand!) attach the other end of the handle to the corresponding hole.
- Connect the loose ends of the bottom strips with decorative brads.
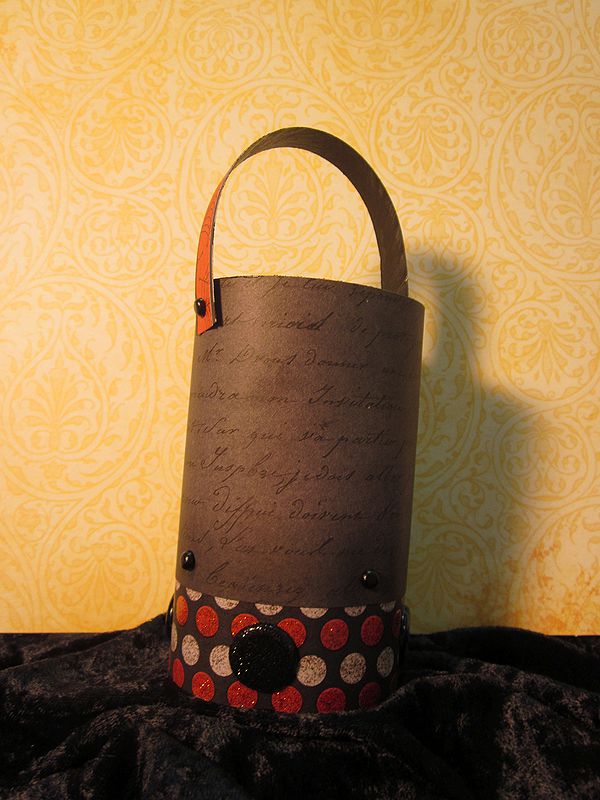
It’s simple and pretty. I made a couple of boo-boos, though. I used white-backed cardstock, so the inside was stark white and didn’t look good. I hit it with a little black paint. DON’T DO THIS. My lantern, sadly, is too opaque to throw much light. If I do it again, I’ll use paper that doesn’t need to be painted. I’ll also be mindful of color; I think orange would let through more light than black.
This one is too delicate to send out for the raffle, but I bet you can make your own easily.