frame

So at this point, I’m so far behind I have only the vaguest hope of getting things done a few days before Halloween. I don’t feel too badly–because of the move, I couldn’t have started any earlier.

The frame is glued down to the first wall. I measured everything very carefully for the frame…and still had to cut a few inches off the bottom of the wall. I want the wall to “float” a little, so there’s no extra pressure on it from sitting on the ground.

Also: power caulking gun. Just say yes.

My goal was to have everything done two days ago, but really, that’s impractical, since I need help to put stuff out. So Sunday is fine, right?

ten21-01

The stones are ready to go. I’d put them out, but then we’d trip over them getting the mausoleum out, and there’s enough to trip on. Like bears.

ten21-02

ten21-04

ten21-03

My final step is always dry-brushing with white to bring out edges, letters, and details.

ten21-05

The mausoleum walls are painted, and I got a start on the facade.  I ended up really hating those foam tubes. They don’t take glue or paint well. Grr.

Had a minor snafu with the frame, and had to take another trip to Home Depot for adapters and more PVC. I’d really like that to be the last HD trip…but we know how that goes.

I tried two more makeups tonight. One of them was more subtle, and the last was the least subtle. In fact, I slapped the second makeup over the top of the first.

So, from this tutorial, we get a kinder, gentler ghost:

Pretty creepy, eh? But now I realize those lip extension lines need to go up.

Now, from this tutorial, we go scary:

Got the lips wrong. That’s what I get for not re-watching the video first. Still, I wouldn’t want to see me in a darkened mansion.

So: here are the three makeups:

Basic dead chick

Basic dead chick

subtle

Still dead, but not as dramatically

jesuschristrun

RUN!

Opinions?  Other than I need a shower. Which I desperately do.

wall-01

It’s time to paint a wall!

Step 1: Paint blobs of black and white, then mix them in random directions with a brush (Stiltbeast has a good video demonstrating this technique). I go over it a couple times until I’m happy with the mix. Then I wad up some paper towel and blot. Finally, after the section has dried a little, I’ll use another wadded paper towel to soften, using a random brushing motion again.

wall-02

wall-03

Step 2: Use a flat brush to paint in the edges of the bricks. The lines don’t need to be complete or straight–a suggestion is better.

wall-04

Step 3: Use a dry brush to put in white highlights, then black shadows.  I was trying to sell a brick across the seams, but that’s not working, so I’m going to add some shading tomorrow and go with the 2/1 pattern so clear here.

The wall looks okay in the photo, and I hadn’t seen it from afar. Then I came home from picking up the Spousal Unit, and I opened the garage door from the car. It looks amazing. I don’t have to do any more if I don’t want to. It’s selling exactly the illusion I want.

oct-16-02

The thing that didn’t get pictured: we have five really pretty pots on our walkway. They had mums in them, but they didn’t do well. Now the pots are upside-down, and each has a pumpkin on top. The first one is teal.  I didn’t think to take a pic, and now it’s all dark. I’ll try to remember tomorrow, as it looks nice.  A neighbor came by as we were putting it out, and just loved it. As a first grade teacher, she loved it even more when we told her about the Teal Pumpkin Project.  She says this would be great for her class, so I am happy.

oct-03

I glued on some ornaments (yes, I should have done that BEFORE painting), and did a couple more coats of primer. There was only a bit of primer left in the can, so I poured it all into the pan. We know what happens next. I finished the stones, and had a bunch left over. I primed a mausoleum wall, and most of the front. I also glued down those foam tubes I bought for more embellishment on the mausoleum front. Before I painted. I swear.

Oooh, pretty.

Oooh, pretty.

This was the middle of the lot. Yep, this way in both directions.

This was the middle of the lot. Yep, this way in both directions.

Today the Spousal Unit and I spent the day at the Renaissance Festival with Jenna and fam.  The fest was HUGE, and there was a lot to see.

The costumes were confections of color and texture, and there were so many! Probably because there were so many people, period. It was full-contact festing. Which sounds dirty.

A little anachronism never hurt anyone.

A little anachronism never hurt anyone.

We got to see Ichabod Wainwright again, and he was still a hoot.

ren-04

And I obtained a fabulous hat from Tall Toad.

ren-02

I am going to be making excuses to wear that hat as much as possible.

BONUS: I tried again on the makeup. It’s better than Earl, though I think it could still use improvements.

My name is Lurlene. I'm gonna fuck you up.

My name is Lurlene. I’m gonna fuck you up.


gf-01

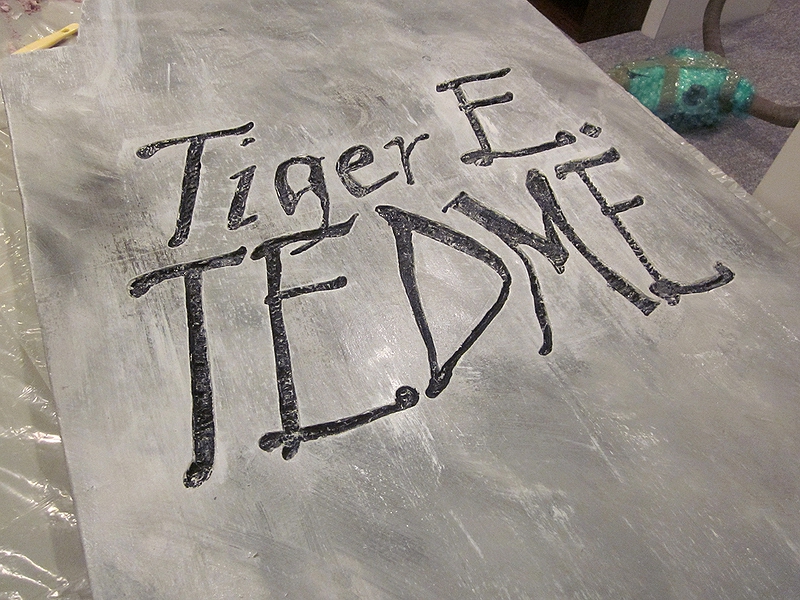
I spent my morning out letterboxing, so I didn’t get much done. When I got home from dinner with the Spousal Unit, I thought I’d practice my party makeup. I’m a ghost, natch.

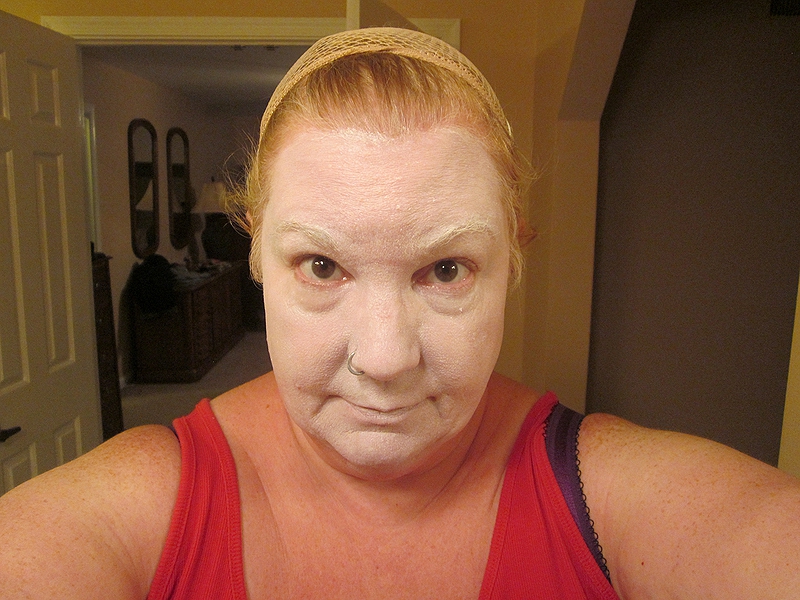
Thing is, I am so very bad with makeup. Thus, practice. So, here I am with a layer of Manic Panic Goth White foundation. That wig cap was at my hairline a second ago.

gf-02

Evened things out with Manic Panic Virgin White powder.

gf-03

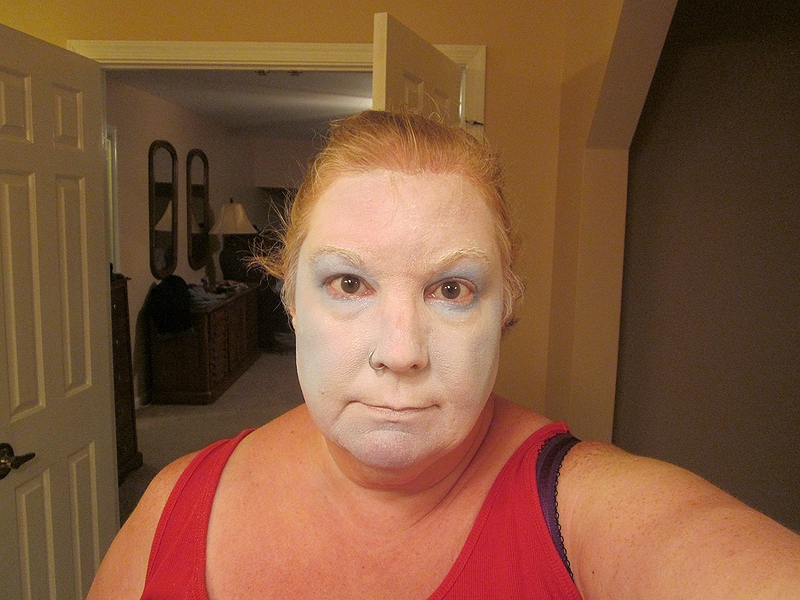
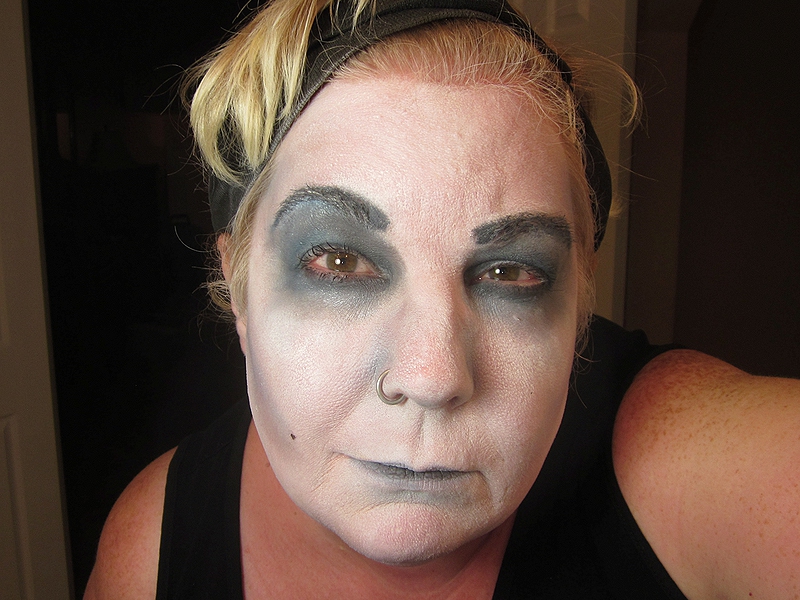
Blue highlights with Flashing Blue Mica Powder. I realize at this point that the light in the bathroom is crap, because this blue is a lot stronger. As in, I was feeling clownish and dialed it back with more white powder. Which didn’t help.

gf-04

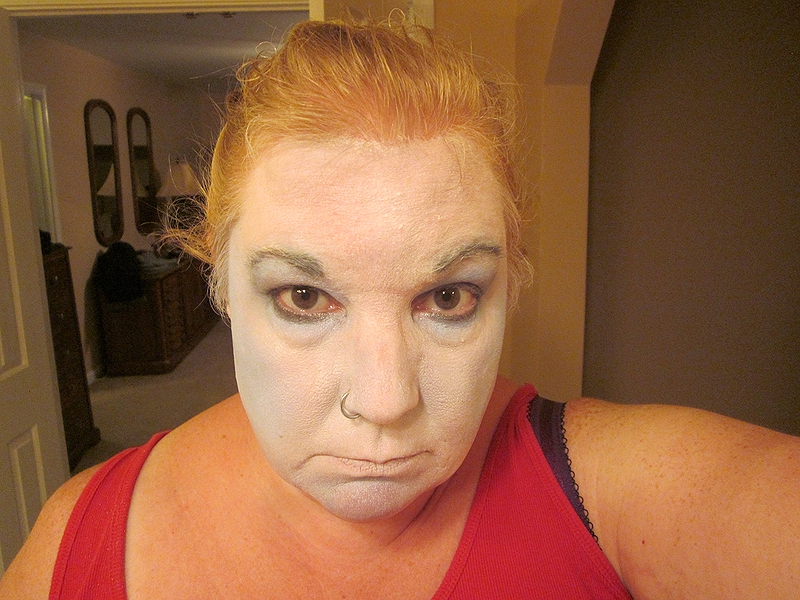
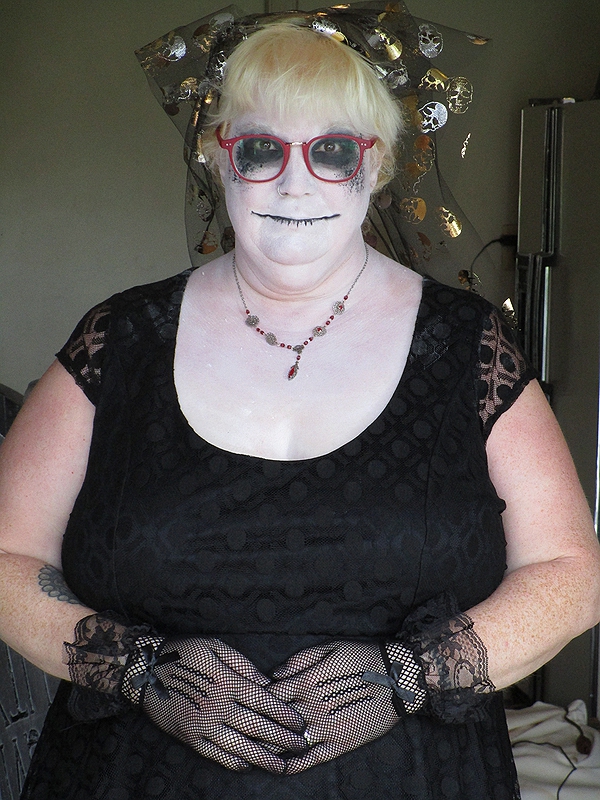
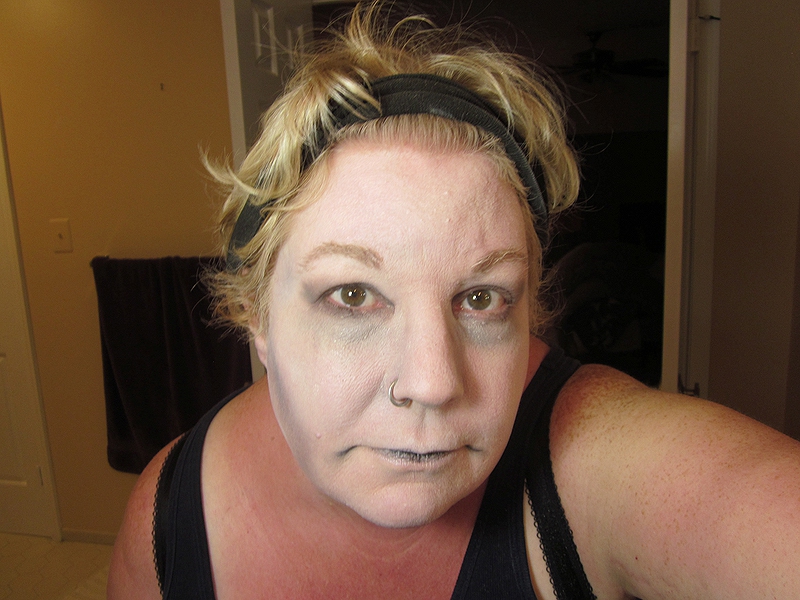
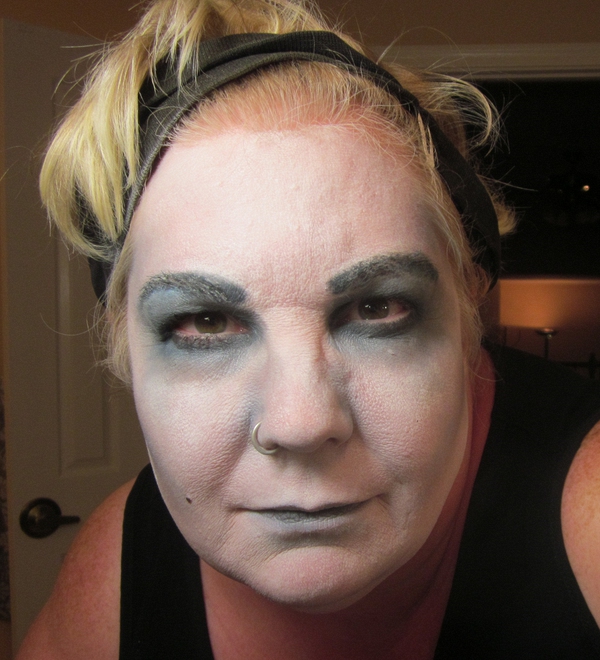
Note the absence of wig cap. It’s dangling from the back of my head somewhere. Again, the lighting doesn’t show my eye makeup well. I just posted this picture for my menacing expression. It was at this point I realized I had no mascara.

gf-05

I look like a bad drag queen. Hi, I’m Earl, and I’d like to lipsync some Donna Summer for you.

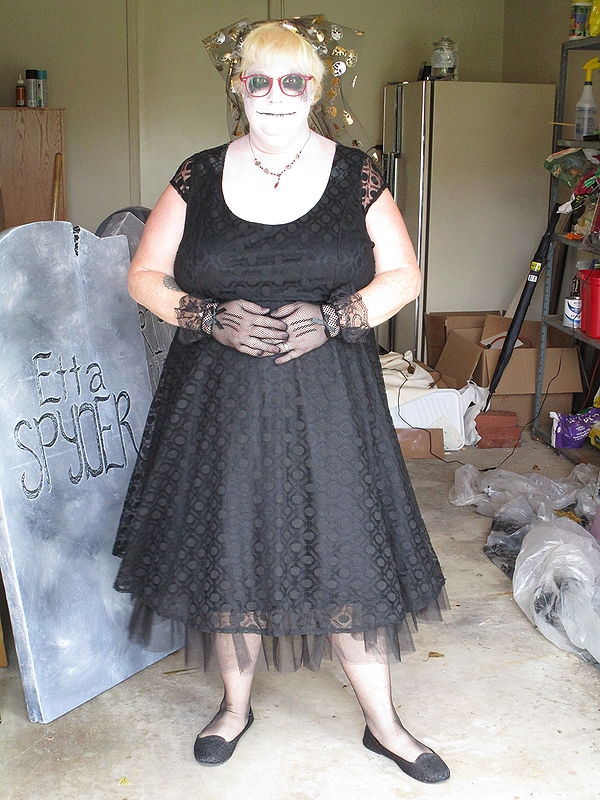
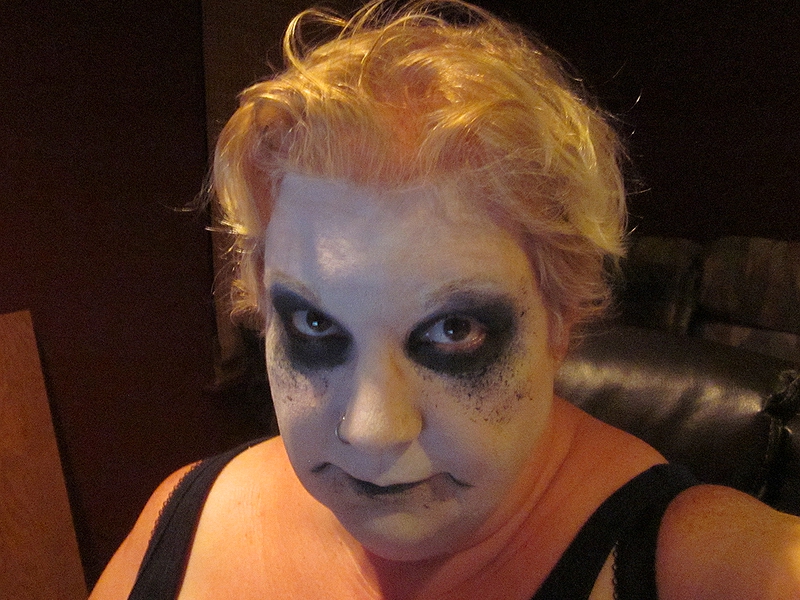
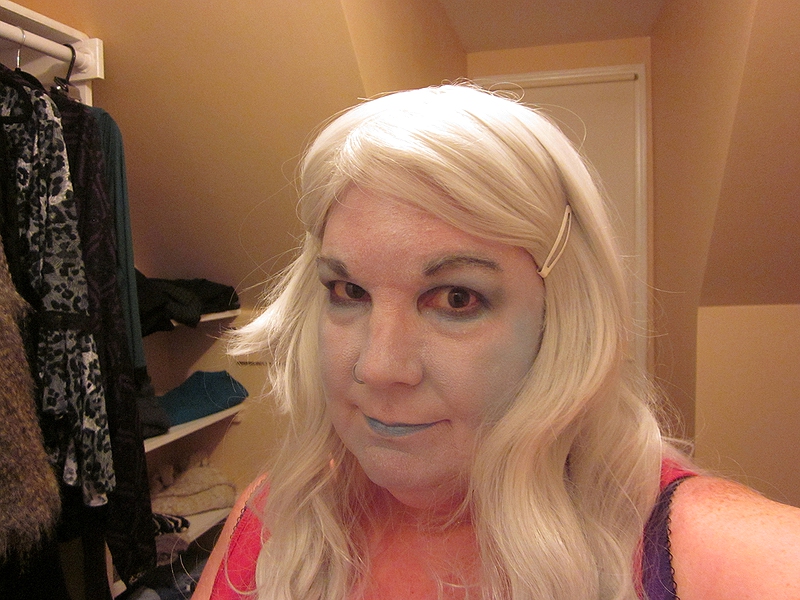
Went to my closet, thinking crappier lighting might help. It did, a little.  I have Nyx Earl Grey lipstick on, with a little of the mica powder over the top (yes, it’s food grade).  I haven’t styled the wig yet, which is long and curly. My primary goal with styling is to keep the damned thing out of my eyes, so I may do bangs.

So, I hate this. Advice that doesn’t involve a bunch more product is welcome.

LATE NIGHT ADDENDUM: I’ve been up watching Youtube tutorials. I have ideas.

drillin-01

Today, I did something that I should have done long before I did any carving or painting. Why didn’t I? Well, my drill wasn’t charged, and I didn’t want to wait. *shrugs* Time to drill holes in the bottom of the tombstones so they can stand up later.

I put them about 7″ from each end.

drillin-02

drillin-03

I used the extender for my drill, and a 1″ bit to fit my 3/4″ PVC. The hard part is keeping the drill level and centered. I didn’t always succeed. My best tip is stop often. If you try to drill in one go, you’re more likely to end up in Idaho.

drillin-04

Time for the shop vac. Word of advice: don’t get the Armorall shop vac. It has this stupid design with a blow hole right below where the suction hose comes out, so half the time you’re blowing stuff around before you can vacuum it up.

drillin-05

On to the pipes. The drill went in 9″, so I cut these to 8″ to avoid forcing.  Do yourself a favor and get a PVC cutter. It’s still made for the hand strength of a construction worker, but I can brace it on a table and push down without too much trouble. Much better than the little ones where you tighten the blade and twist it around 30 times.

drillin-06

Chris Davis covered one end of her pvc with tape, which seemed like a good idea to me.

drillin-07

Some Liquid Nails on the end and I let it ooze down the sides a bit. I’ve never used the stuff, so fingers crossed.  All the stones now have pipes. Forgot to get dowels at Home Despot today, so I’ll have to go back. Again. They should know me by name.

walls-almost

punkins

In other news, the mausoleum walls are one brace away from being ready for paint.  Also, I have obtained punkins. And one of them is getting teal paint.


paint-05

Paint is where foam objects really come to life.

After the letters are carved, and any distressing is added, I do a coat of gray primer. Then I fill the letters with black, wiping back excess, and do another coat of primer, with a roller.

paint-02

When all that is dry, I do a scumble–black and white blobs of paint, mixed on the surface in random strokes.

paint-03

While it’s still a little wet, I soften the mix by patting with a wad of paper toweling.

paint-04

Finally, the black in the letters is touched up (though not too much), and I dry brush white around them to make them pop.

maus-top

My other accomplishment today: finishing the gluing on the mausoleum front.