
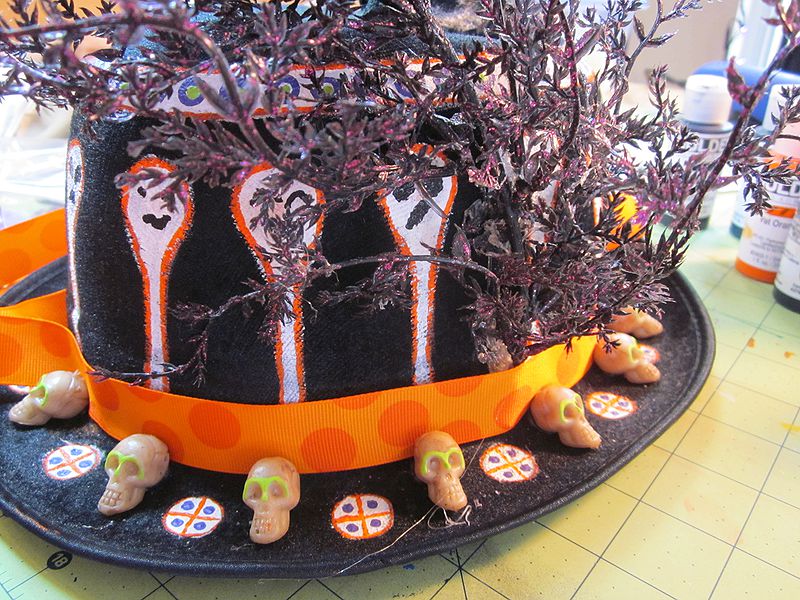
Note for garage sales: always buy the cheap box of mystery crafts. I looked briefly and spotted a few beads. She wanted $5 for the whole thing, so I glommed it. The biggest prize inside was a whole lot of Makit & Bakit crystals, in a dozen colors. I hadn’t worked with these things since I was little. In fact, I remember doing it once, then never again because oh, the smell. You know, the one they say is “not offensive in a well-ventilated area.” Gah. But I’m all grown up now, and I have a craft oven in a room with a fan.
As soon as I knew what I had, I went trawling on Pinterest to see what others had done. There wasn’t a whole lot, but these luminaria caught my eye:
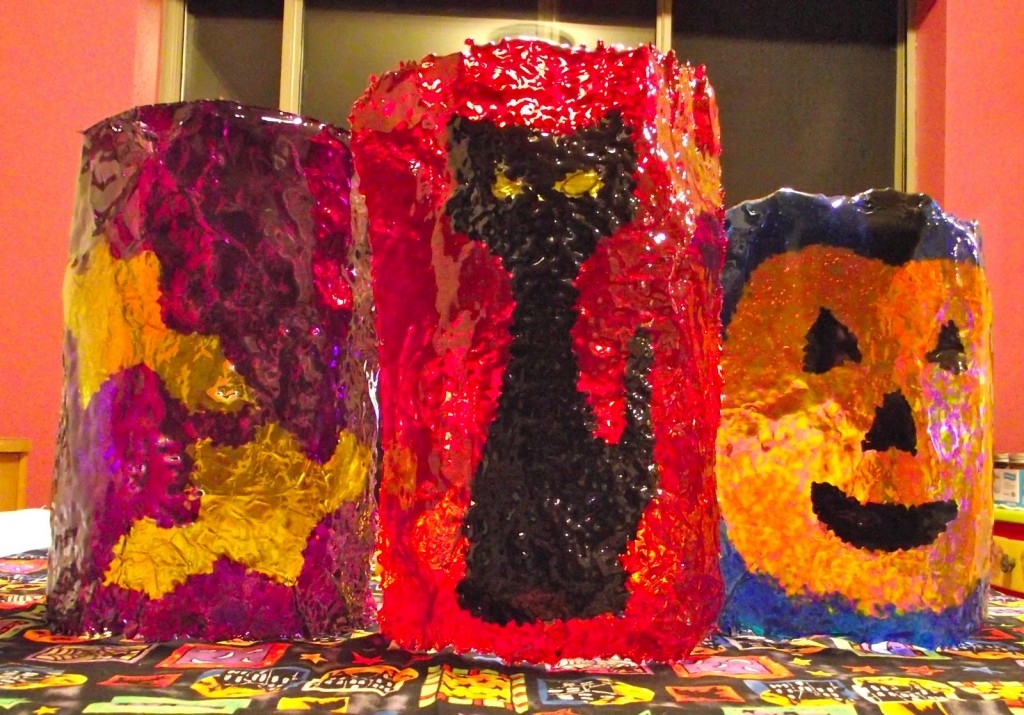
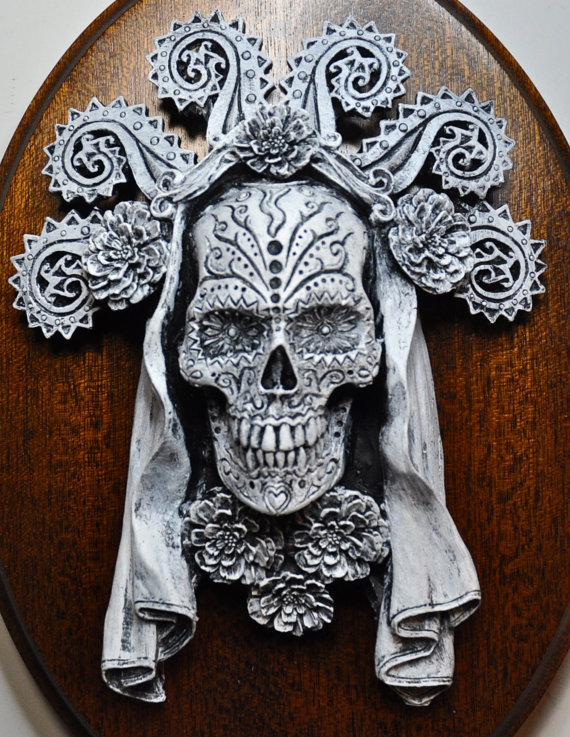
Sara vs. Sarah: Makit-Bakit Inspired Halloween Luminaries
We’ll make a smaller version for votives. NOTE: do not use an actual candle with these, as the plastic is flammable when hardened. Use one of those little electric votives.
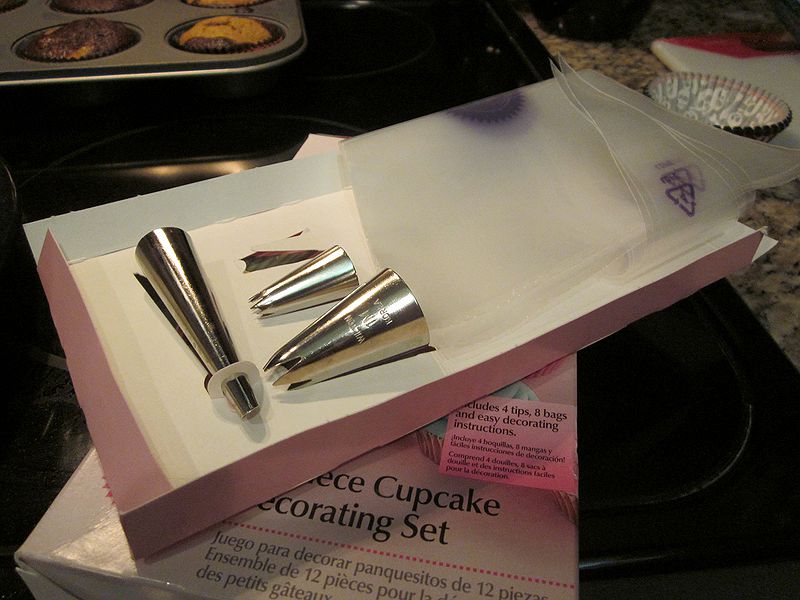
You will need:
A bunch of Makit & Bakit crystals (They are plentiful on eBay)
Glass or metal round object, about 7″ around
Aluminum foil
A small piece of corrugated or heavy cardboard
Cookie cutters or silicone candy molds
Electric votive candles
Bone folder or something similar
Tight fitting gloves, like latex
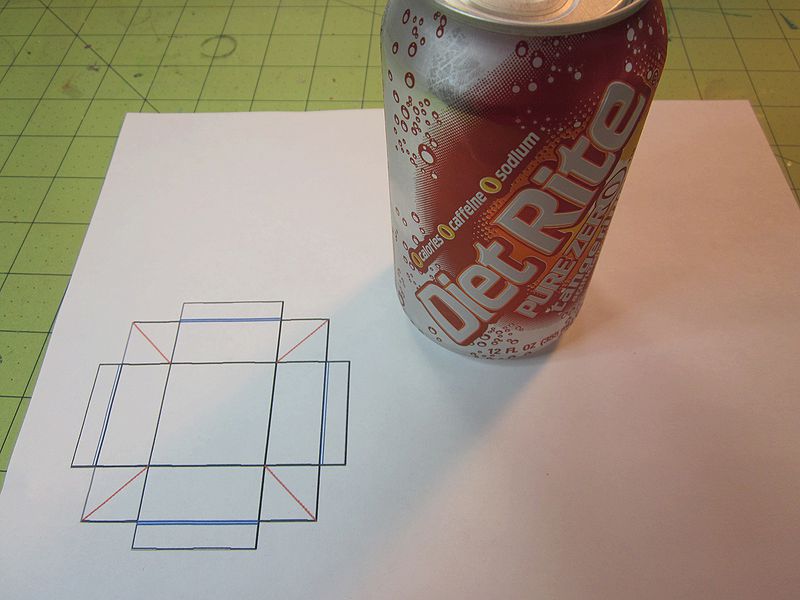
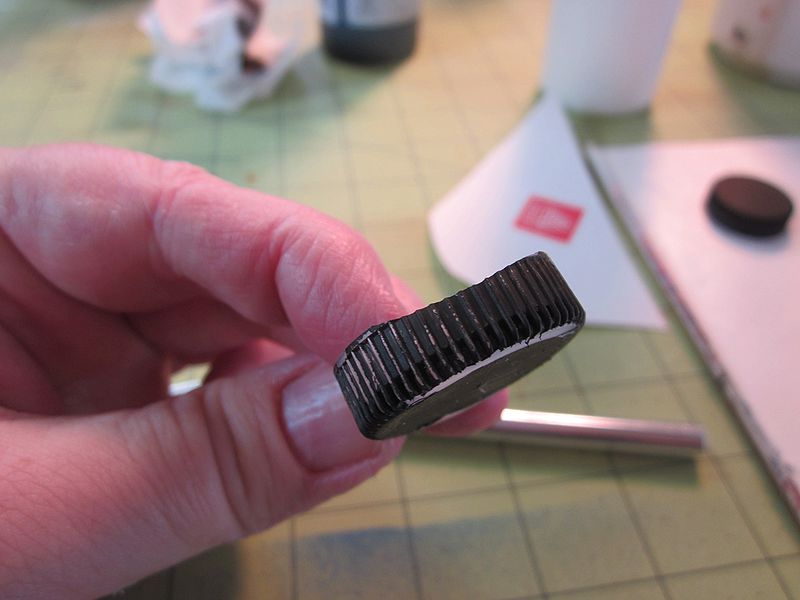
First, find yourself a roller. It needs to be a bit bigger around than your votive. I measured my small bottle with a string.

Use this measurement to cut a template from your cardboard. My bottle is 7″ around, so my template will be 2″, for height, then 7″ for length.

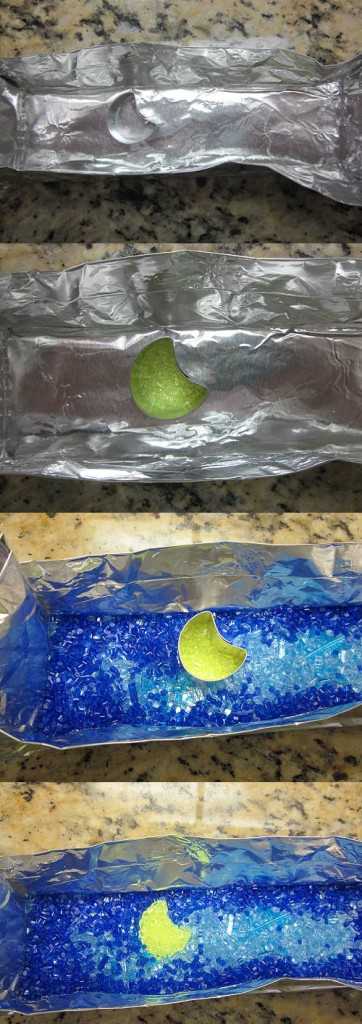
Tear off enough aluminum foil to give several inches of clearance around the template, times two. Fold the foil in half, and fold the edges over so it stays together well. Place the template in the middle.

Pull straight up on the top edge of the foil, holding the template so it doesn’t move. You are using the template to form a mold out of foil.

Pinch the corners of the foil as you go around, lifting each side. You may want to fold the corners over so they don’t stick out so much.

Make sure your corners are neat and your new mold has firm lines. Run your finger around the outside edge lightly.

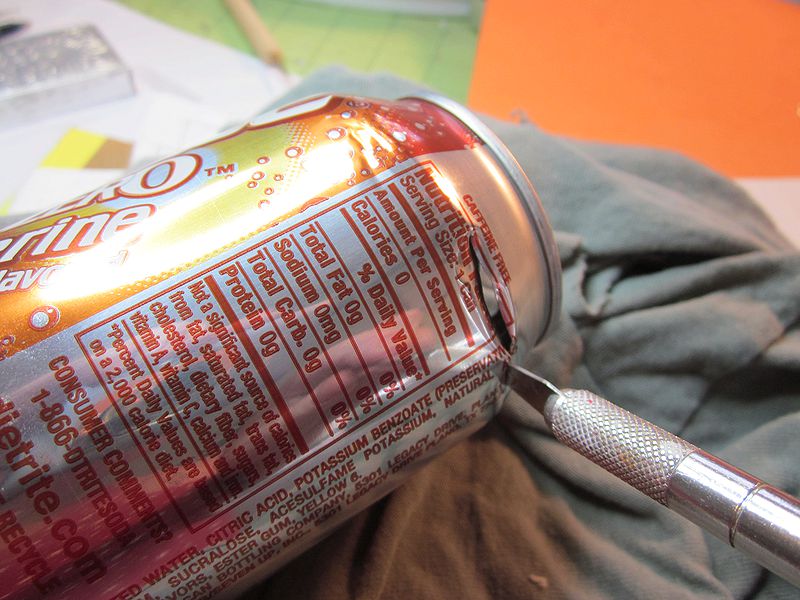
Remove the template from the foil. Yes, this is going to mess things up a bit, but we’ll fix it. Push the sides in gently, while running a non-sharp object around the inside, like a bone folder. You can’t see the hand on the outside, because I was taking the picture. You are creating a smooth channel along the edges, to prevent the plastic from wicking up. This will give you neater edges.

Your mold is ready. Carefully move it to somewhere near whatever oven you’re using. You don’t want to be carrying your unbaked masterpiece across a room. Preheat your oven to about 375°-400°. I say “about” because I used a craft oven, which doesn’t really get up to 400°, so I made do.
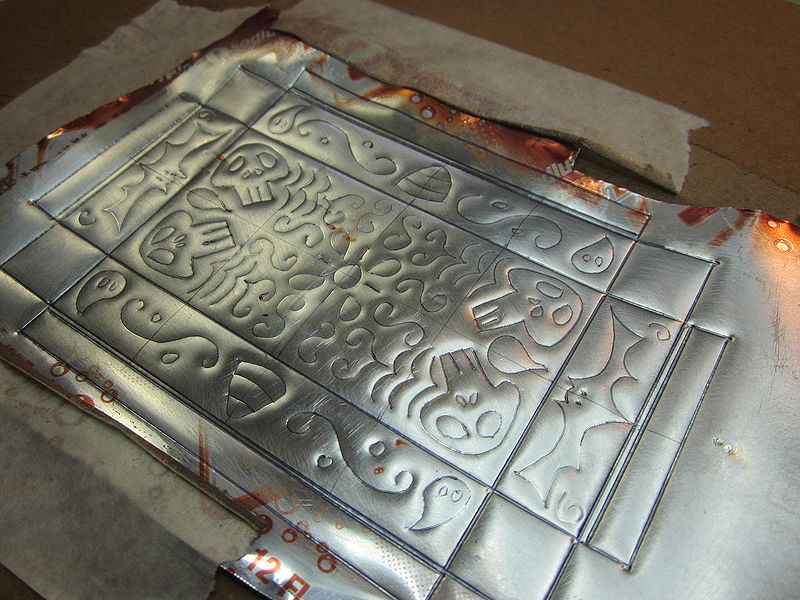
Build your design from the bottom, as that will be the front of the votive sleeve. You need very thorough coverage, about ¼” of crystals. I’ve put yellow in the center, amber around it, then white on top of the whole thing.

DESIGN OPTIONS:
You can have a solid background color, put lines or spots of contrasting colors, and even put shapes to go behind the piece you will fuse on. Keep in mind that the crystal colors do not really blend. If you put in red and blue, you will get mottled red and blue with a touch of purple.
1. Place a small cookie cutter where you would like it on your mold, and put in crystals. Hold down the cookie cutter while you fill the rest of the mold, so it doesn’t move. Lift the cookie cutter before baking. This creates an indistinct shape. I used this technique to create the moon behind the bat.
2. Bake your shape first (we’re getting to that), and put it down in the mold. Fill the rest of the mold with crystals up to the level of your shape. This is how the luminaria from the inspiration project were done. The shape won’t be sharp, but it will be sharper than method 1.
To make the foreground shape, you can use a silicone mold or a cookie cutter.
TO USE A COOKIE CUTTER: cover the top of a strong, flat surface, like a pan or a tile, with aluminum foil. Place your cookie cutter on the foil and fill ¼” with crystals. Do not remove the cookie cutter to bake. The plastic will pop out easily once cooled.
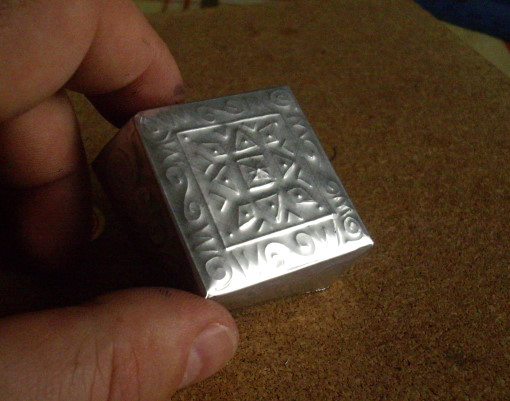
TO USE A MOLD: I buy silicone candy mold sheets during the Halloween season, then cut them into individual molds. I use them for all sorts of things. Put your mold on something bakable so it won’t fall through the gaps in the oven rack. Fill it to ¼”. Keep in mind that if your mold has extra surface details, they will be lost during the fusing process, so you want something with a distinct shape.
I’m using a pumpkin candy mold here. I put some brown around the edges and in the stem, then covered everything with orange.


With both your foil and shape molds, be sure to gently push crystals into the corners and nooks.

Before you start baking, I recommend opening windows, turning on fans, anything you can do to ventilate the area.
Carefully transfer your pieces to the oven. Pretend you’re handling nitroglycerin. Depending on how hot your oven is, baking could take anywhere from 30 minutes to more than an hour. I recommend checking every 20 minutes. It’s done when it’s no longer lumpy.
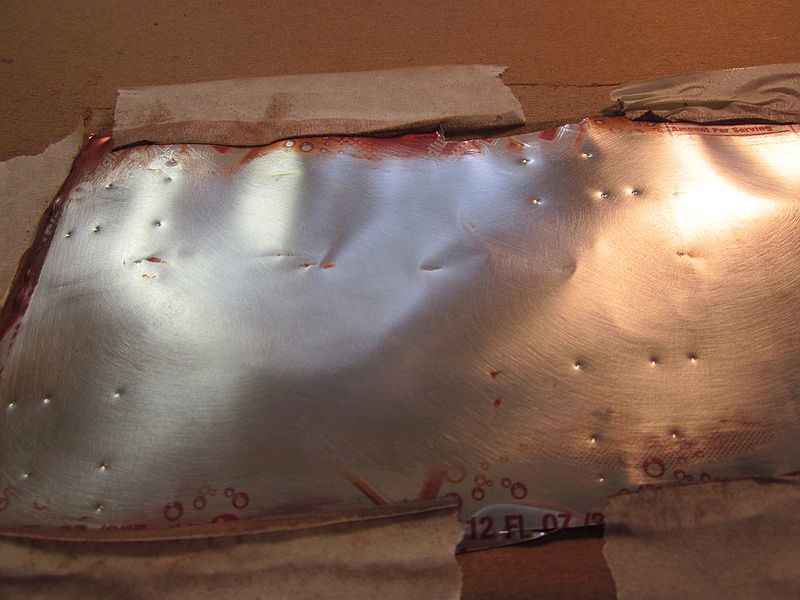
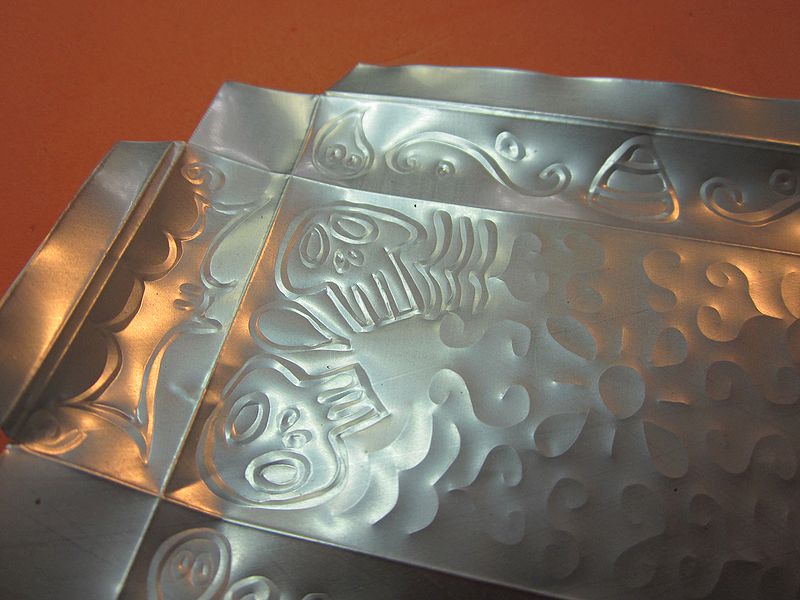
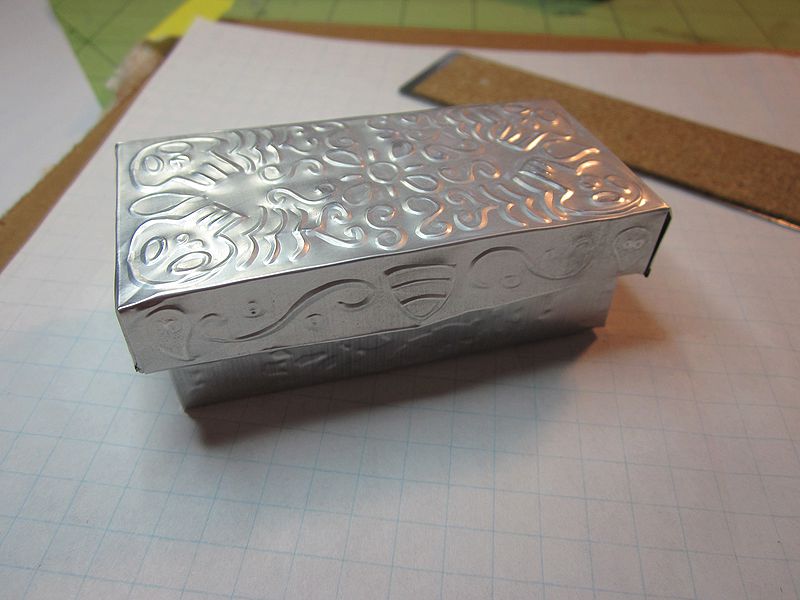
Let things cool for a few minutes, and remove them from their molds. The edge of the rectangle is unlikely to be completely smooth, as that’s the nature of the medium, but it looks pretty darned good!
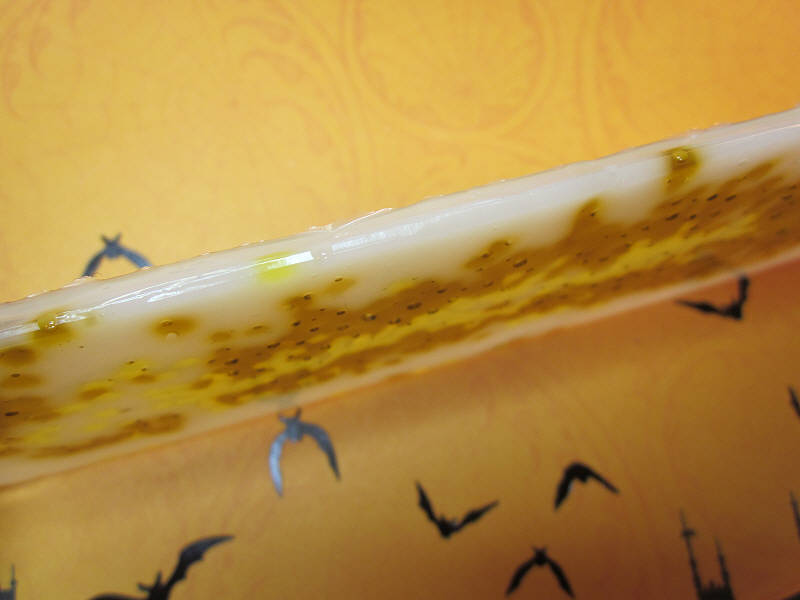
This is what happens with a straight-sided mold–the plastic wicks up the sides a bit. That’s fine, the fusing process will take care of it. NOTE: Those jagged bits are sharp. I speak from experience.

DESIGN OPTION: If you’re using a mold with surface details, such as a skull with facial features, you can fill those features with a contrasting crystals, and bake until melted–usually about 20 minutes. If your mold is symmetrical, I recommend flipping your piece over and putting it back in the mold to keep the edges sharp. Use a pair of tweezers to add crystals. The plastic may wick up a little, but it will melt down again during the fusing process.

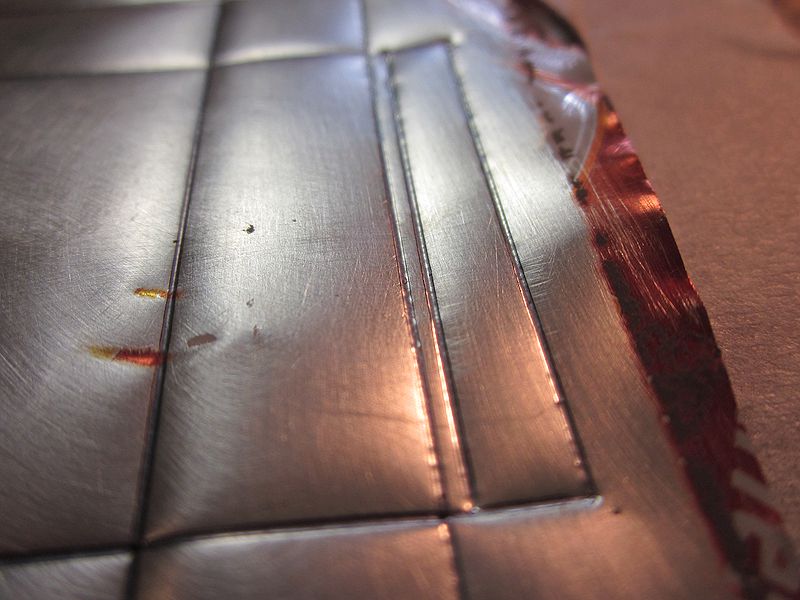
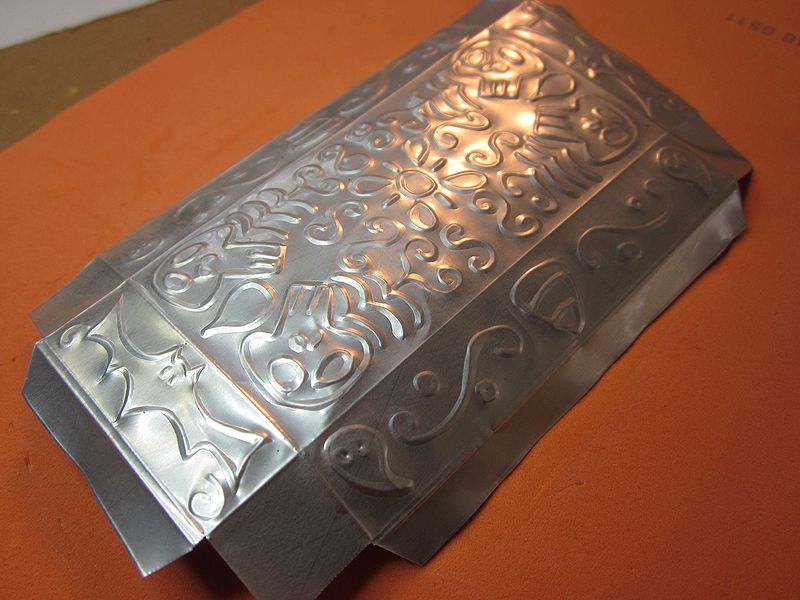
Flatten your aluminum mold, and trim the ends so they are just longer than your baked piece. Do not cut this too close–you want to be able to see what you’re doing when you roll the sleeve, but you don’t want the plastic melting in to your oven.

Place your shape nice-side down on your mold. Put it where you would like it to end up. In my case, I’ve centered the pumpkin.

Place your rectangular piece over your shape, pretty side down. Carefully move everything back to the oven. This part goes fast–so be watching! I use the three or so minutes to put on latex gloves, so my hands are a little more heat resistant. You will need dexterity, so bulky gloves won’t cut it. You also might want a potholder handy.

This is what you’re watching for. The sleeve has slumped over the shape, and they are now fused. Take out your piece, and get ready to work quickly. Use care–this is hot stuff!

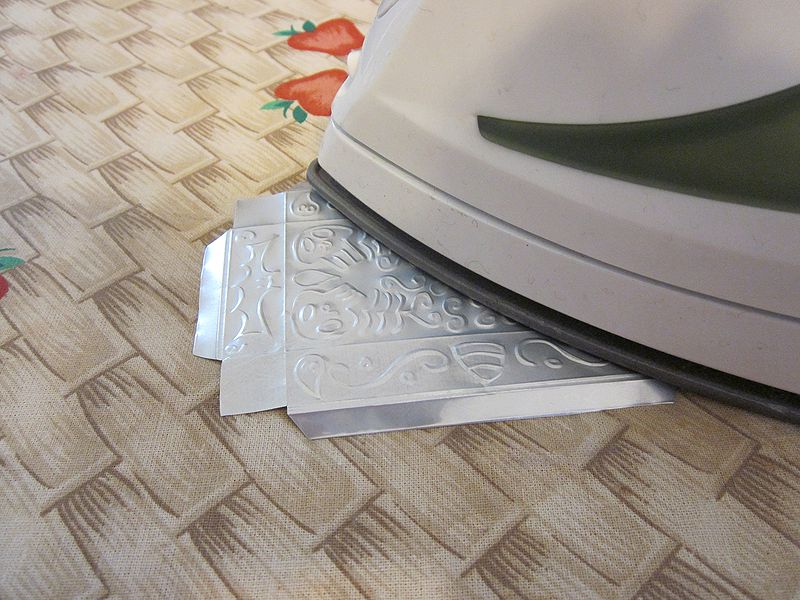
Use your bottle or can or what-have-you to roll up your votive sleeve. Hold the plastic to the roller using the foil, as it should be cool enough. Watch the edges to see that you’re sleeve ends are lining up.


To tighten up the sleeve ends (though they probably won’t meet), I’m using a little piece of silpat to pinch the ends together. You can use a potholder to do this.

Once everything is rolled, hold it for about 30 seconds. If you take your hands away and the ends move apart, hold it together a little longer.

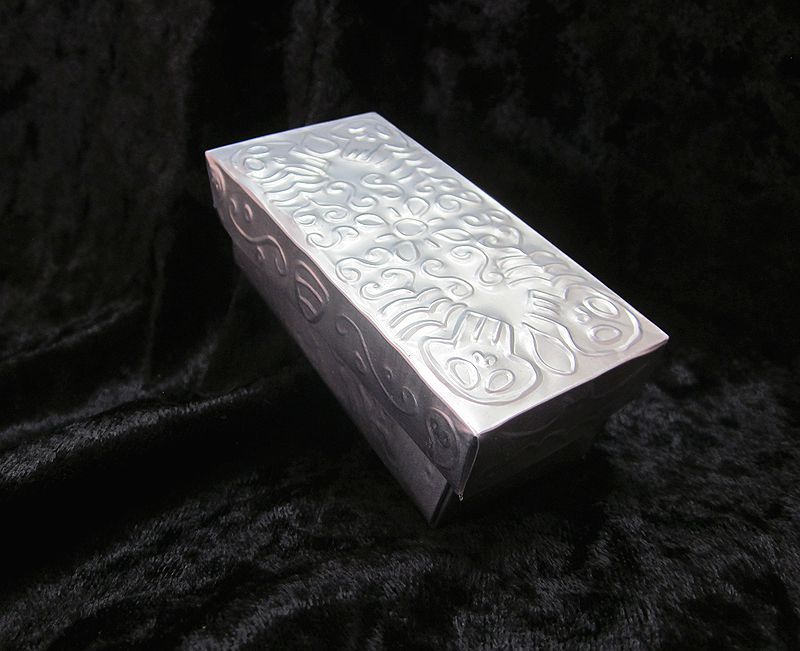
Remove the foil and slip the sleeve off the roller. All done!

Raffle status: yup, I’ll be sending these off.


